The jackboot and M35/40 helmet are the most symbolic and frequently shown items of the WWII German soldier. More than any other image, that of the black leather jackboot has been used to represent the conquest of Europe by the Third Reich.

As with my other posts, this will detail my cumulative observations over 30 years of handling, collecting, repairing and reproducing authentic WWII examples. Period documentation is scant, making this the best means of demonstrating what the boots actually used in the War were like.
History
The term “jackboot” is not a German one- it’s origin is unknown. The German military referred to them as Marschstiefel– Marching Boots. Although most people will christen any tall, black, pull-on boot a “jackboot”, the term more accurately applies to those with looser fitting shafts as opposed to the more fitted riding boots. Appearing in the latter 1800’s, the German military wore various styles of Marschstiefel into the 1970’s. Those used in both world wars were very similar in design, differing mainly in small details. In the 1930’s, the Reichswehr experimented with several alternative designs, but ultimately retained the previous style of boots. During WWII, the Schnurschuhe (Low boots) began to supplant the jackboots in an effort to conserve leather, but they were never entirely replaced.
Design
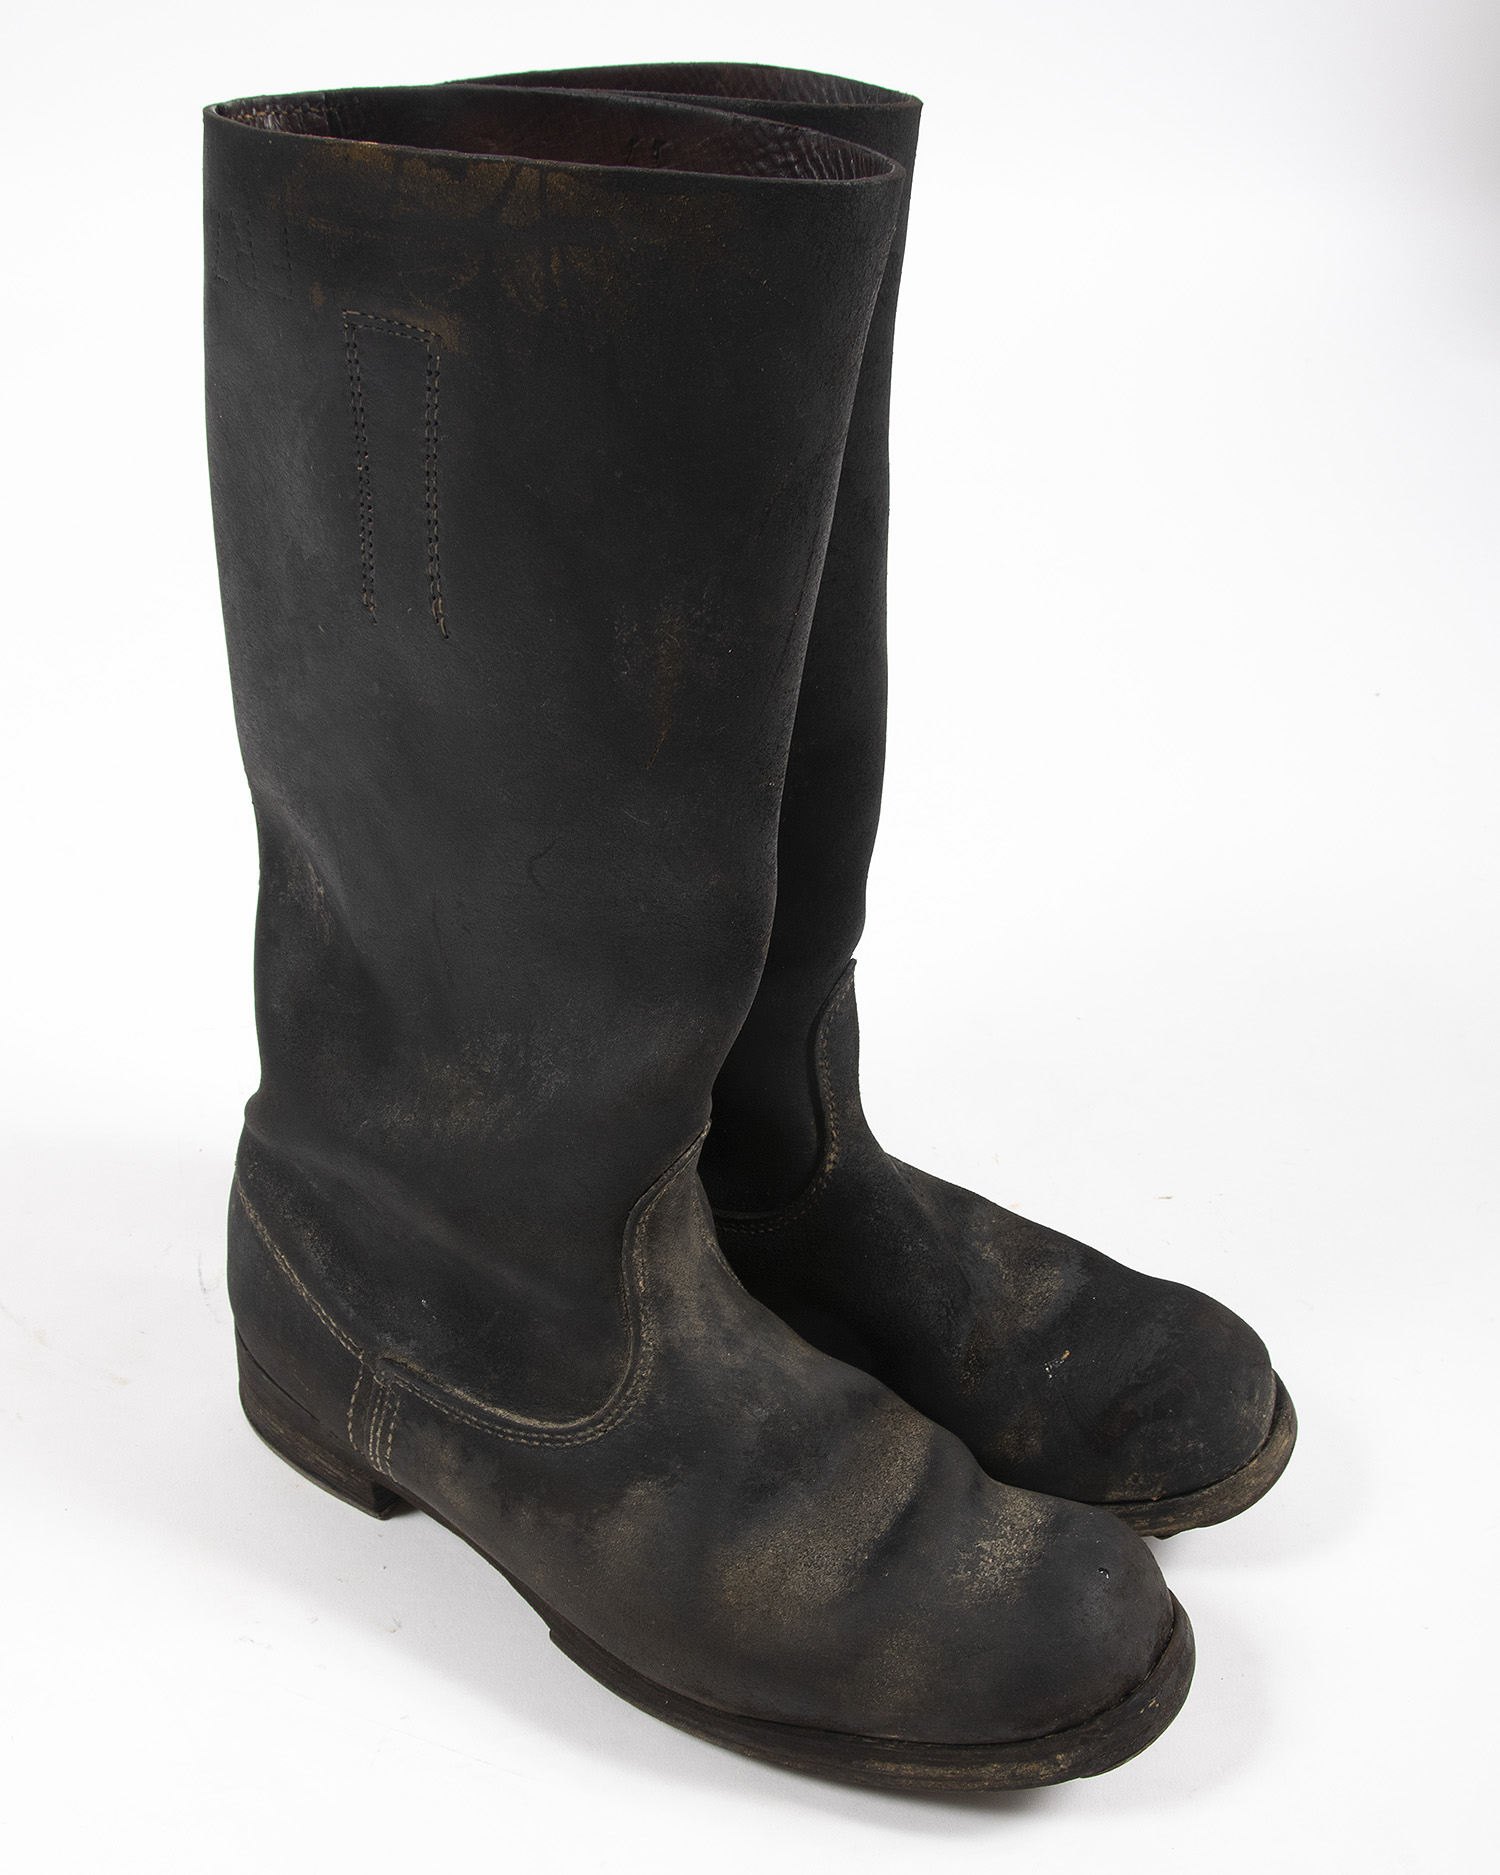
The jackboot is a pull-on boot, with a stitched & pegged main sole, pegged half sole, rear seam shaft, and stacked heel. Pegs and sole stitching were done both by hand or machine. Most were fitted with hobnails, heel irons and sometimes toe plates to prevent wear of the leather bottoms. Many had steel shanks, but not all.
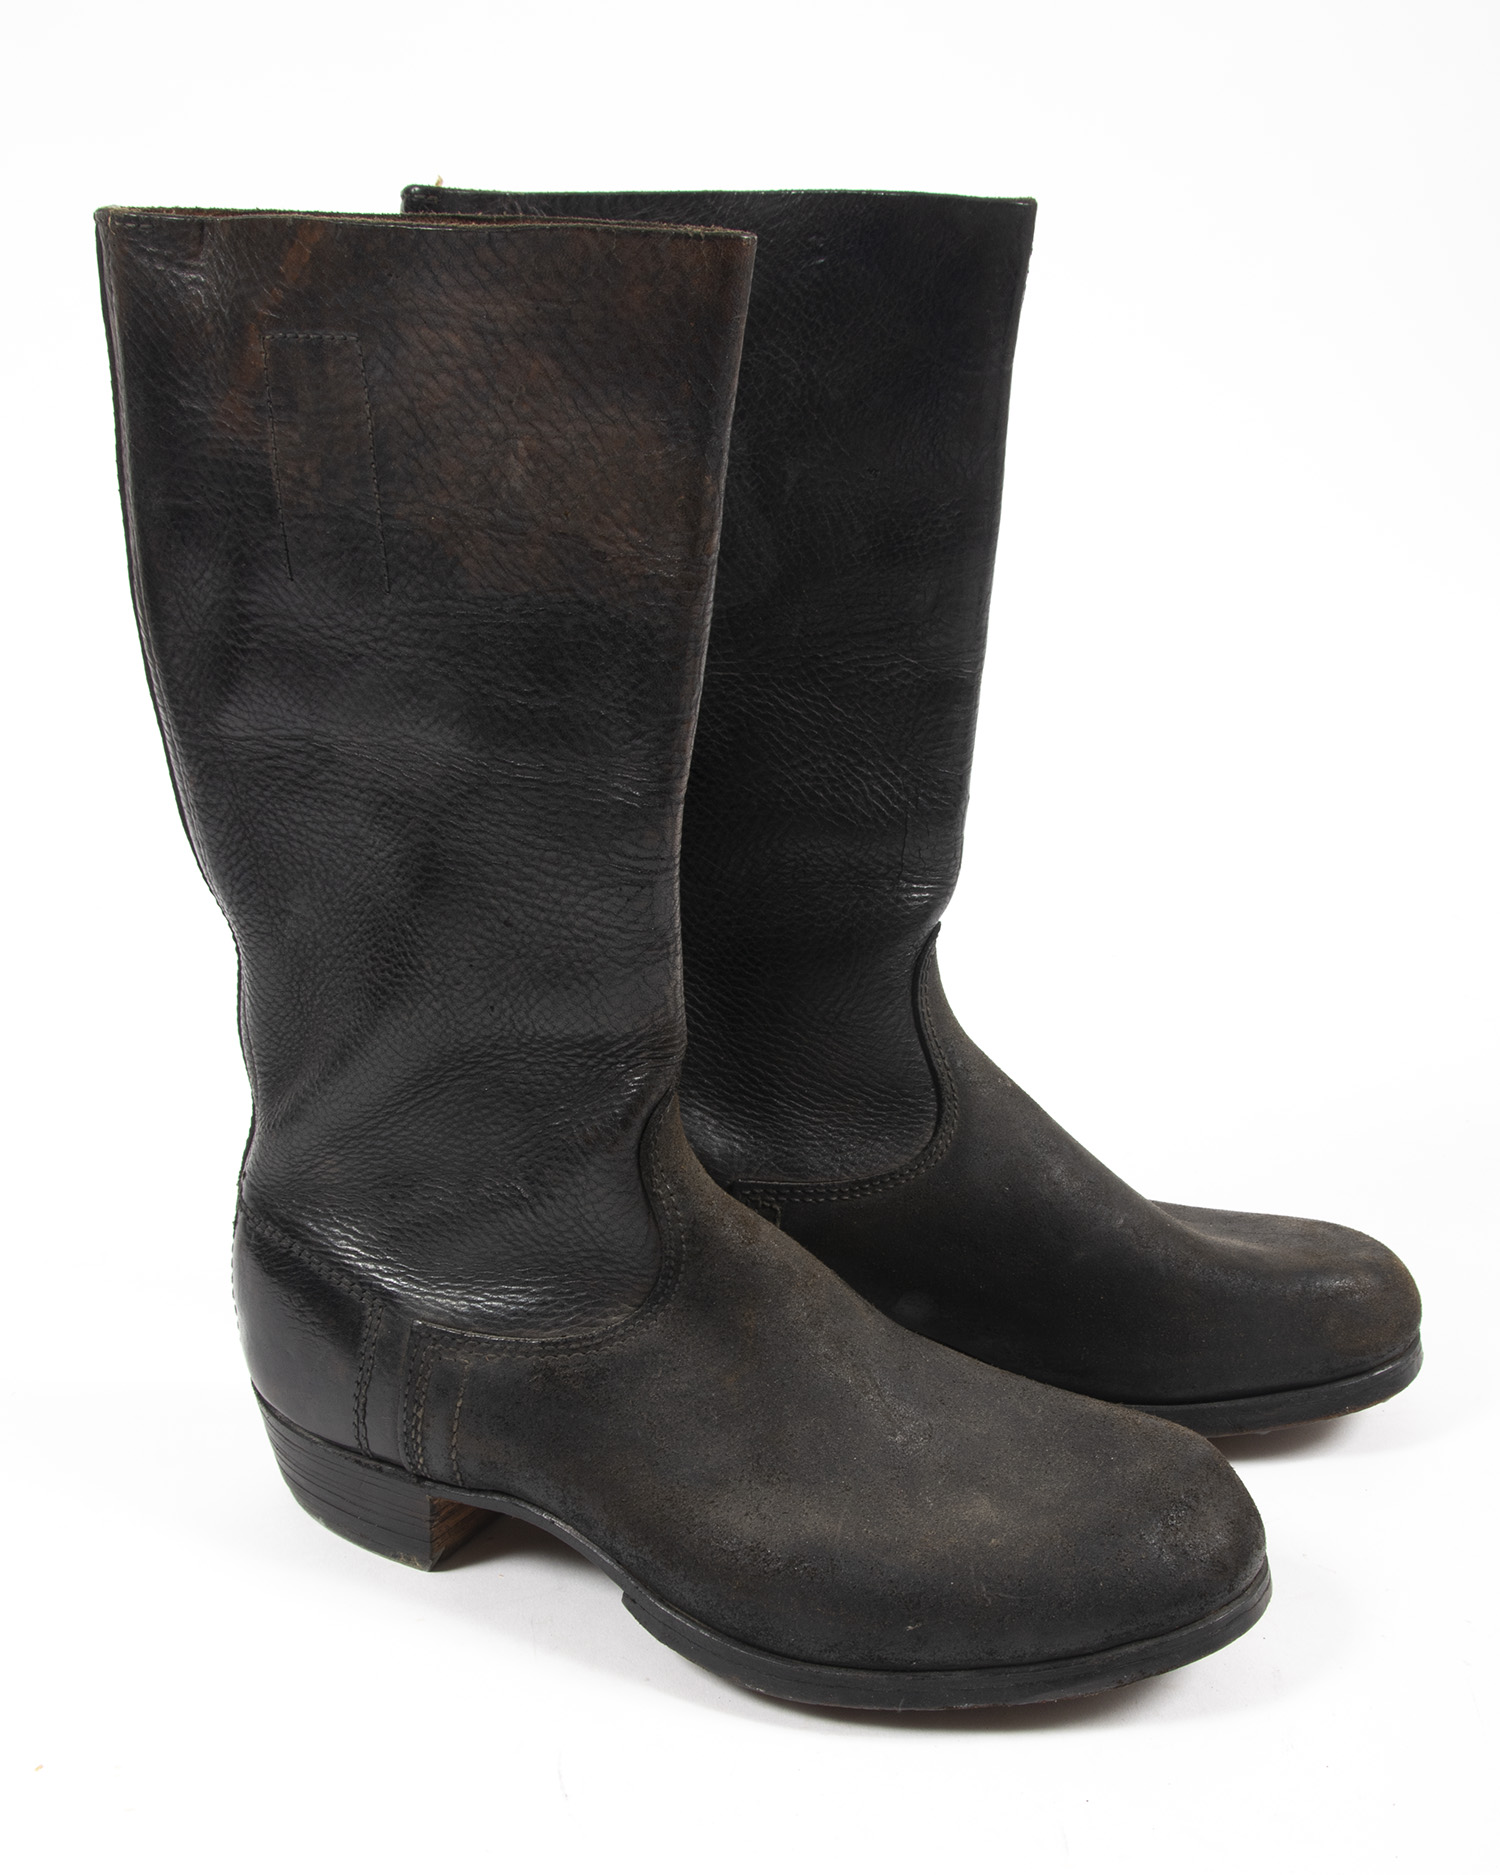
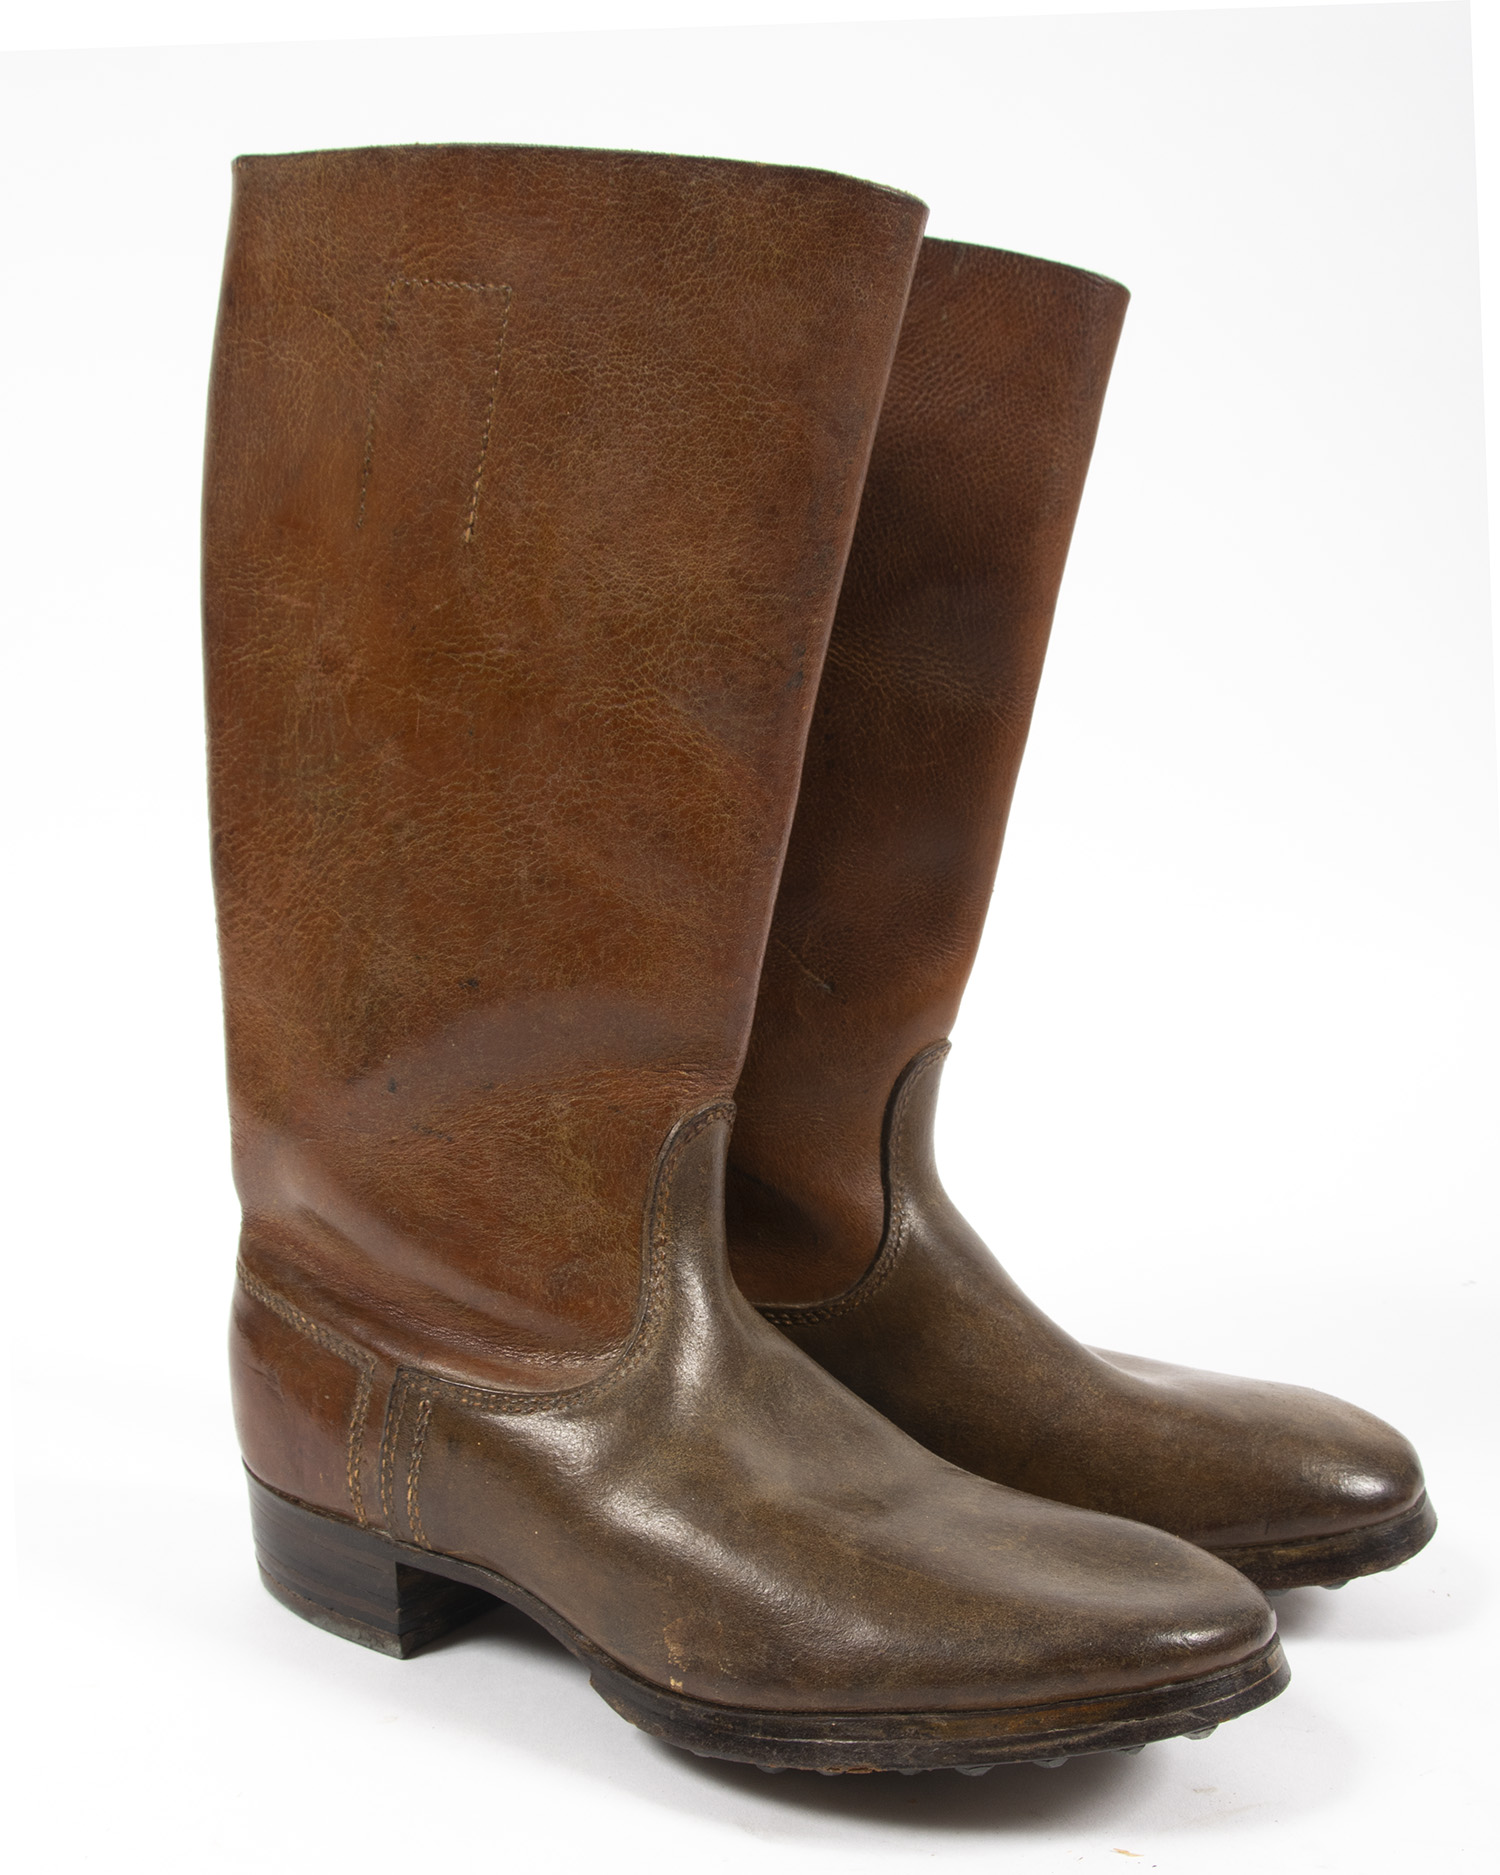
 1939 dated boots, unissued
The shaft height varied from 30cm-40cm with pre-War boots being generally taller.

Unissued SS boots made by Bata
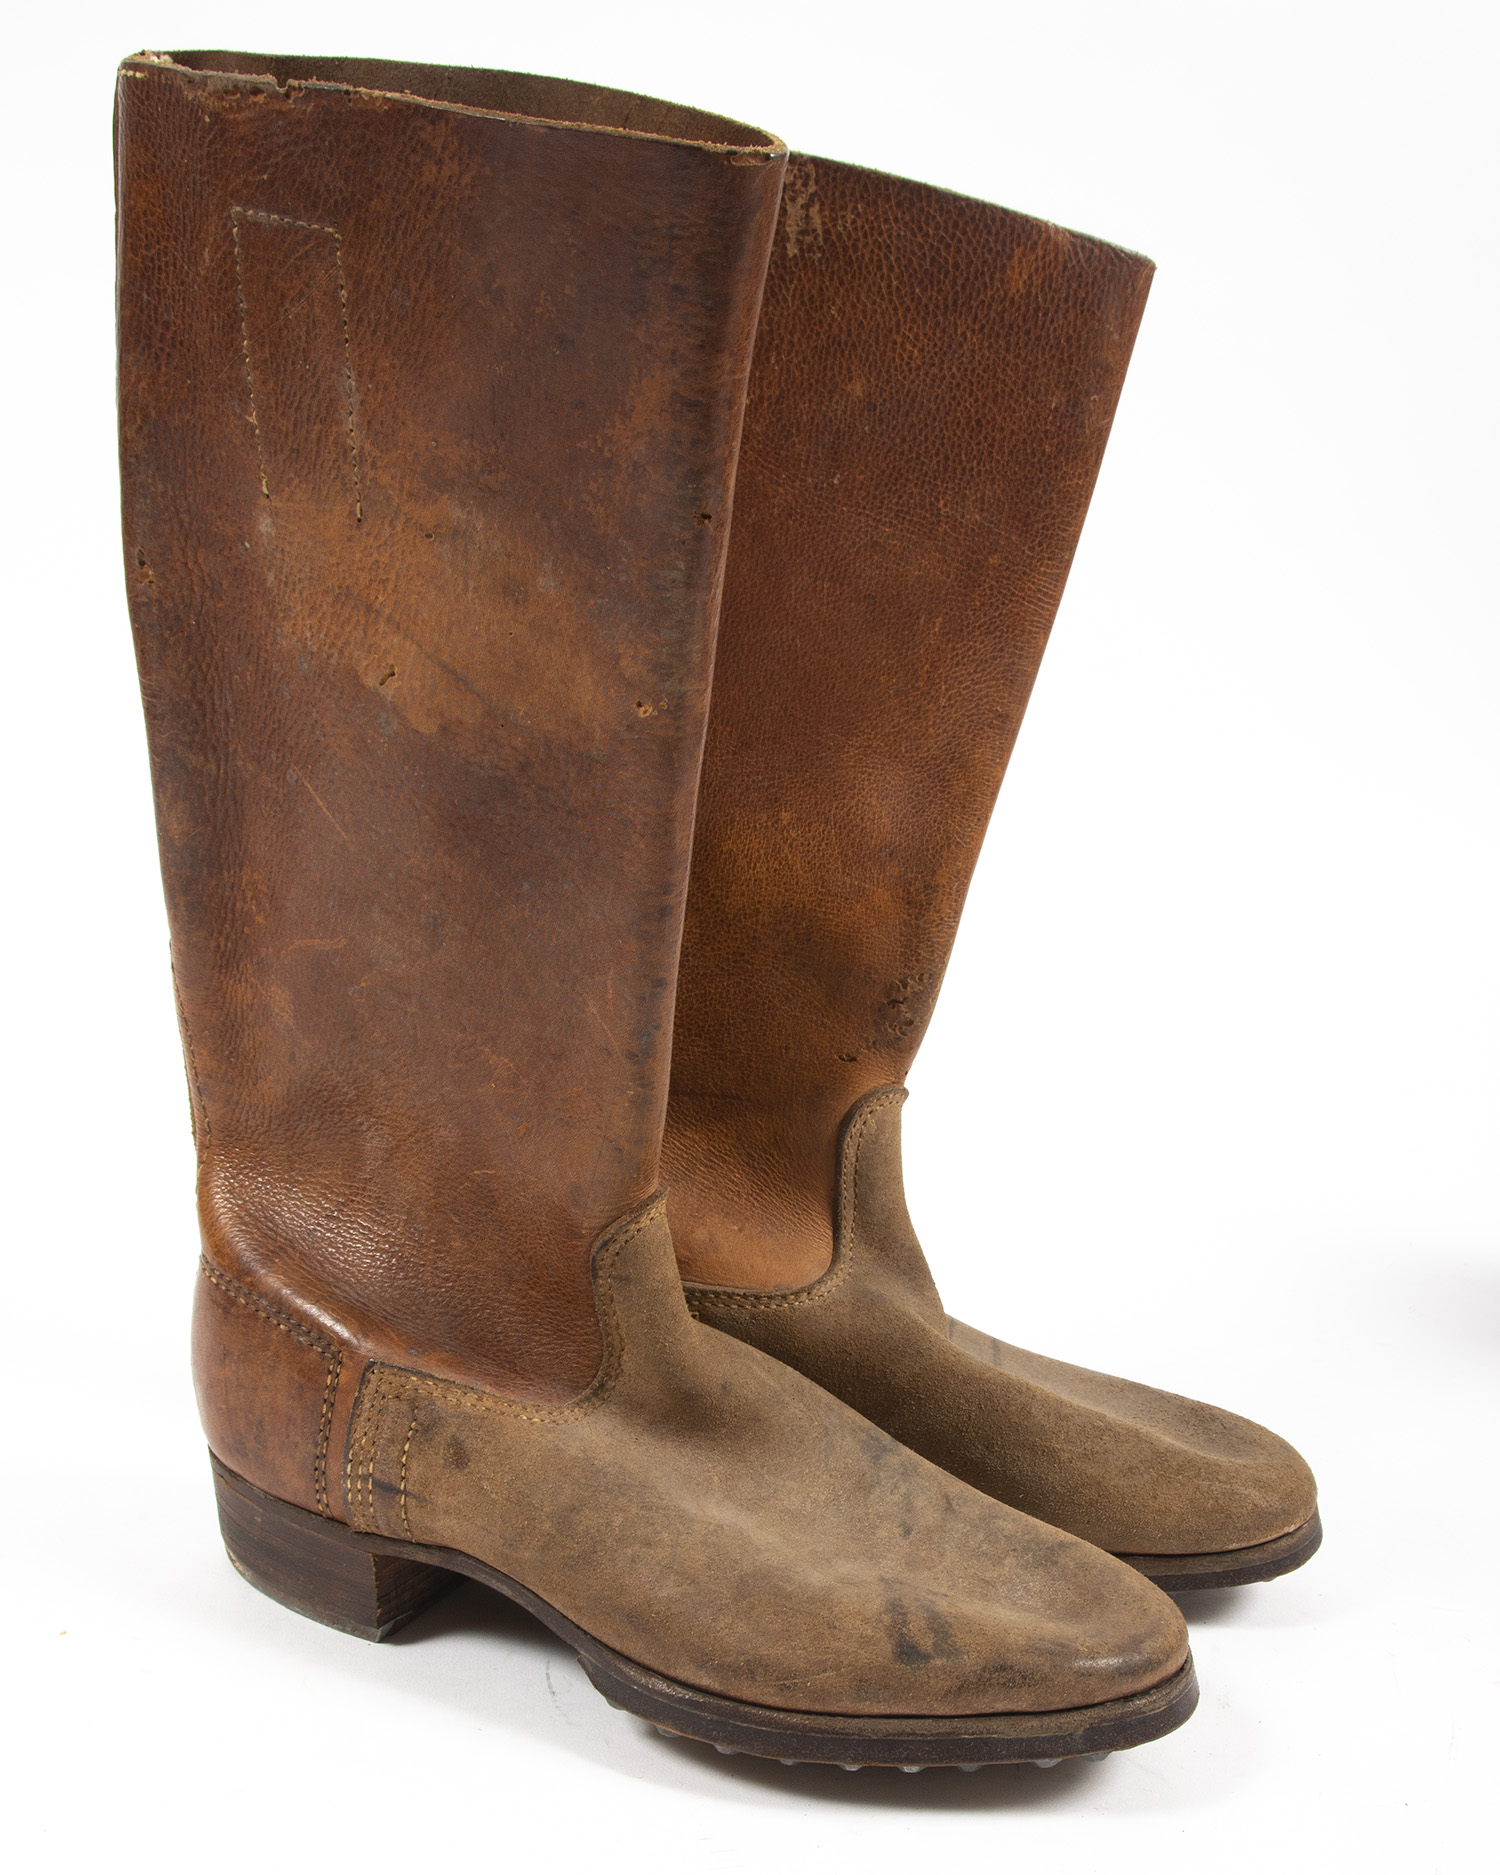
The boots were manufactured in natural or brown leather, with the soldiers blacking and polishing them after issue.
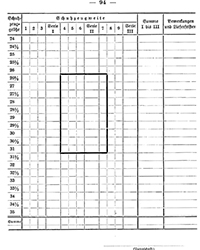
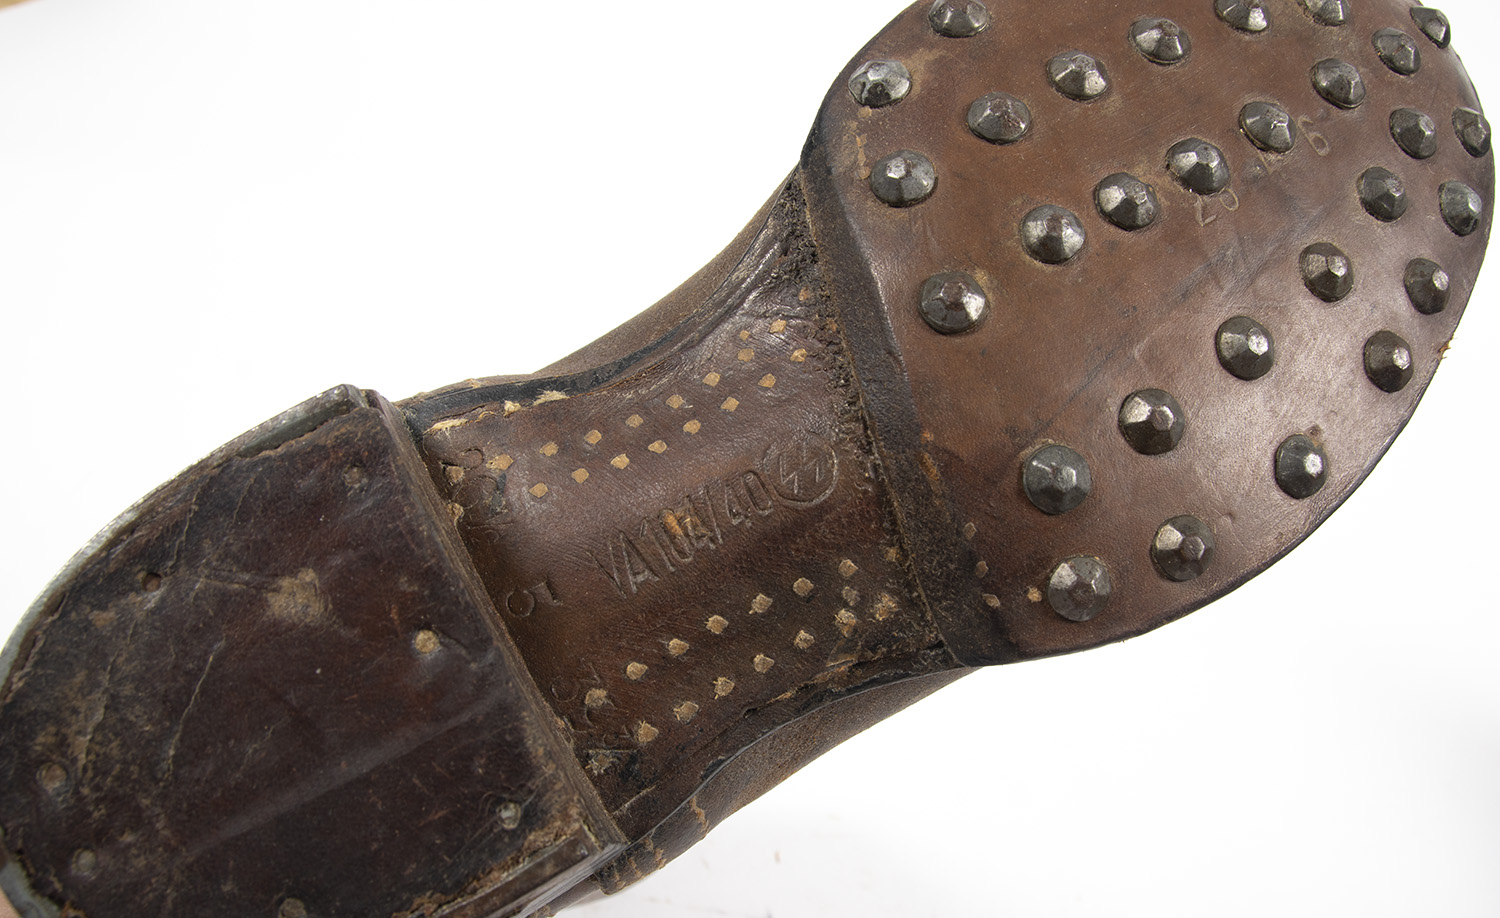
WWII German Boot Sizing TableSizing
Metric sizing (27, 28, 29, etc) was most common with the size representing the length of the last and, hence, the inside dimension. Some boots were sized in Paris points (49, 40, 41…) One Paris point equals 2/3 of a centimeter. Nine widths were made, represented by numerals 1-9. 1-3 were narrows, 4-6 regulars and 7-9 wides. Thus, a size “29.5 6” equates to a US 11D. A “29.5 2” would be an 11B and so forth.
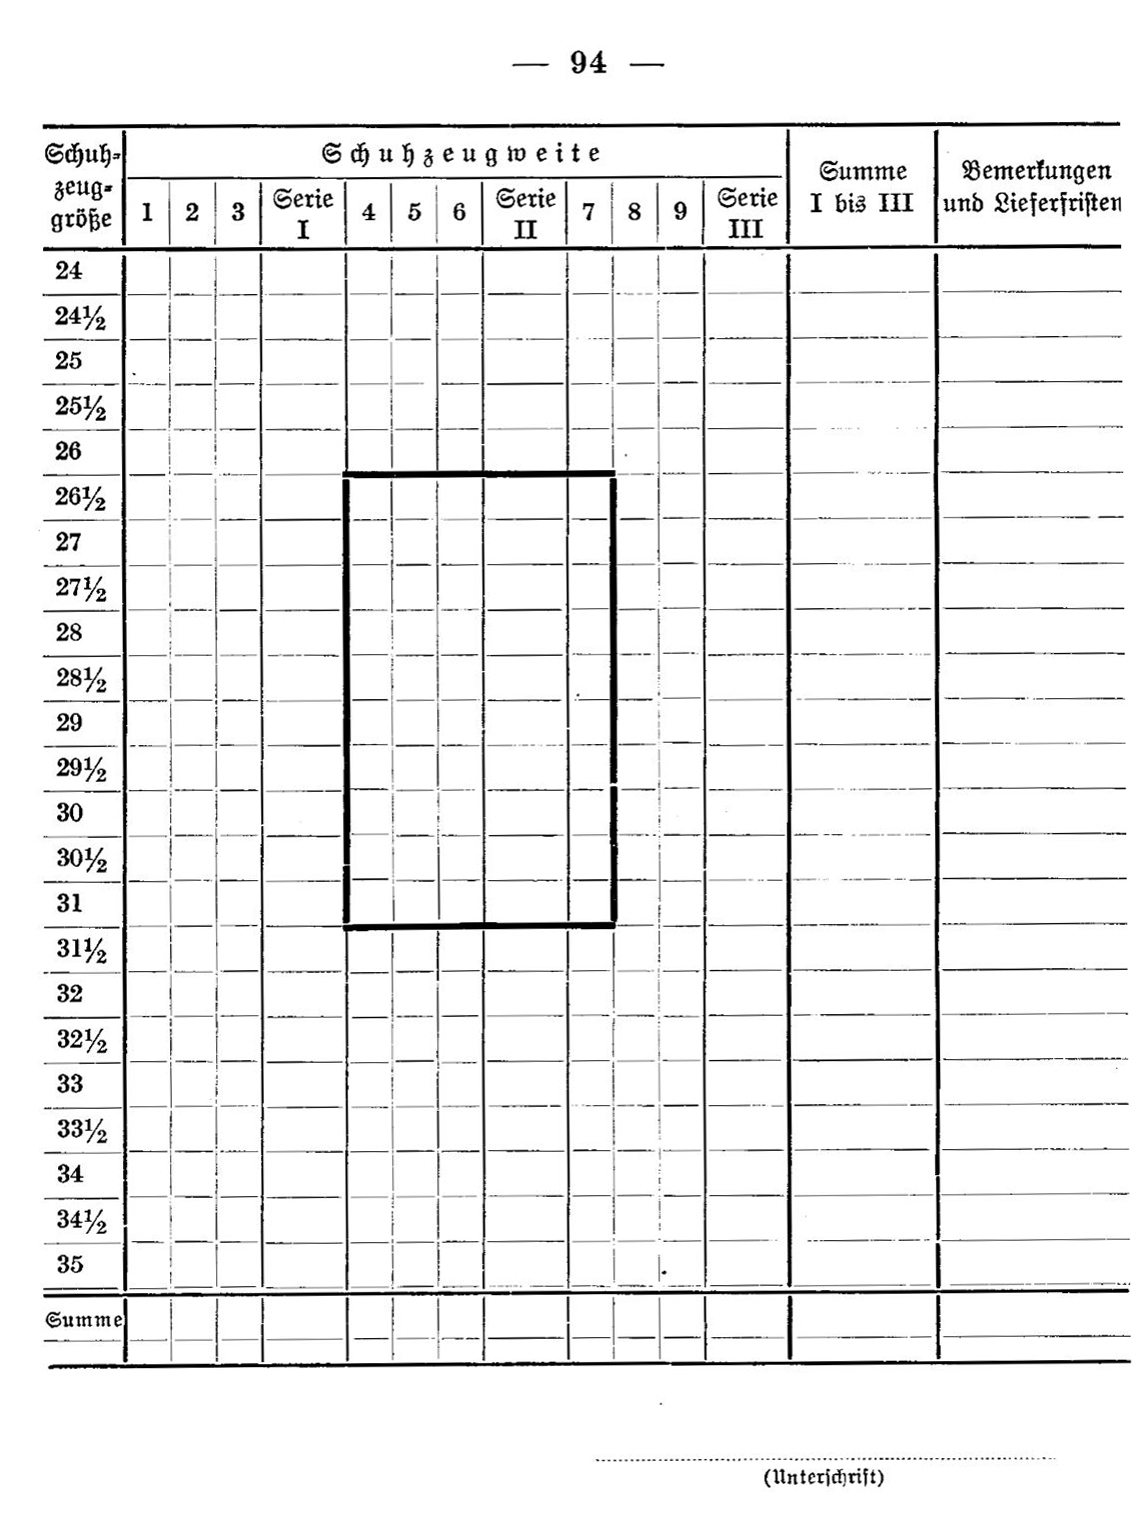
 Size 28 7- about a US 9.5E.
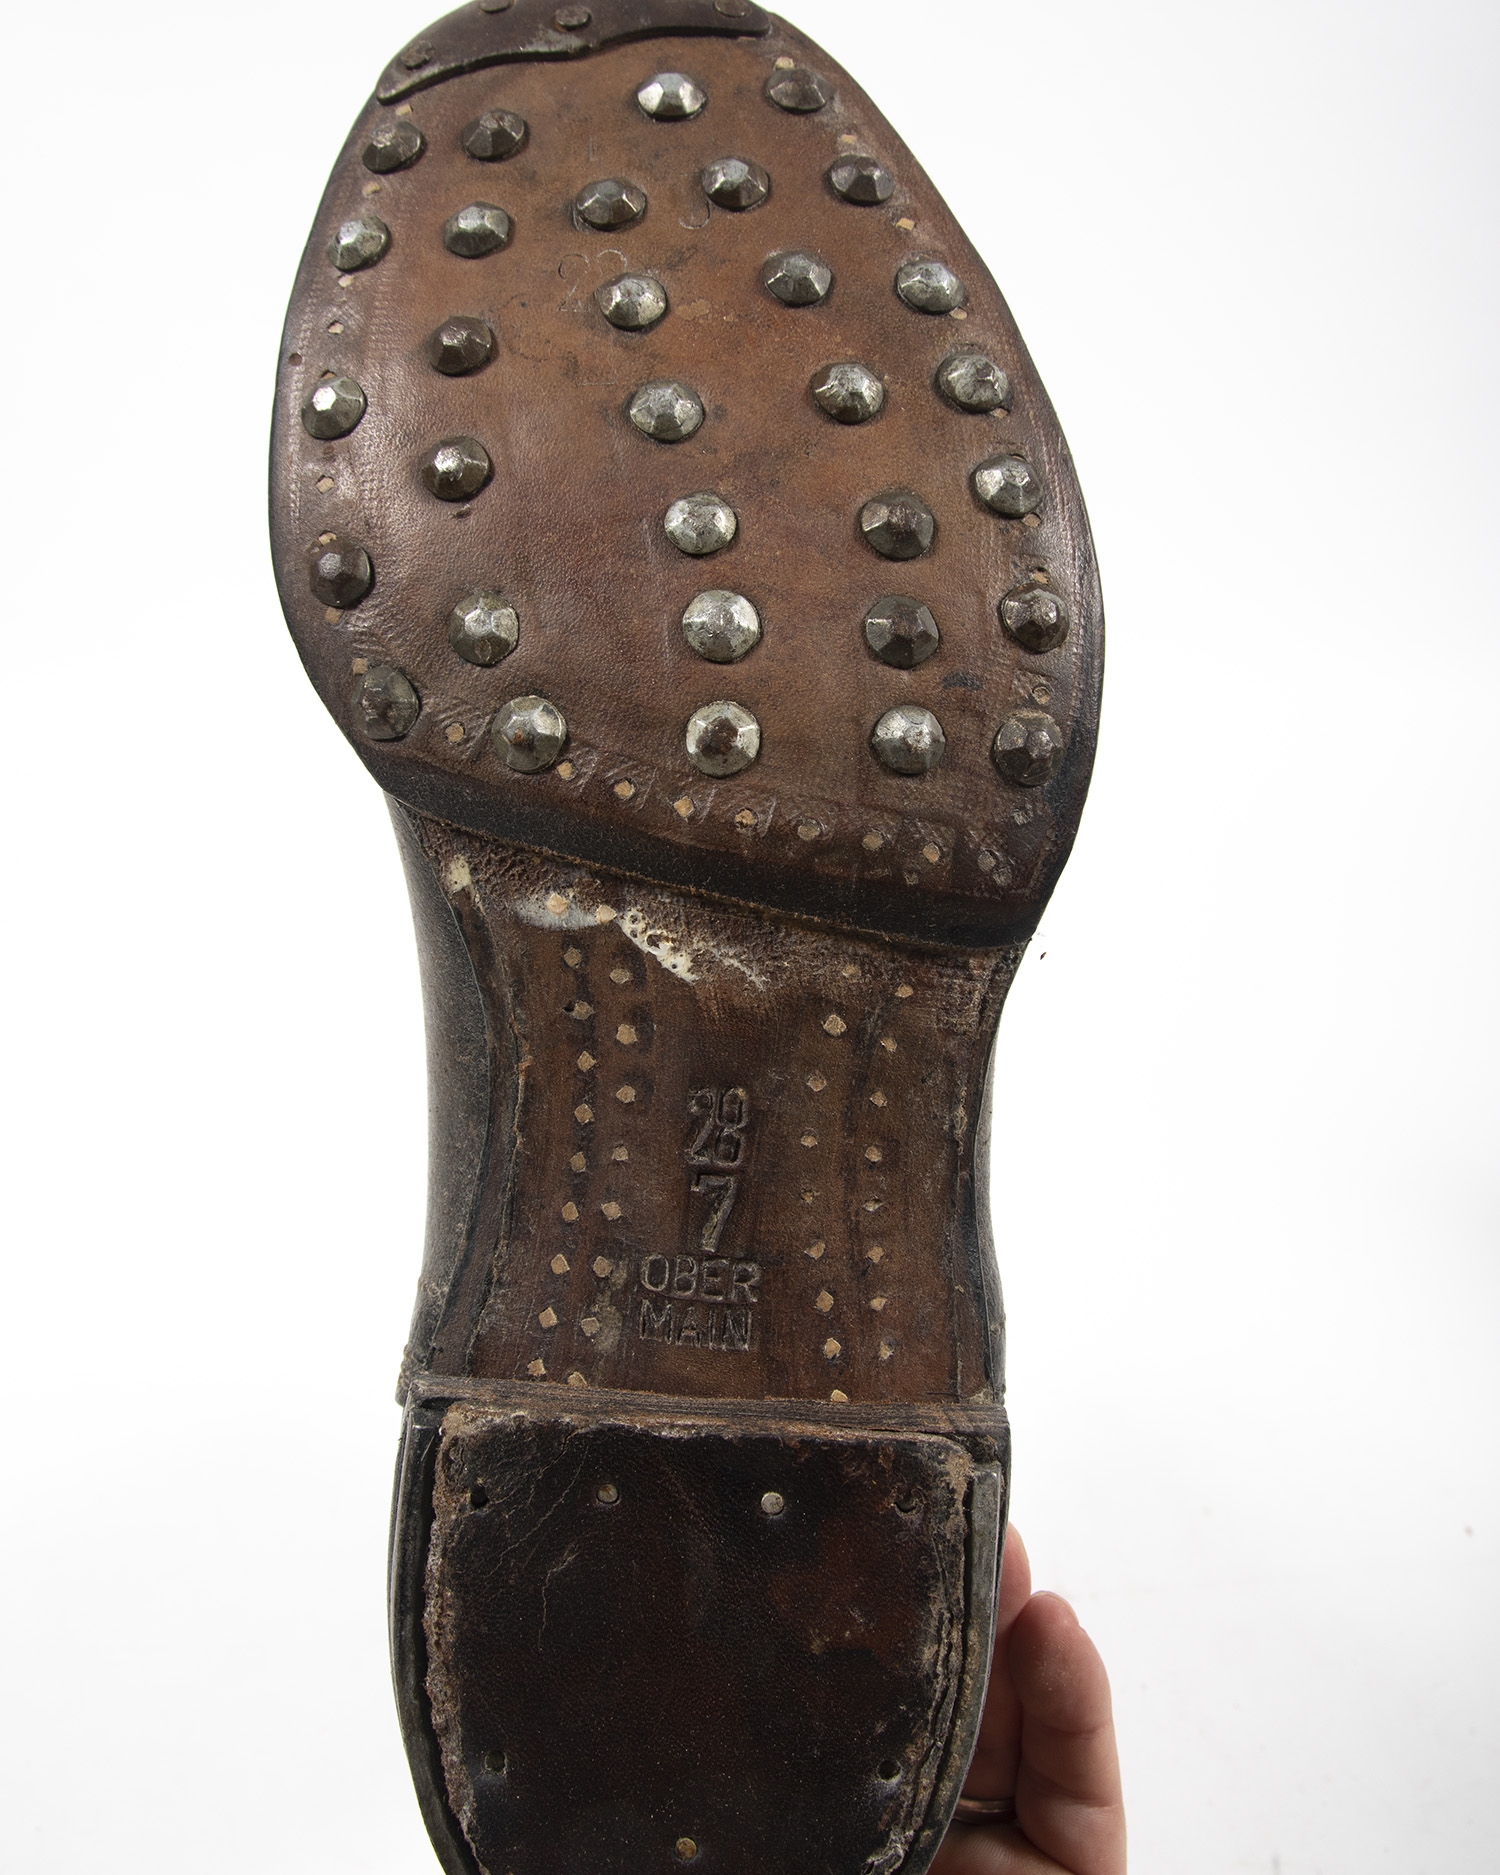
 One occasionally finds boots stamped with both size scales. This SS boot is marked both in metric 26 1/2, and Paris Points 39 3/4.

An extreme case of stamps…

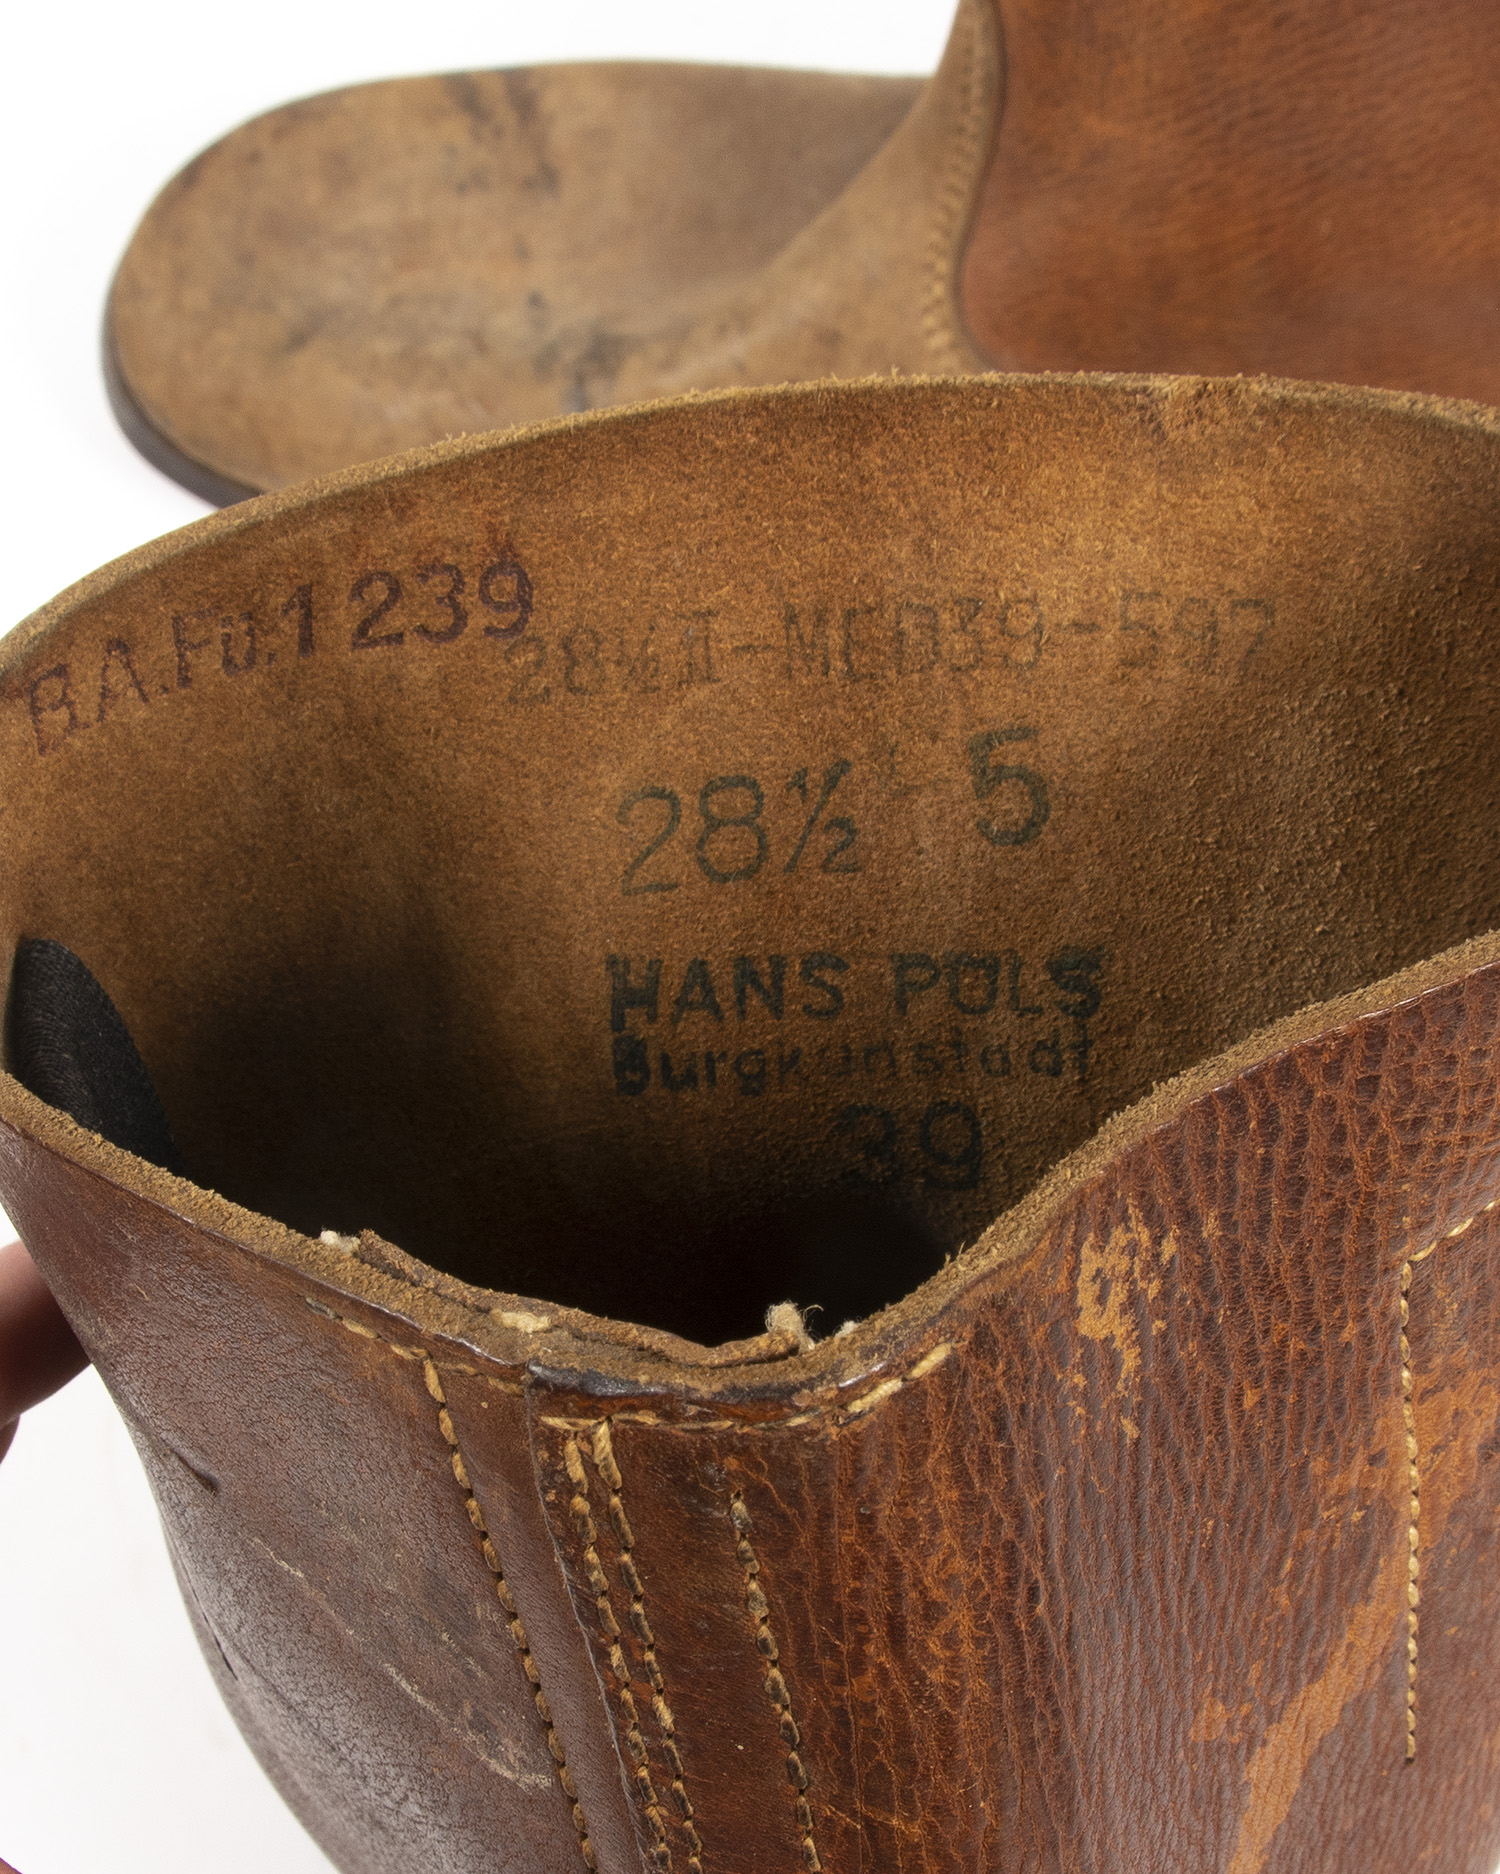
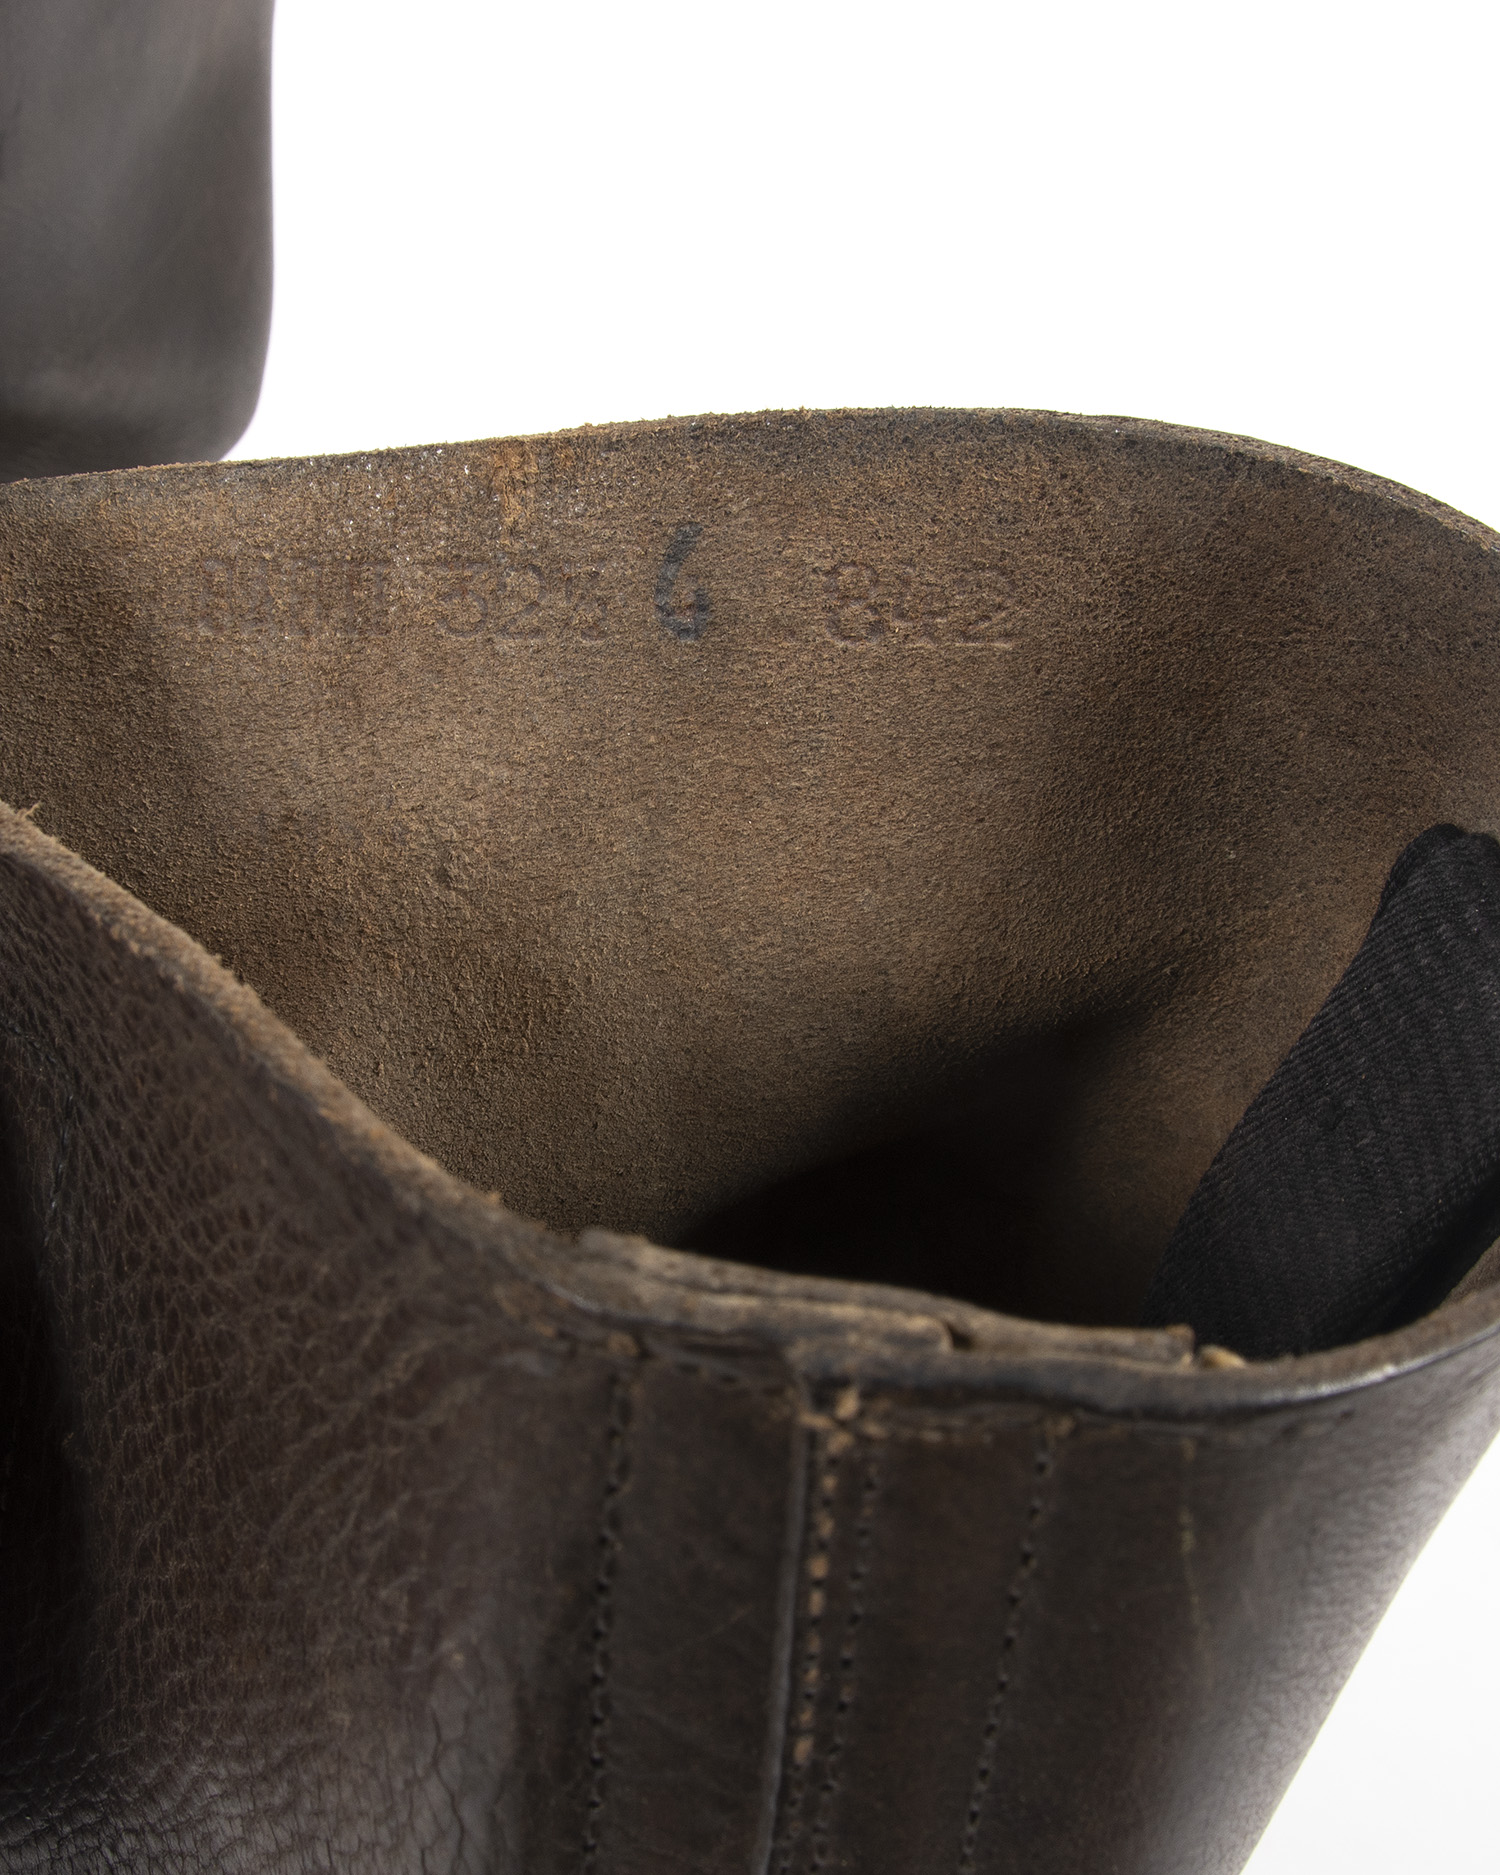
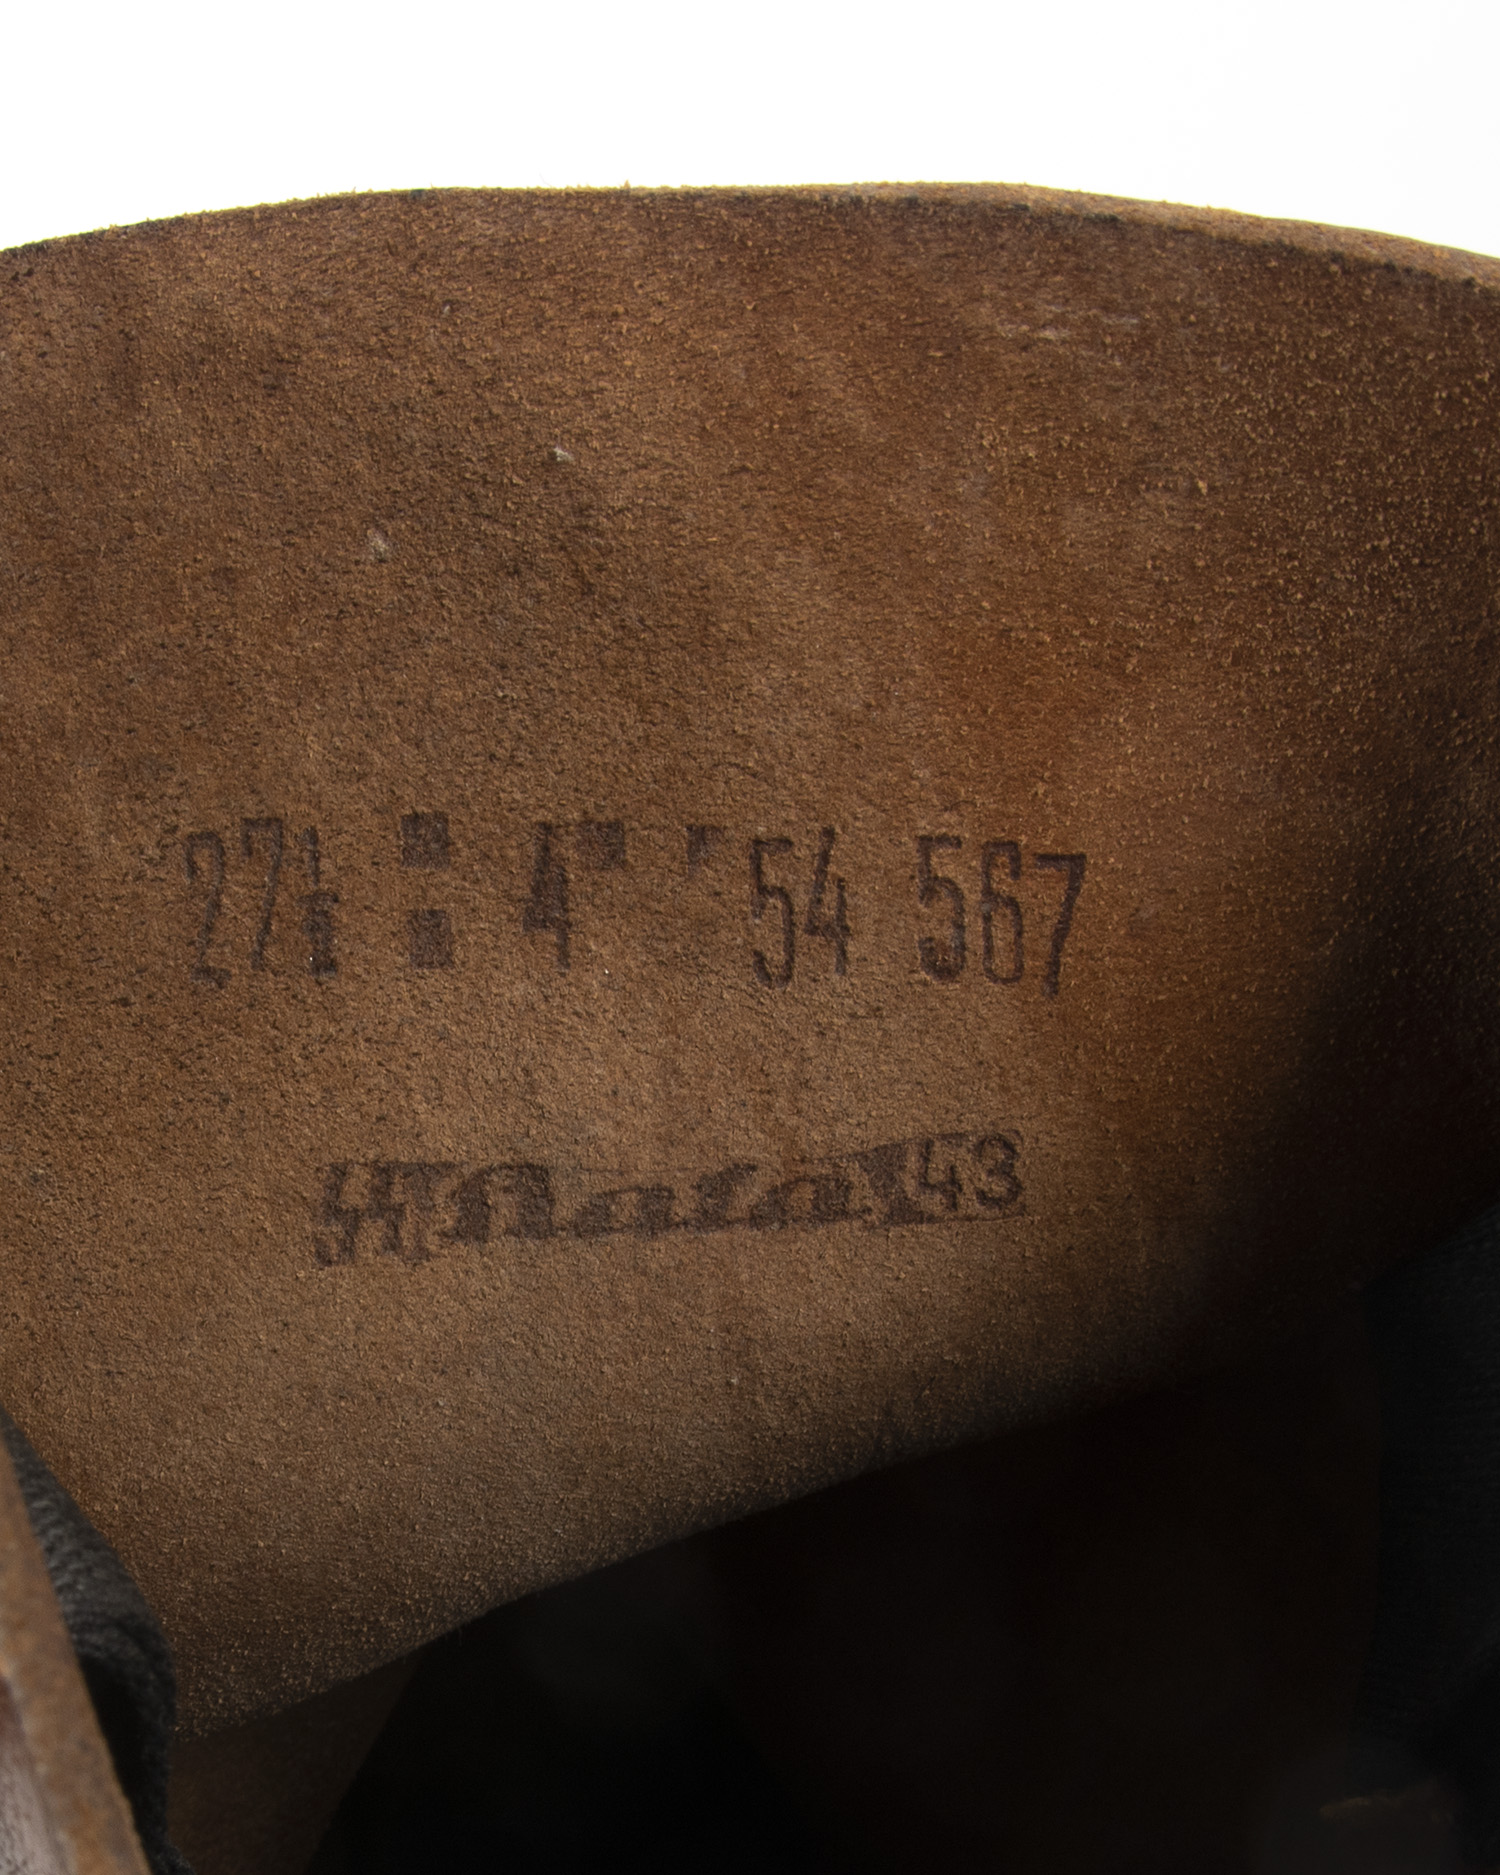
More typical size marks
The size was steel stamped on the sole in the arch, and usually steel stamped on the outside at the top of the shaft or collar, or roll stamped inside. Sometimes the size is also found inside on the heel pad. Maker names or codes, lot numbers, unit and/or Wehrkreis stamps are also commonly seen on the sole or inside the collar.
The SS
Yes, the Waffen SS had it’s own shoe production facilities. Whether or not they were able to supply the entire force or if they had to supplement their warehouses with boots made for the Heer is unknown. As far as I can see, there is no apparent pattern or design difference between Heer and SS marked jackboots.

Bata is a well known maker of SS boots
Vamp & Instep
On most, but not all jackboots, the vamp (toe) is made with the leather facing flesh side out. This is “rough” side of the hide. The reason for this is that the flesh side is considered more water repellent, a trait more important on field boots than how easy they were to shine.
The profile of the foot is determined mainly by the last used when assembling the boots. The look most sought after by modern enthusiasts are those with a sharp taper, referred to as a “shark nose toes”. Despite being very typical of authentic boots, this is by no means the one and only way they were made. On WWII boots the profile varies somewhat from this predator of the sea look, to rounder, more blunt shapes as well as a few with a decidedly square appearance. The majority of jackboots lack internal toe boxes.
Lastly, although most WWII boots are assembled with the tongue sewn on top of the shaft, a few are made with it underneath.
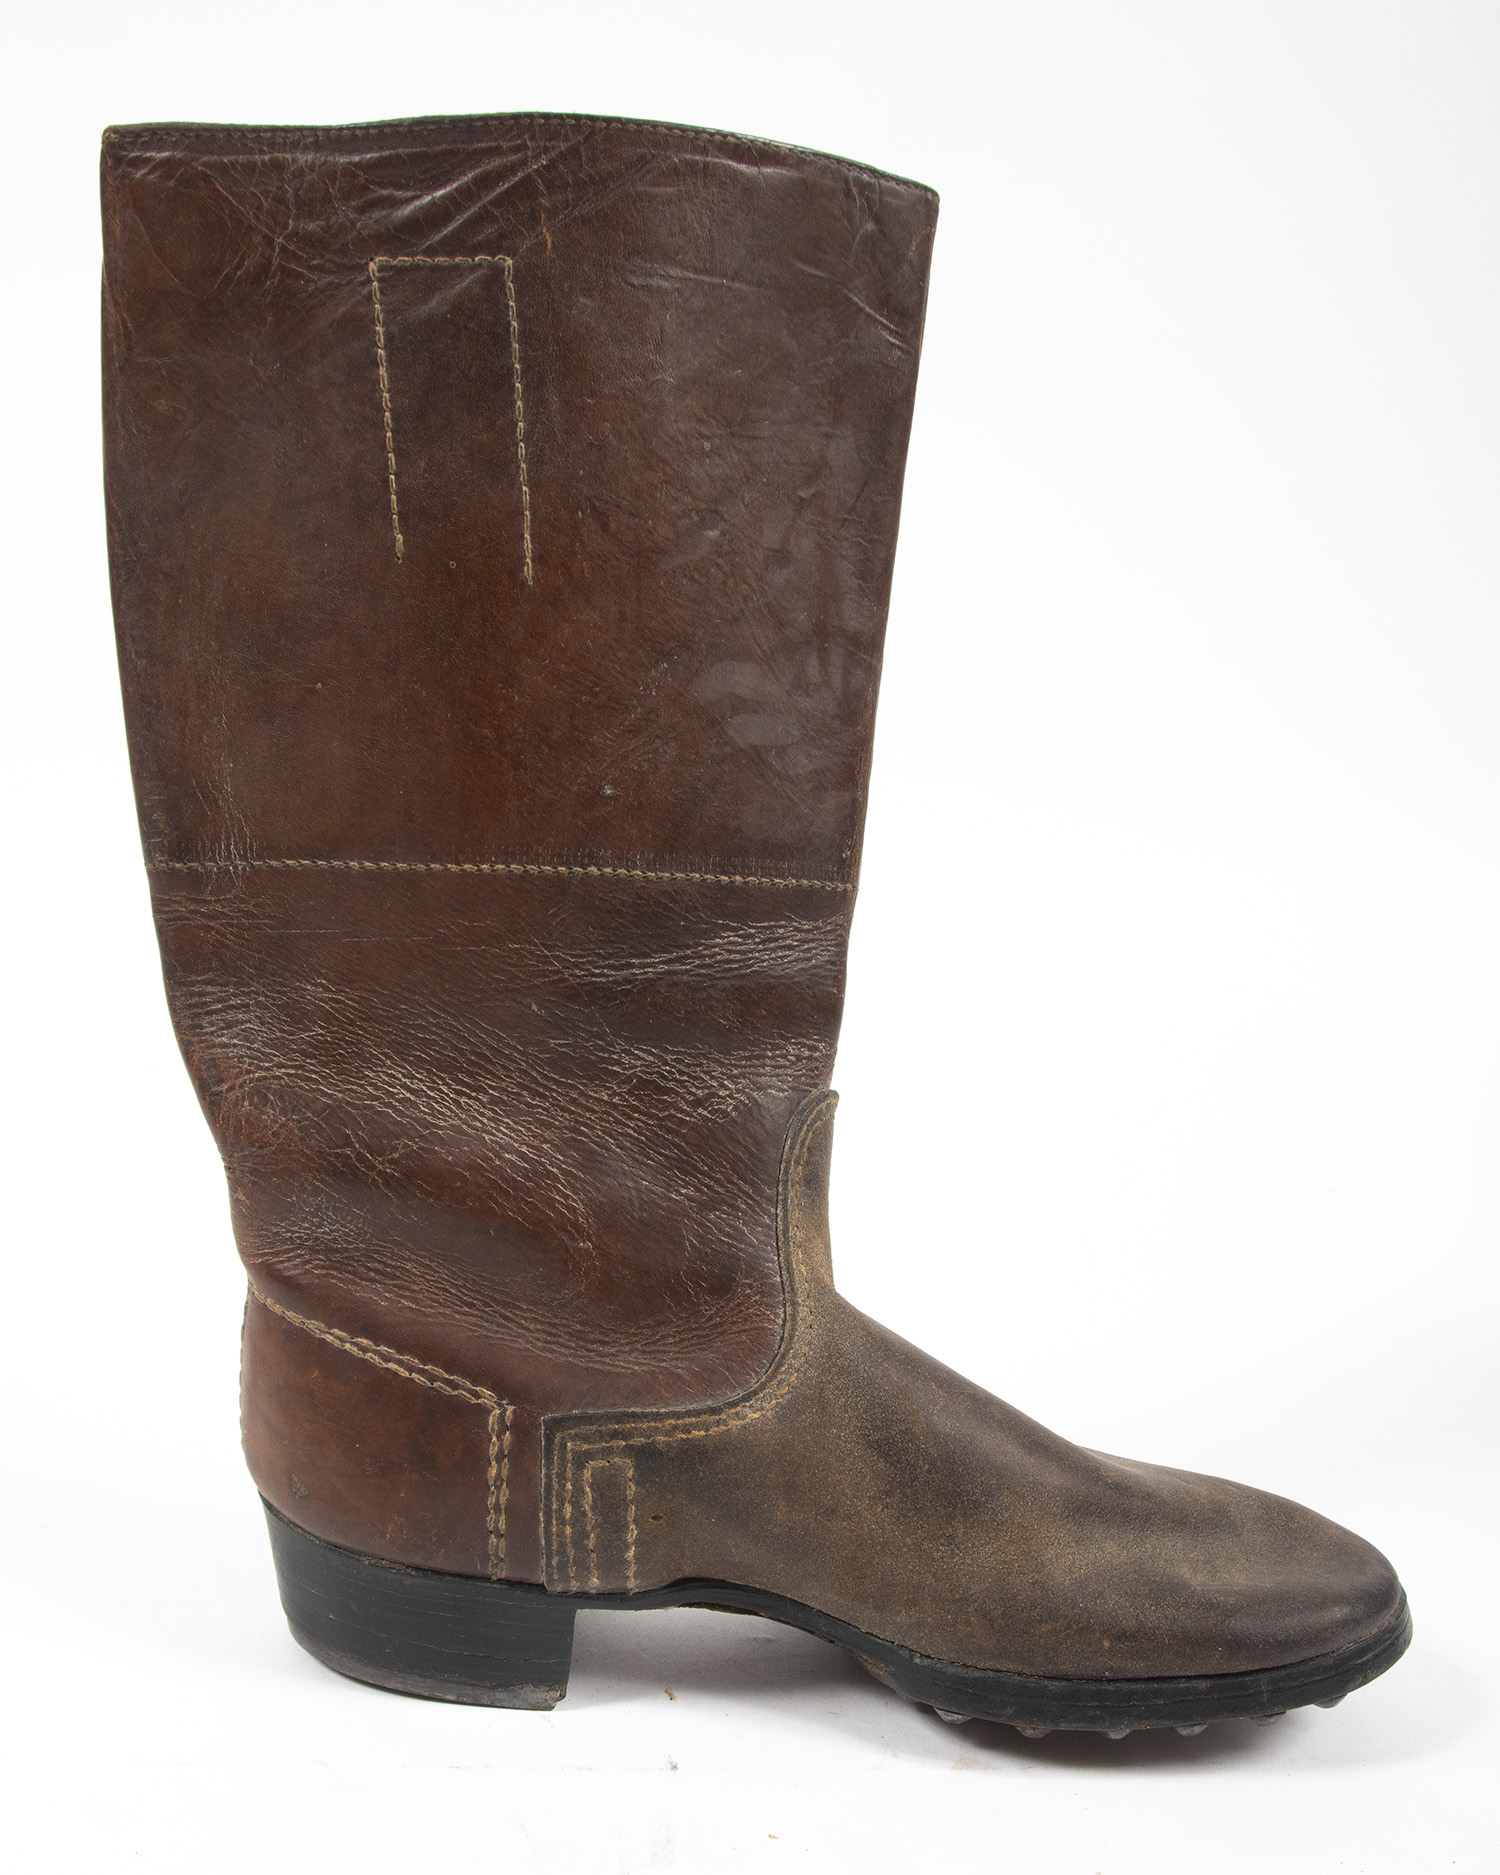
Shaft
The shaft is made from a single piece of leather, with an overlapping rear seam, sewn with multiple rows of stitches. Some have an internal strip inside for reinforcement, others do not. The heel cup is most always internal, sewn to the shaft, with the grain side facing the heel to prevent chaffing. The height of the shaft varies from 30-40cm, with the widest part generally at the top. On boots for mounted troops, the shafts are a bit taller, and top tapers back to more closely fit the calf.
The shaft circumference varies. Most boots have an outer circumference of 16-18 inches. However, varying sizes must have been made due to the different sizes of calves on soldiers. On East German (NVA) boots, I have encountered a few stamped “Breitschaft” inside the top, and these had shafts 3-6cm larger than other boots. So far I have not found any such markings in WWII boots, but there must have been something soldiers with thicker legs.
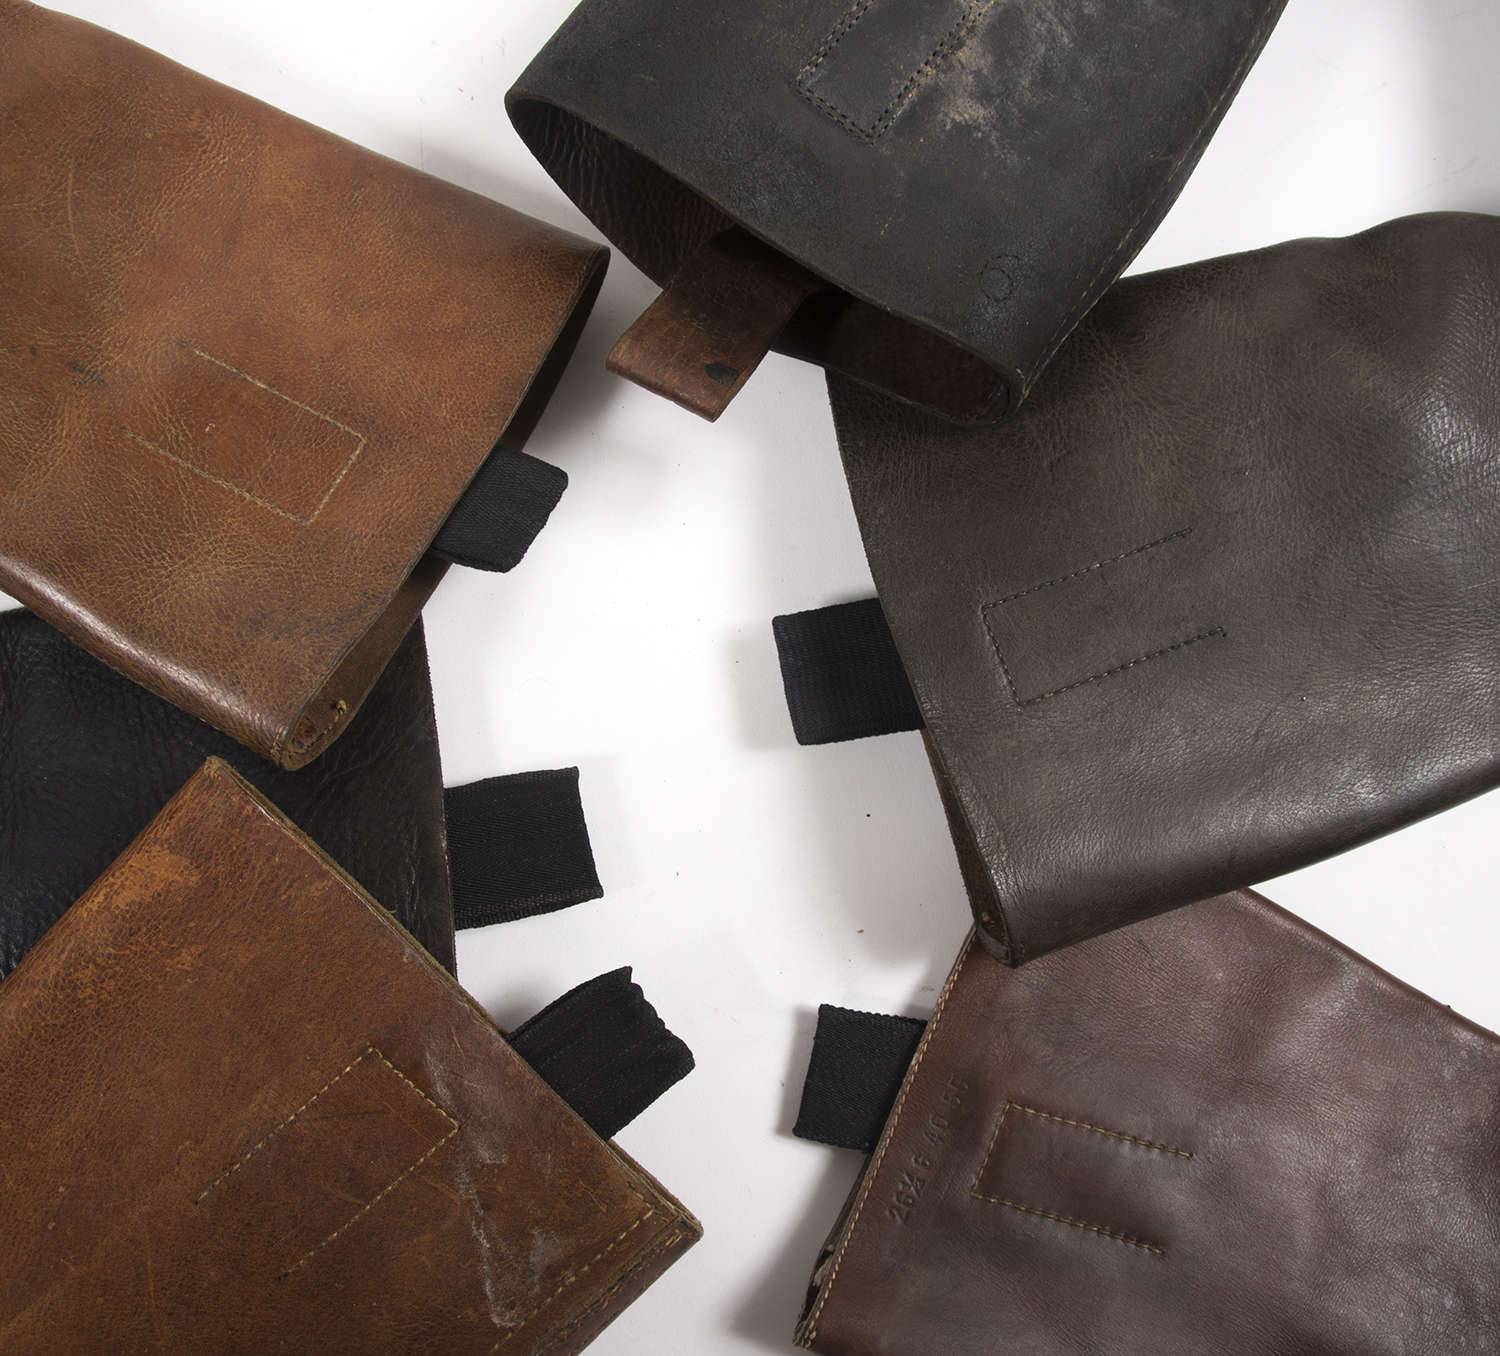
 Typical pulls
The boots are all equipped with two pull straps. The most typical material found is 40mm wide black HBT tape.
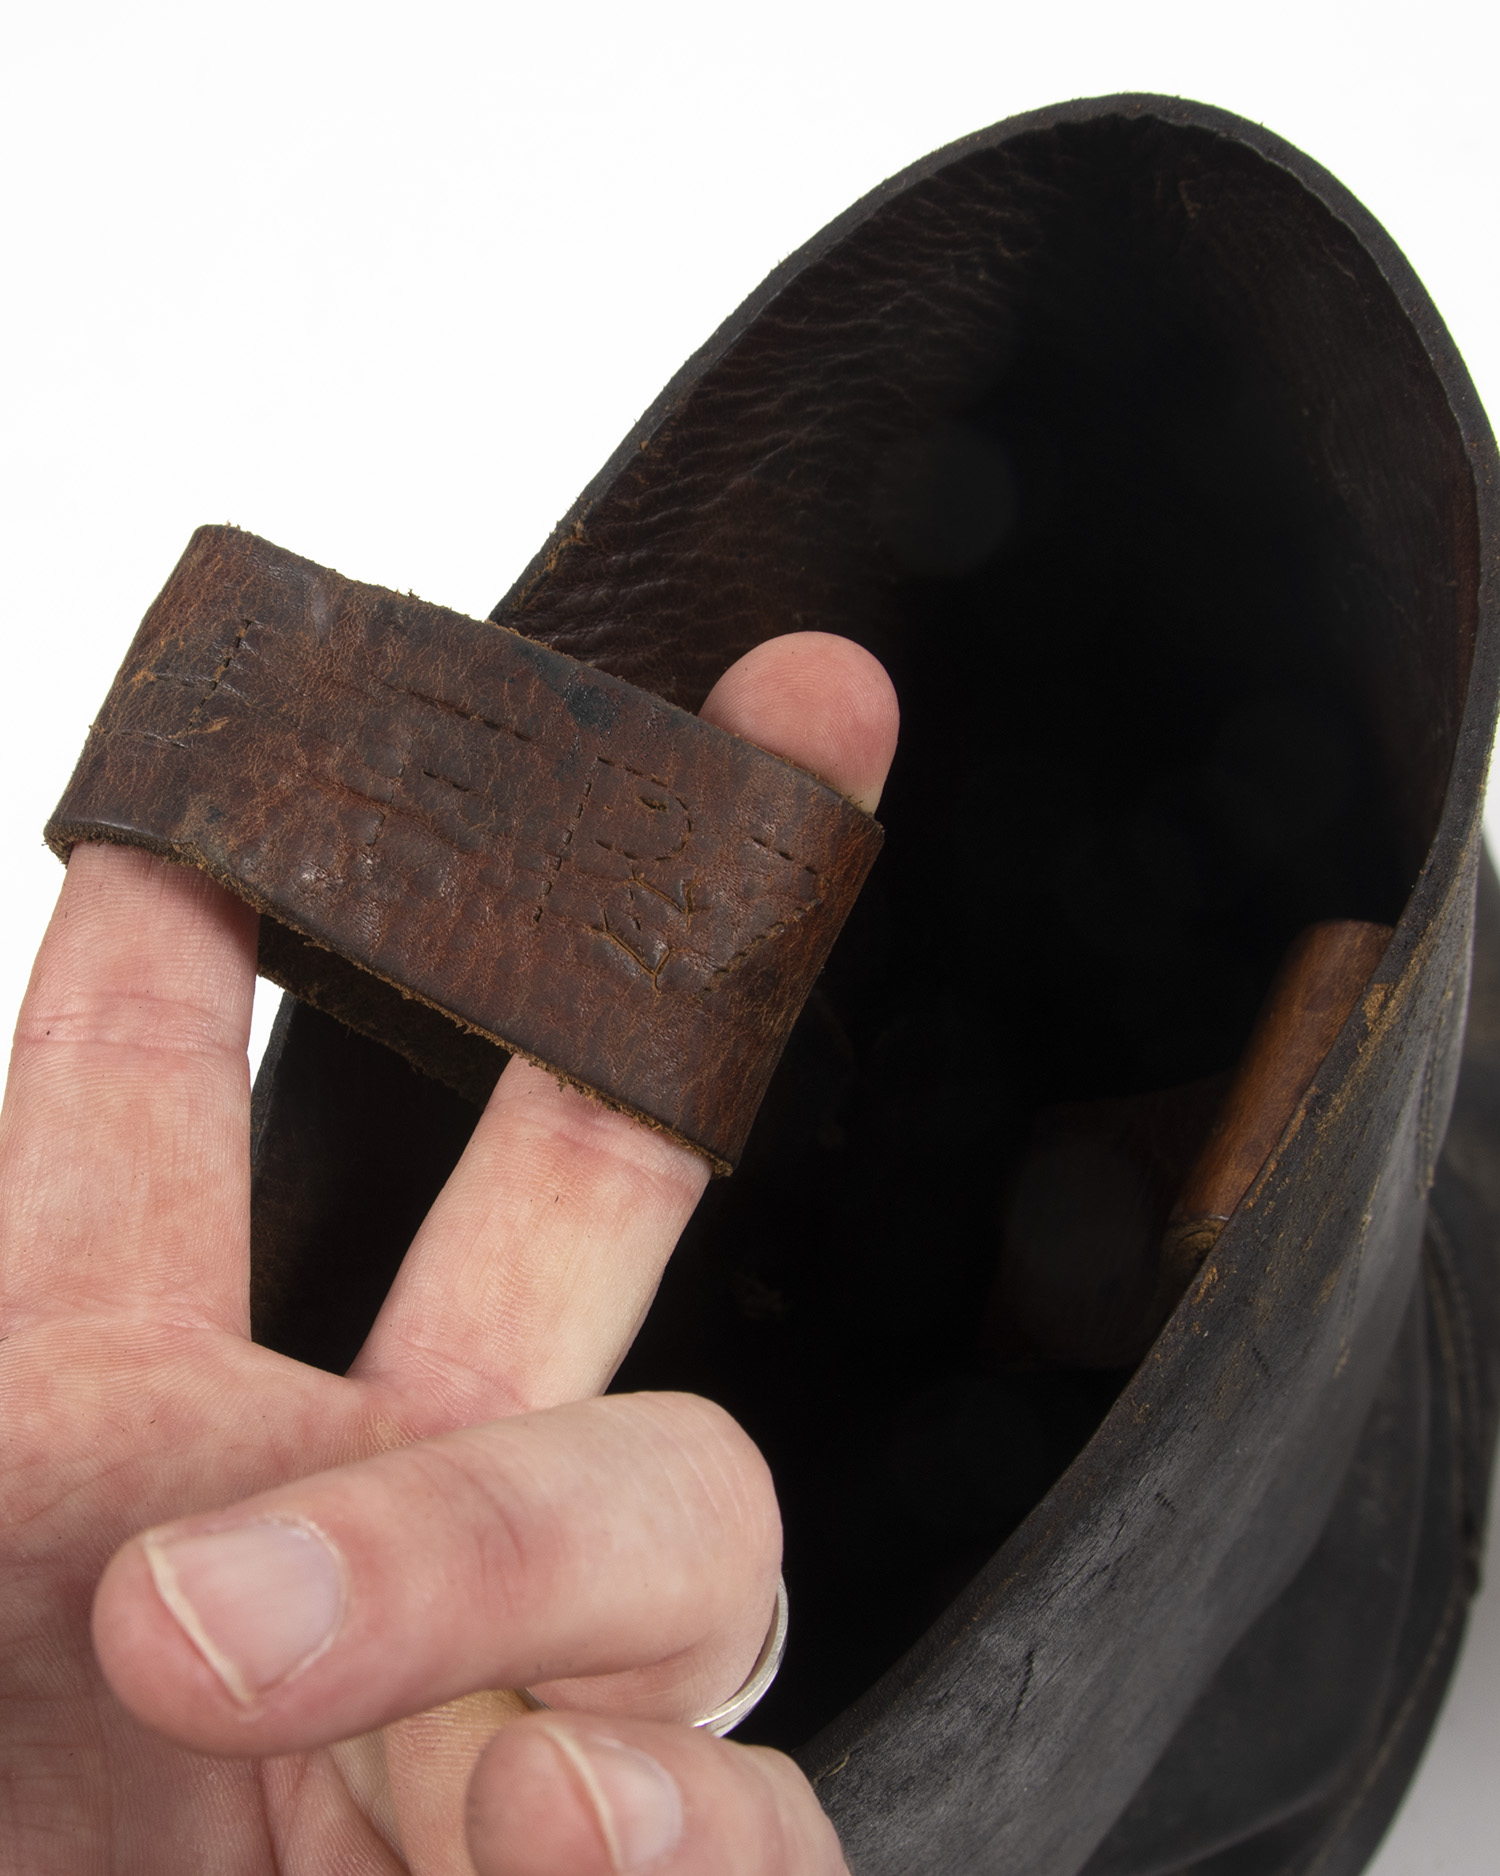
 Example of a leather pull
Other colors of webbing or tape, as well as leather are sometimes found.
Soles
Die cut leather soles were used on nearly every German WWII boot. The full sole was usually attached first, then the heel and half sole are nailed and pegged onto it. On some WWII (and WW1) boots, the half sole is under the main sole. This prevents the separation that sometimes occurs where the boot bends, but it also makes it necessary to replace the entire main sole if the boot becomes heavily worn. When the full sole is attached, two angled channels were cut in the full sole, pulled open, and the stitches were then made in these troughs. When done, they are pushed back together (and likely glued). This is why the sole stitches are often not visible- just the two lines or “seams”. Then they are pegged by hand or pegging machine.

The stitching channels are just inboard from the outer edges of the soles. The humps in the arches are from the steel shanks.
Most original boots appear to have been assembled with steel shanks- this causes the lengthwise hump in the arch of the sole. If this is flat, then there is likely no shank.
Finally, nails are driven downward through the sole into the heel so it is actually attached from both top and bottom.
Metal
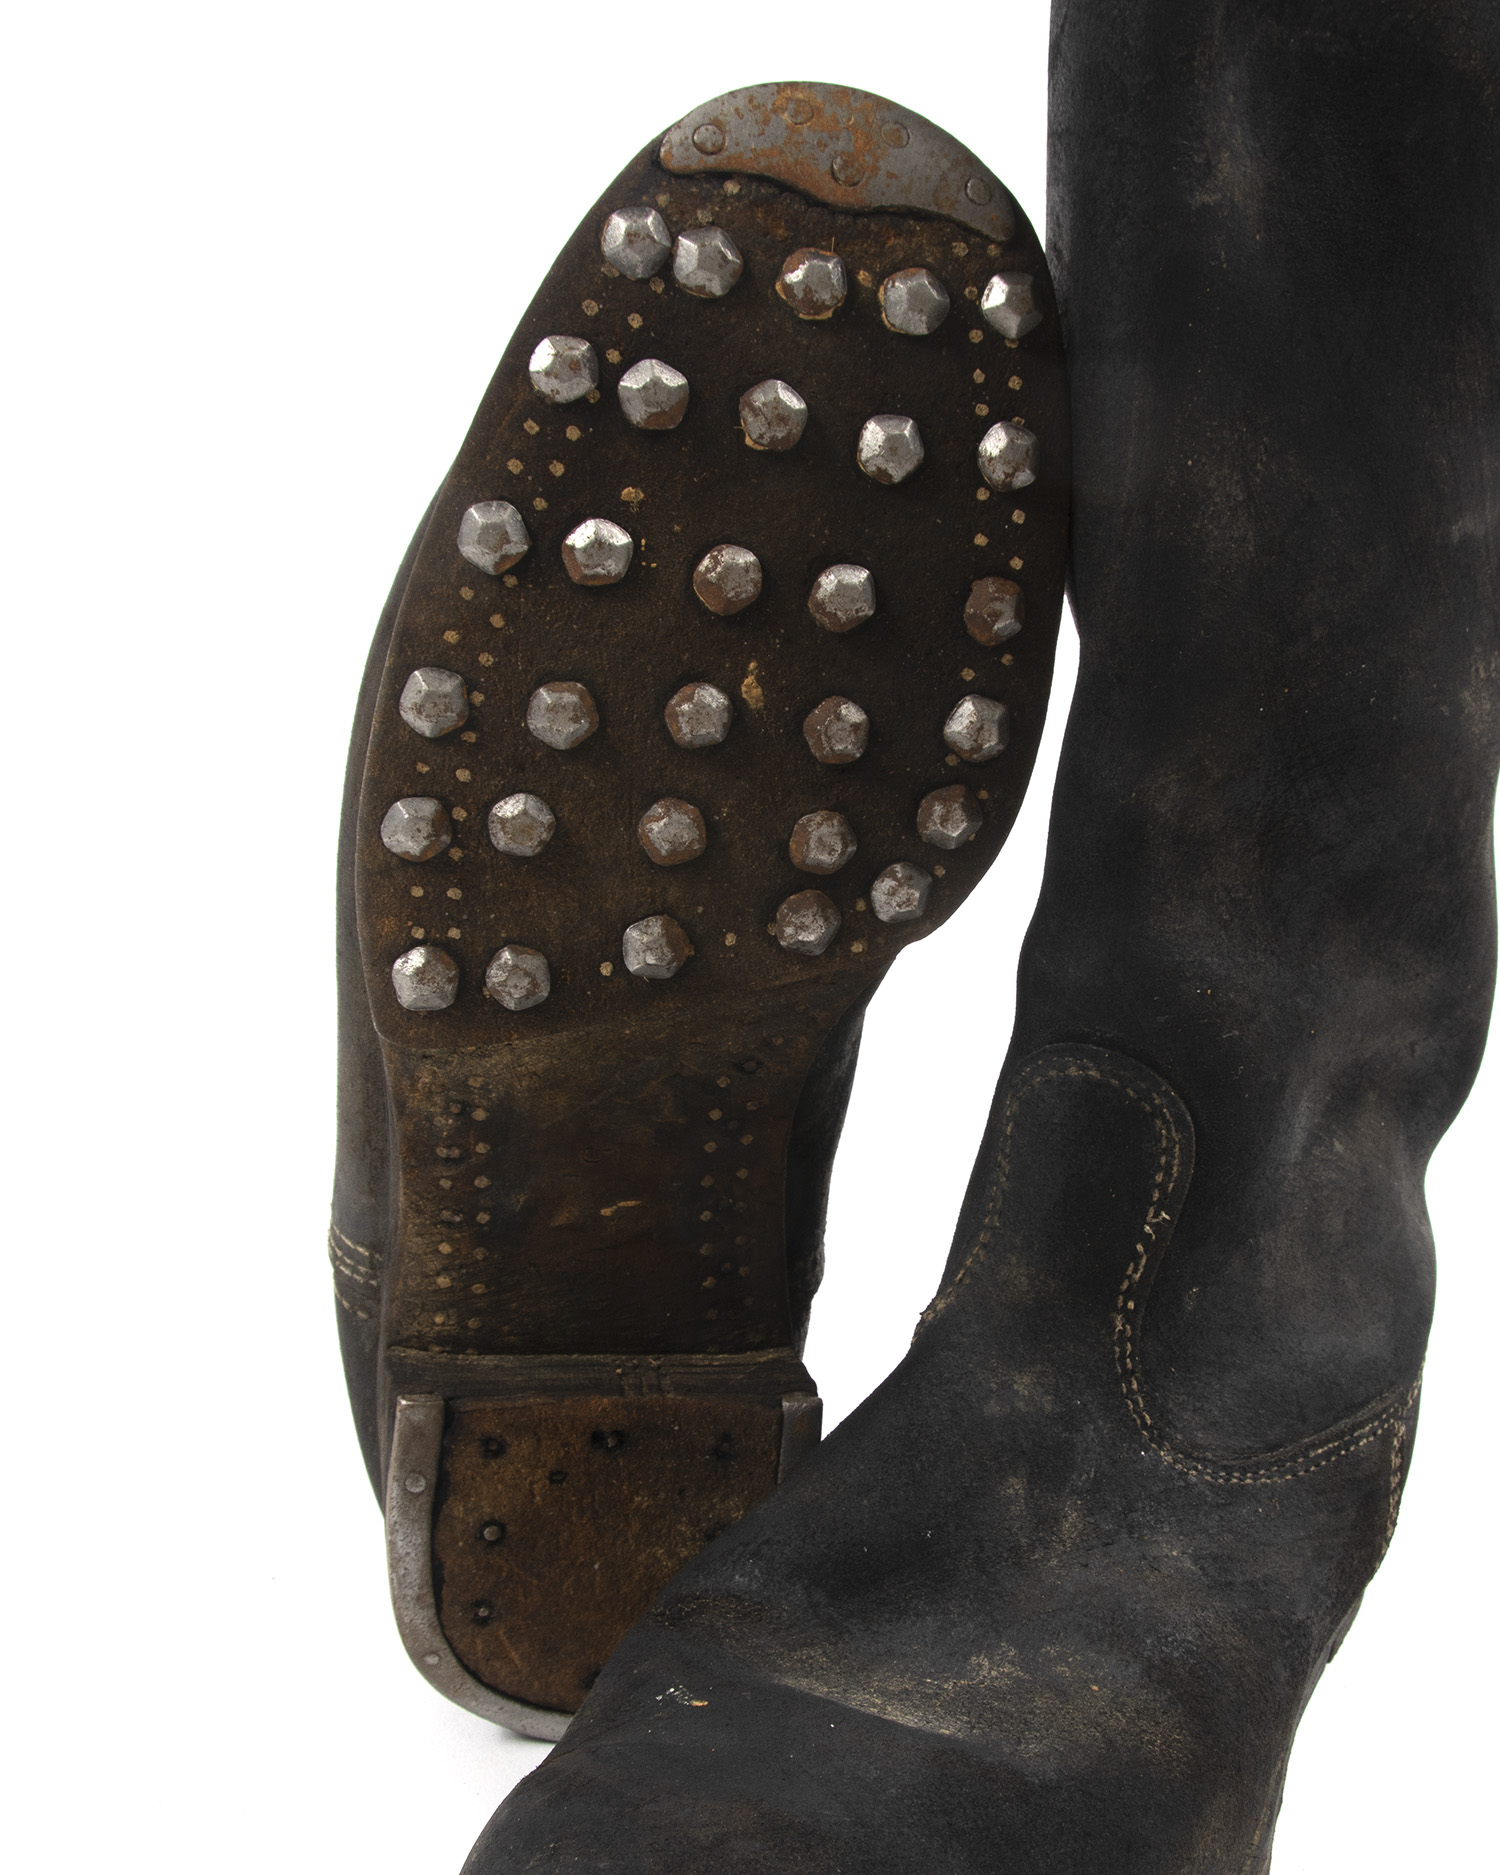
Most boots were fitted with steel hobnails and heel irons. Contrary to some social media historian foolishness, these were not for traction or use in close combat, but rather to extend the life of the boots. Marching 20 miles or more every day will rapidly wear leather soles and heels out. The metal was to prevent this- the nails and irons bore the brunt of the wear, and were to be replaced once they were worn down. Theoretically, if this was done properly, a pair of boots could last practically forever.
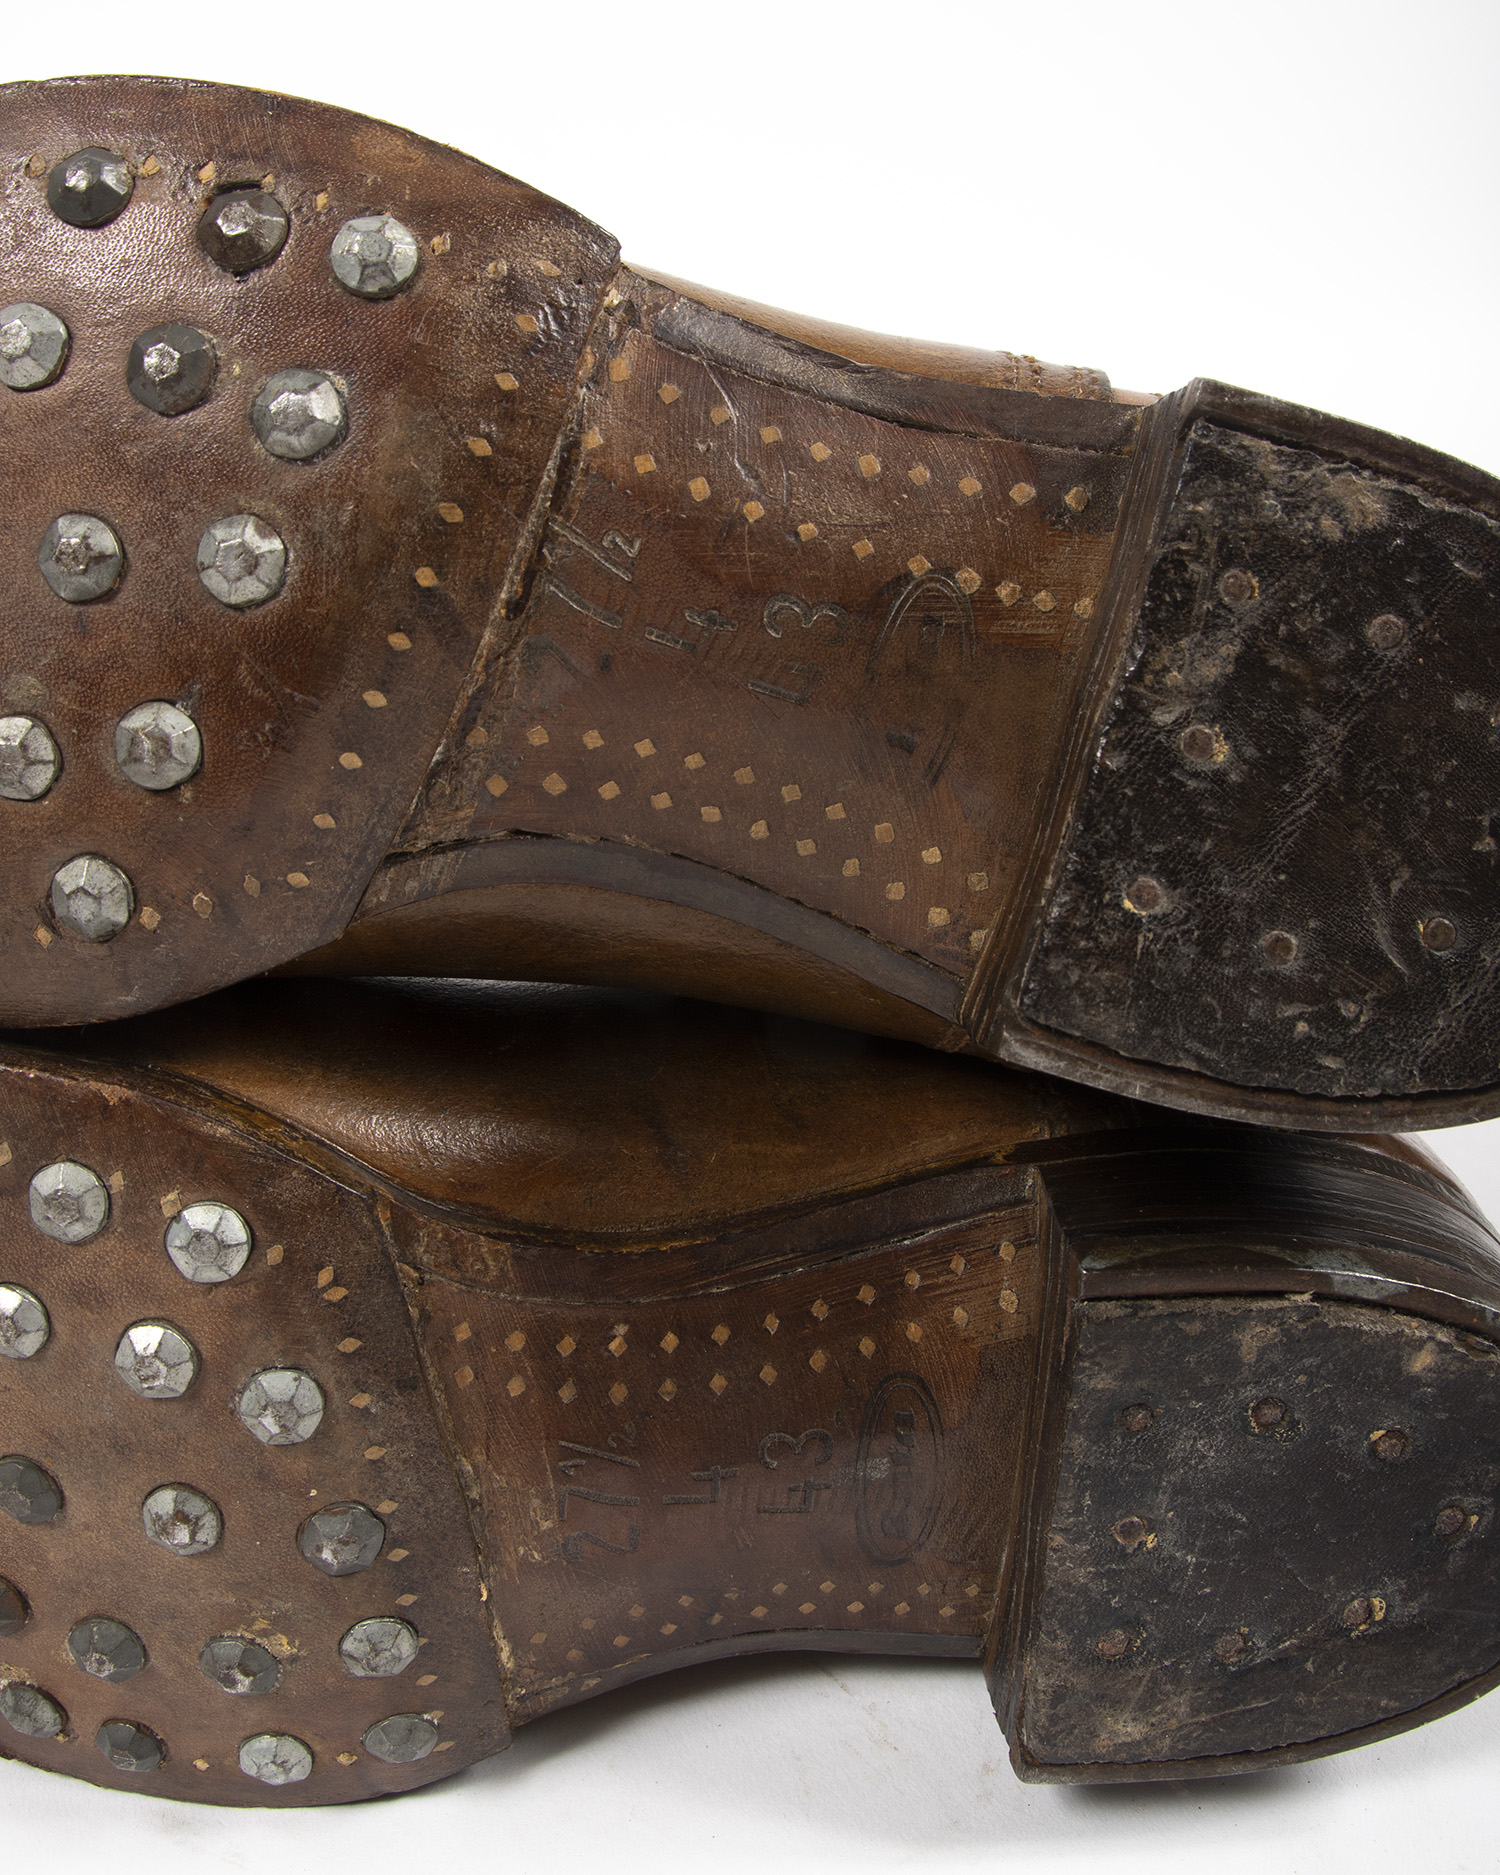
Hobnails were attached to the boots in rows, typically 5. The number of nails varies depending on the individual contractor, the size of the boots and possibly the mood of the worker putting them on. 35-40 nails per boots was the norm.

A size 26 1/2 (left) compared to a size 32 1/2 (right)
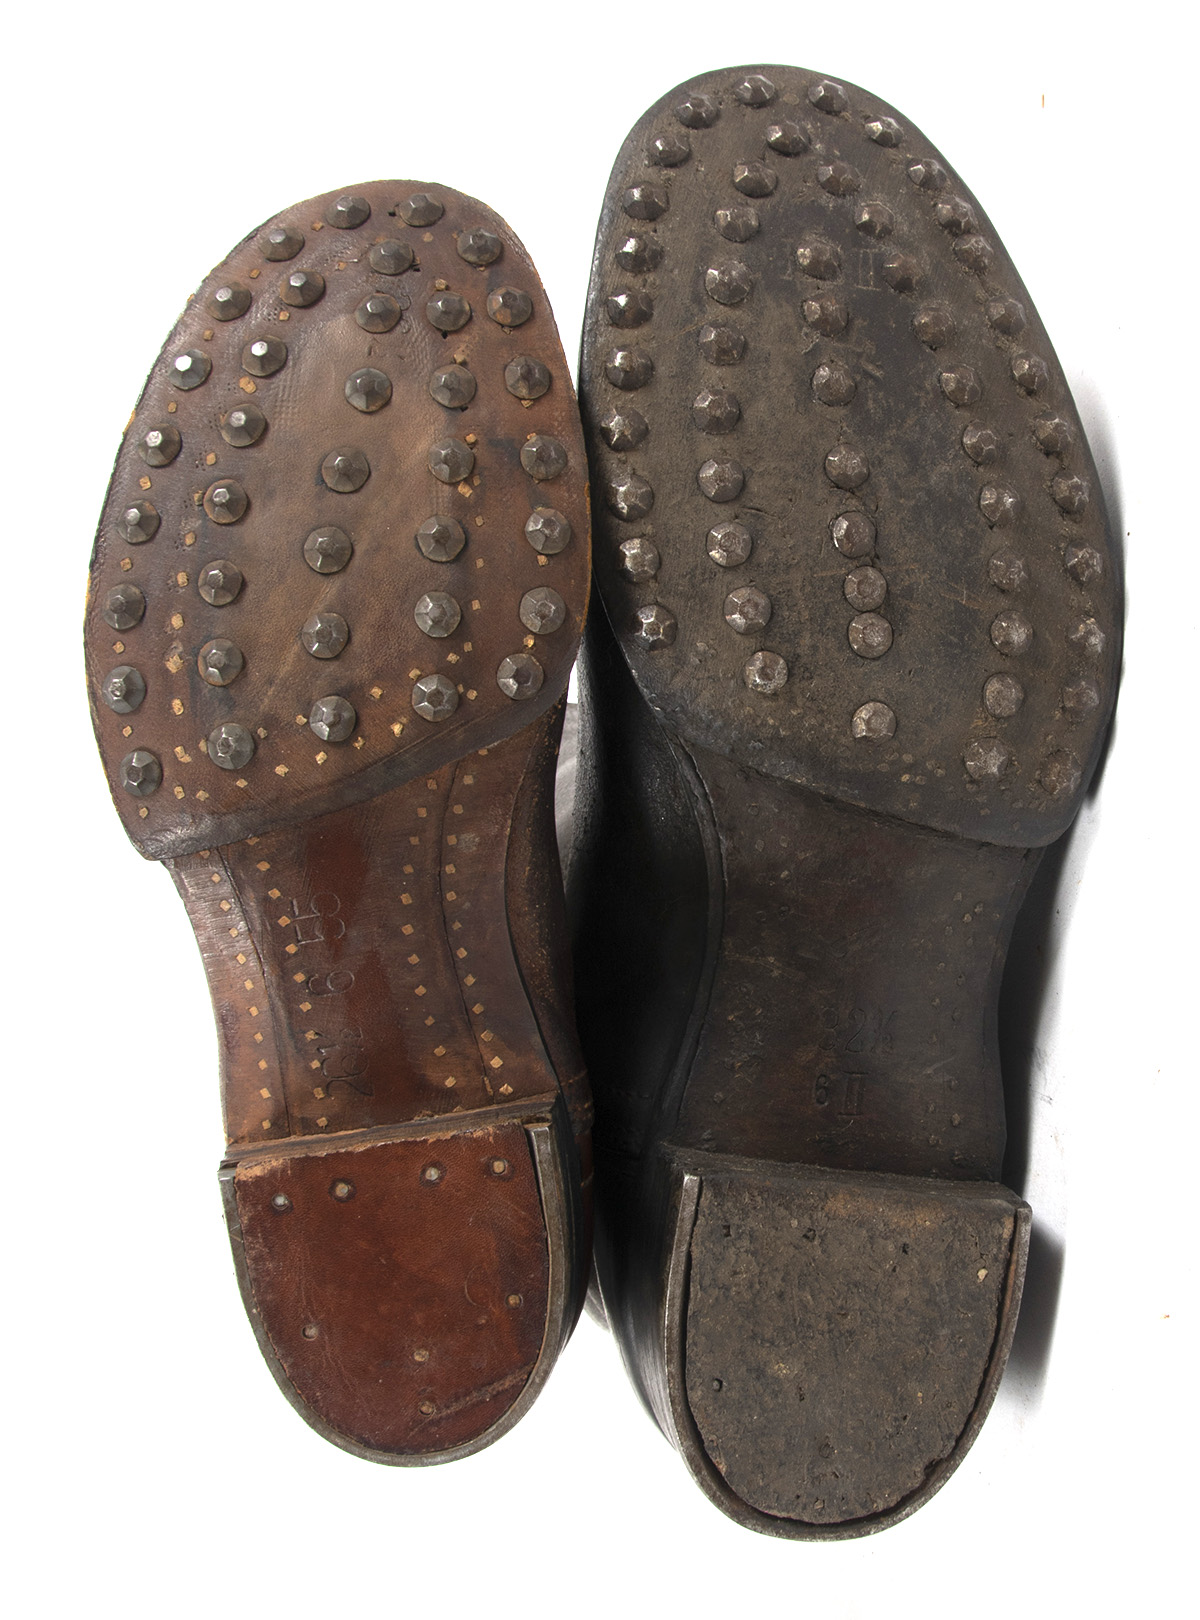
The hobnails came in a variety of sizes and shapes. Nails with 6 sided heads, 1cm in diameter and double prongs seem to be most commonly installed “factory” type. The double prong design works like a clinching nail- when hammered in, the prongs spread and curl, thus locking them in, a bit like a fish hook. The single prong hobnails one commonly finds today were replacements- they don’t require the special punch to make the starter hole and they help prevent the same hole from being reused.
Heel irons came in two styles. Factory boots most often use heel irons with nailing points offset from the rims. The nail heads themselves are then covered with a leather or rubber insert nailed into the heel. This style of irons prevent the nail heads from being worn away, but they are more difficult to manufacture. Many boots are also fitted with standard horse shoe type irons with the nails driven directly through the rims. Both styles were used. Many heel irons have their size stamped into their surface- 15, 16, 17 and so forth. Occasionally one finds it irons also specified for right or left as well. The number represents the measure in centimeters of the outer diameter of the rim of the heel they fit.
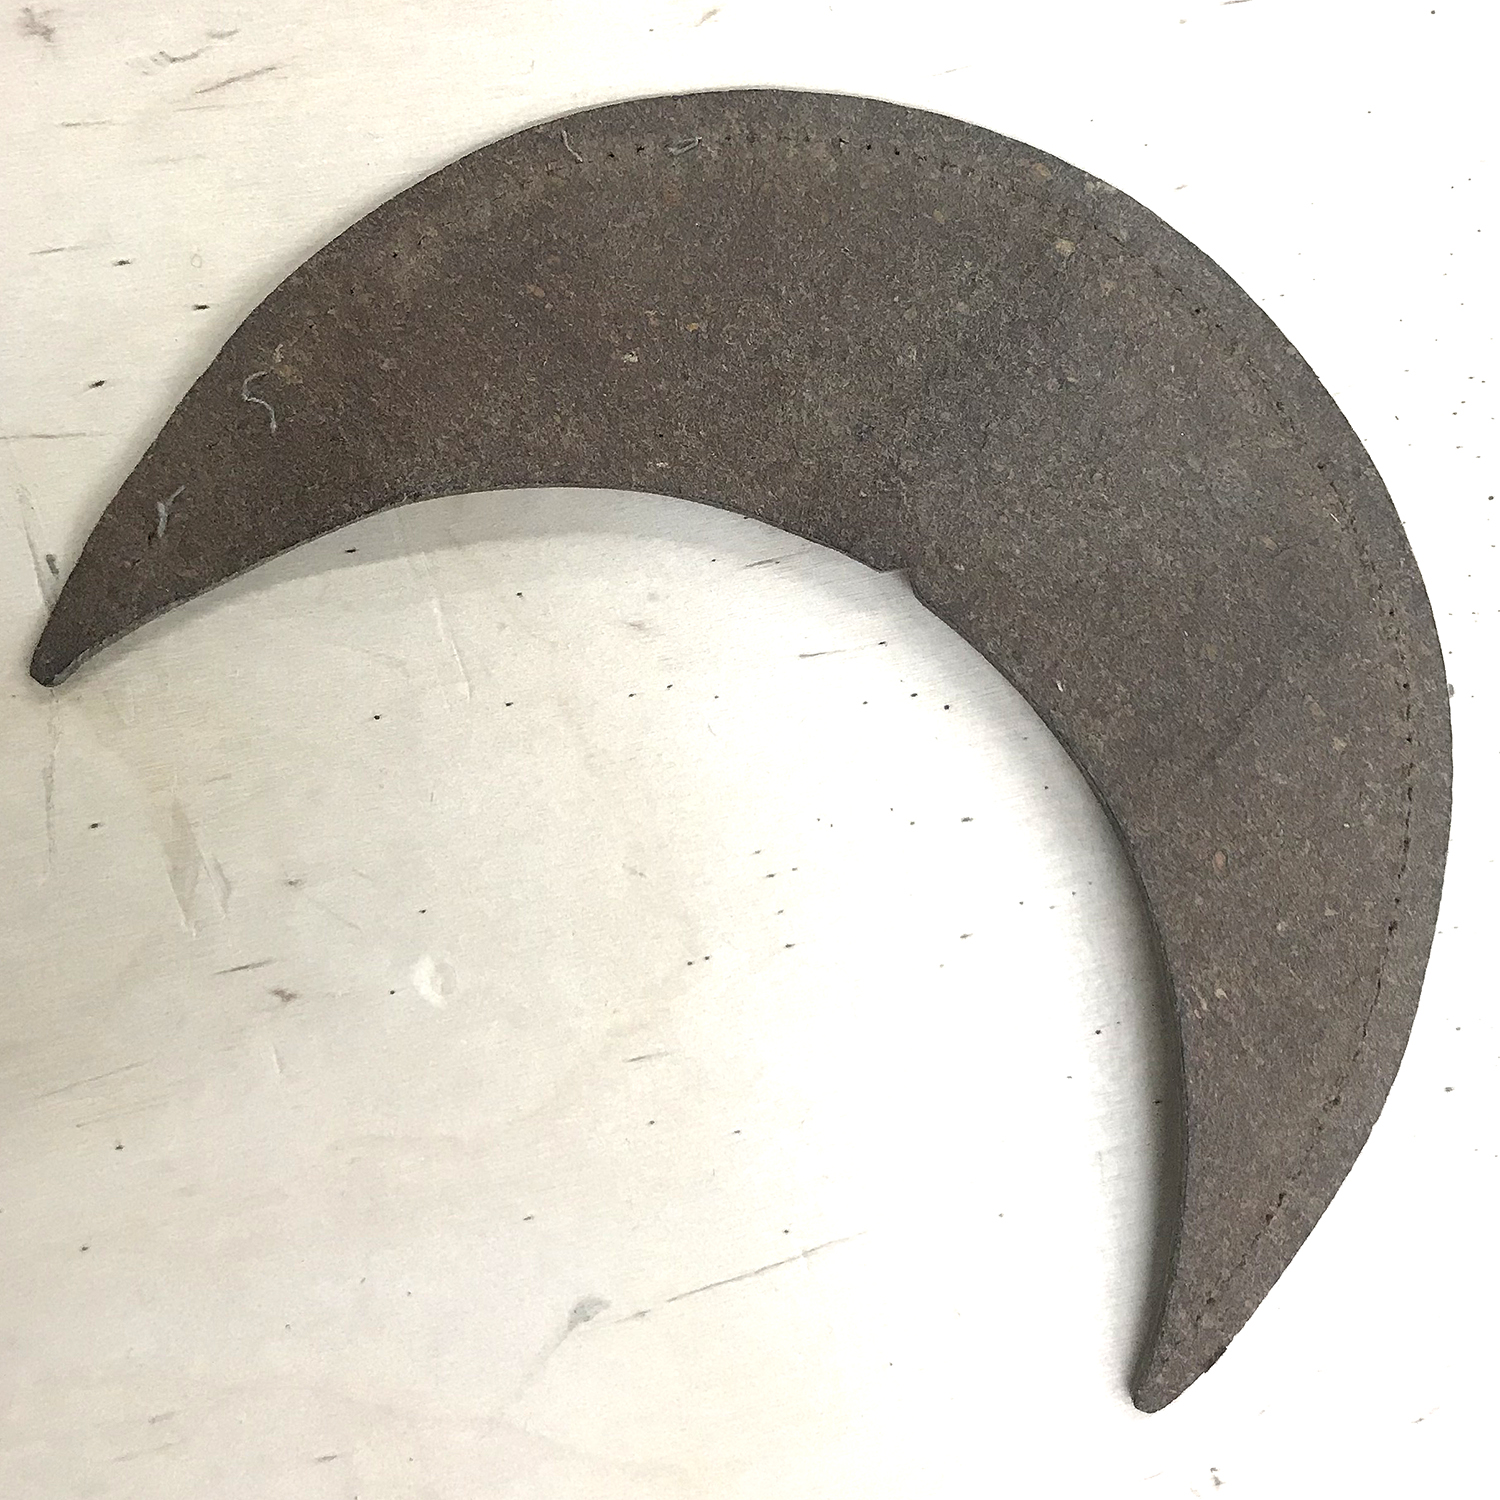
Toe irons are found on some boots. Most are a half moon shaped plate, attached with 3-5 nails. Some are sized 3, 4, 5, while others unmarked.
Screws are sometimes encountered (rather than nails) being used to attach toe and heel irons.
Leather
Marschstiefel and Schnurschuhe were both typically made from vegetable tanned, 2mm-3mm thick cow or horsehide leather, with the color ranging from nearly white to various medium browns.
Leather quality
Unlike officer boots, the issue boot production utilized all cuts of leather. In the leather industry, an animal hide is divided into 3 basic sections, or cuts. The back and butt is the highest quality area of the hide- it’s the thickest, hardest and least wrinkled. It’s often referred to as “Croupon” in WWII Europe. One encounters “croupon” stamped on some custom made boots, belts and other officer gear to indicate that the leather came only from the premium cut. Next is the 2nd cut, from the neck and shoulder area- usually equally tough, but often with large wrinkles and humps. The 3rd cut is from the flank or belly- this tends to be even more wrinkled and can be soft and spongy.

SS marked boot, with entire shaft made of belly leather. The wrinkles at the ankle are the due to the leather itself- the boot is unworn. The seam approximately halfway up the shaft is from a thinner piece of leather used to help firm up the soft shaft.
Nearly all of my original boots have some amount of belly leather evident. For boots, even this 3rd cut works fine, despite its uneven appearance. This is normally used on shafts and uppers rather than toes and vamps. It’s not uncommon to find jackboots with a thin lining in one or both shafts- this is usually due to belly have been used so they use a thin layer of split leather to stiffen it. The Germans have been the champions of thrift for decades- and their gear often demonstrates this.
Cookie-cutter fantasies
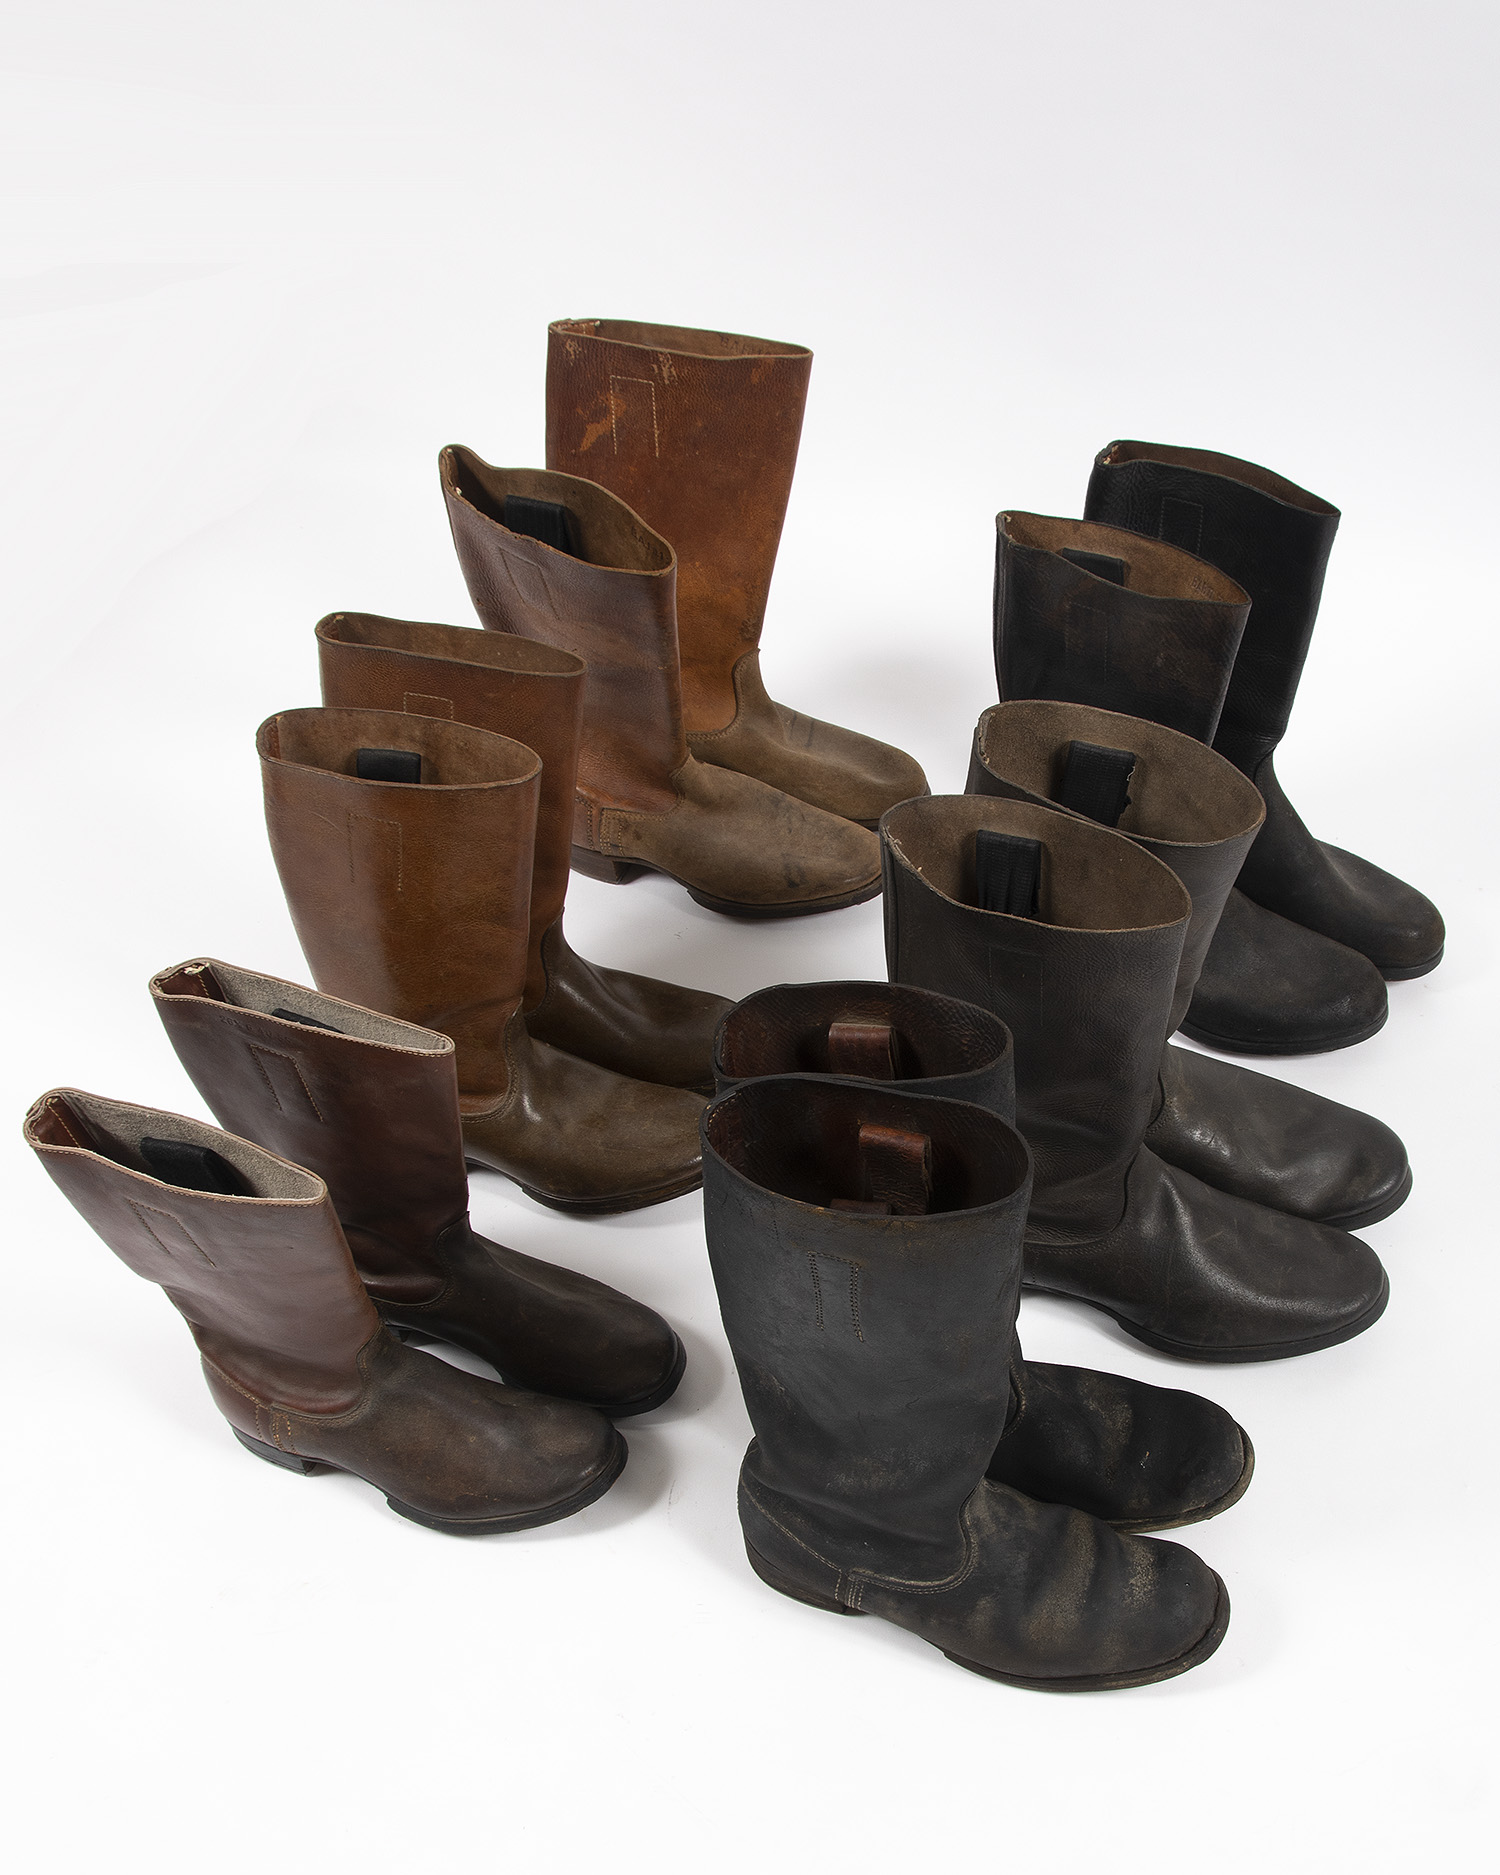
Some collectors and many reenactors live in a fantasy world where every boot (helmet, jacket, glove, etc) used during WWII was made to the same exacting specification and matched perfectly. A good example is the famous “shark nosed toe” fetish. In reality, boots issued to German troops came in numerous variations- keep in mind, that the vast majority of European shoe manufacturers, large and small, were contracted by the German government to make boots- millions of them.

Wolverine nose…very much original

“Wrong” heel irons, no shanks, leather pulls…all original.
Sorry Facebook History Fact Fanboys. Your narrative wasn’t relevant 1943.
Add to that the enormous stockpiles of footwear captured from other armies (mainly lowboots) that were very similar to those of the Wehrmacht and were also handed out and worn. Even with the famous jackboots, many details vary- to include the last shape which determines the toe profile- meaning many real German soldiers did not have sharks on their feet. Some had rounded toes, like manatees, and other were boxier, a bit like wolverine snout. That sounds almost as intimidating as a shark doesn’t it?
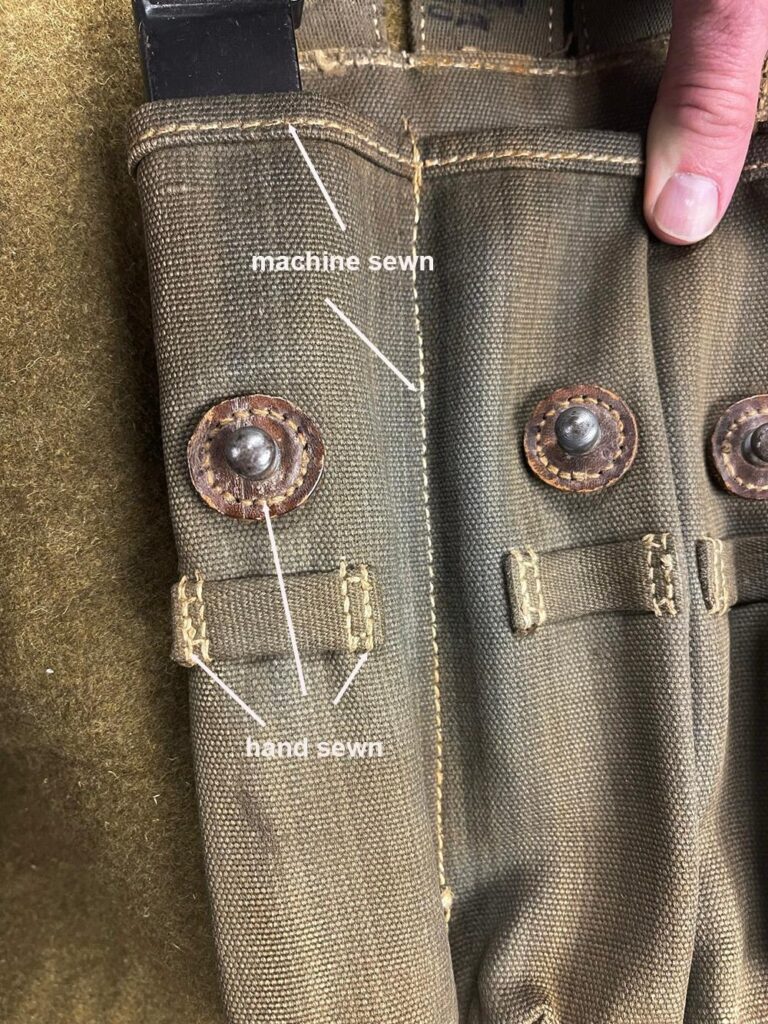
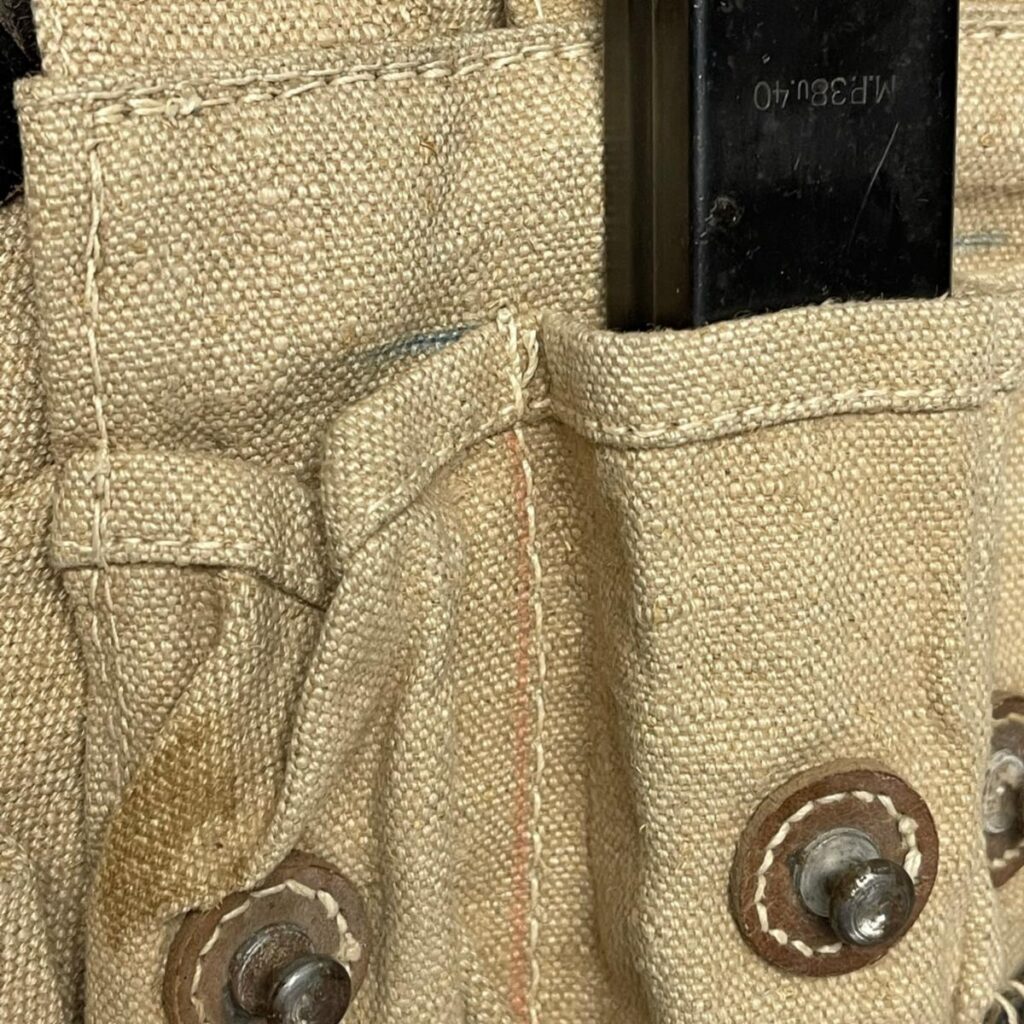 Blue and red pencil marks on original MP40 pouches.
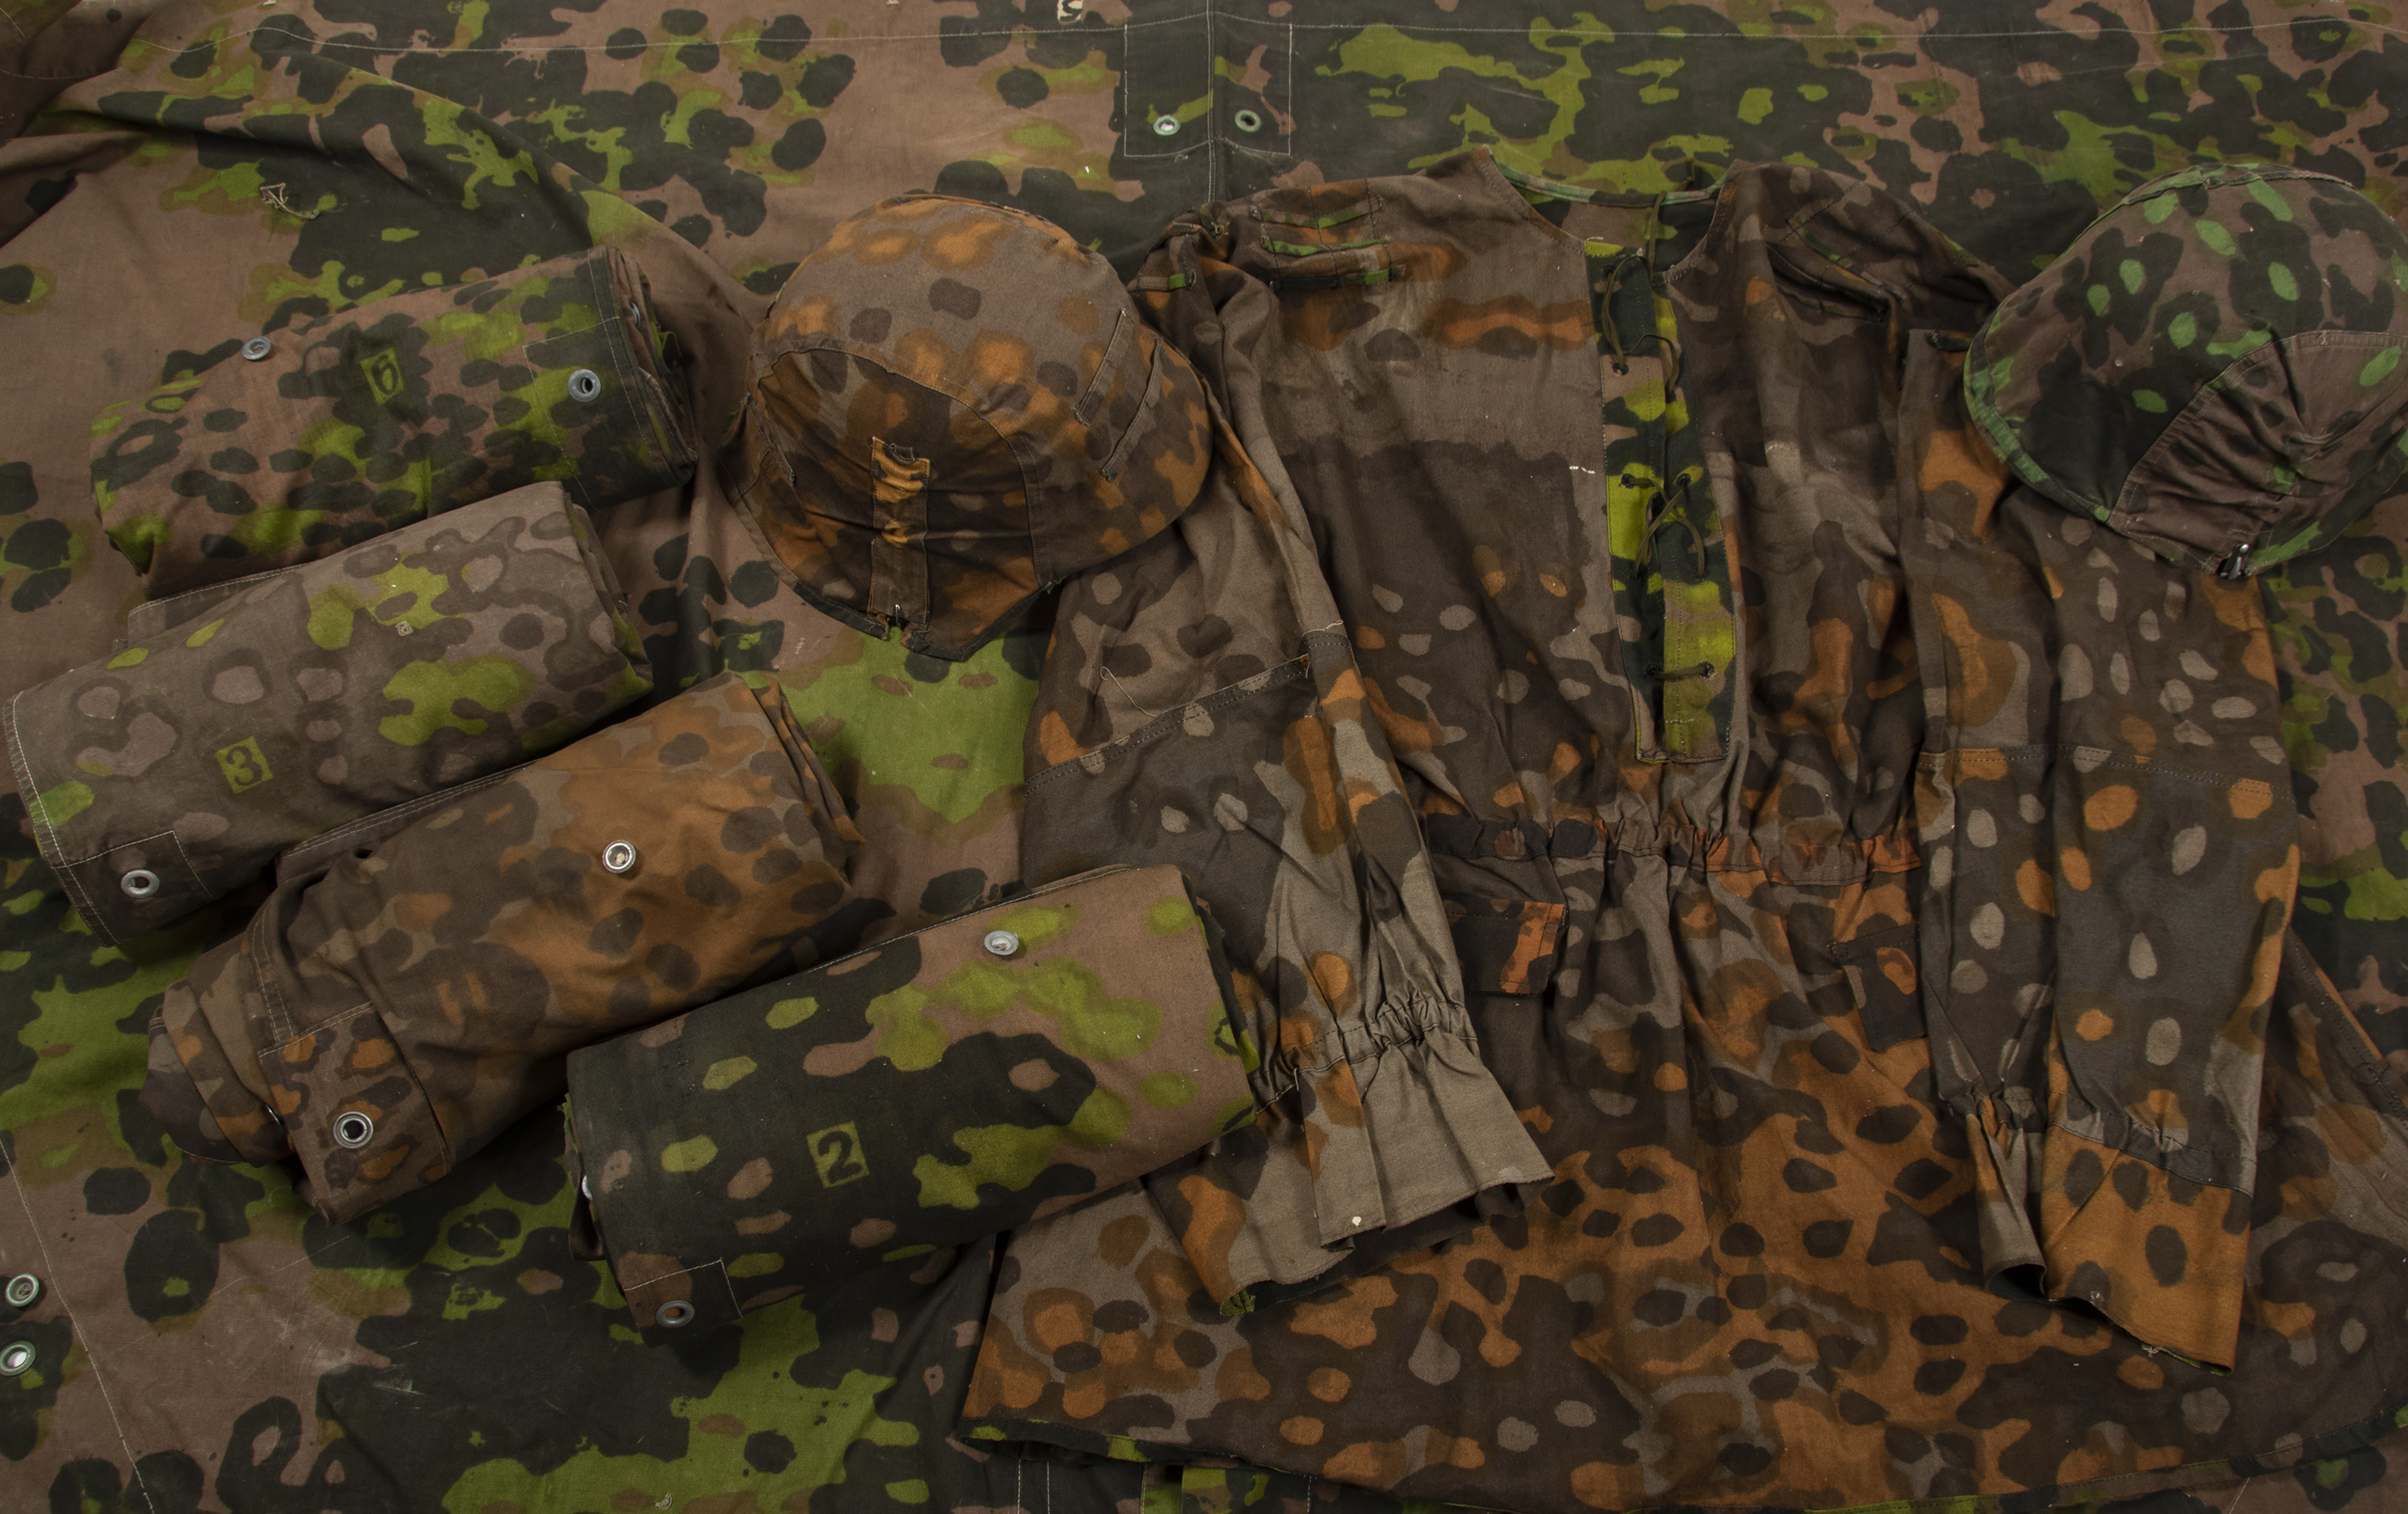
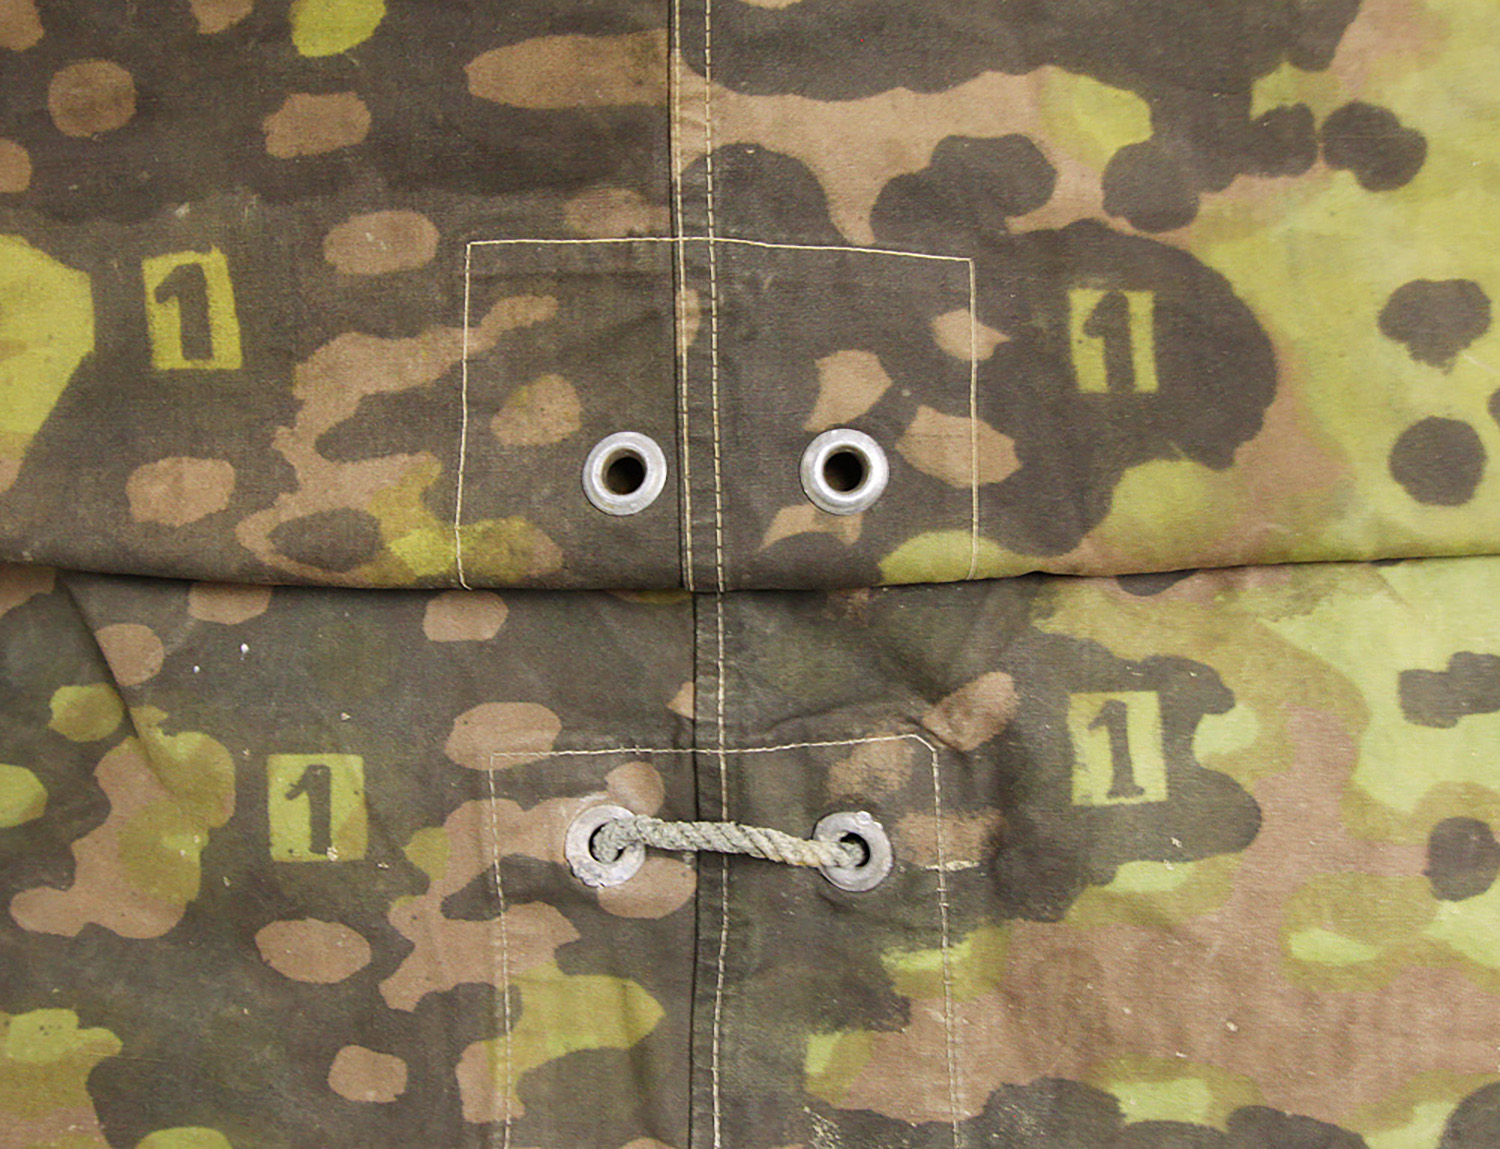
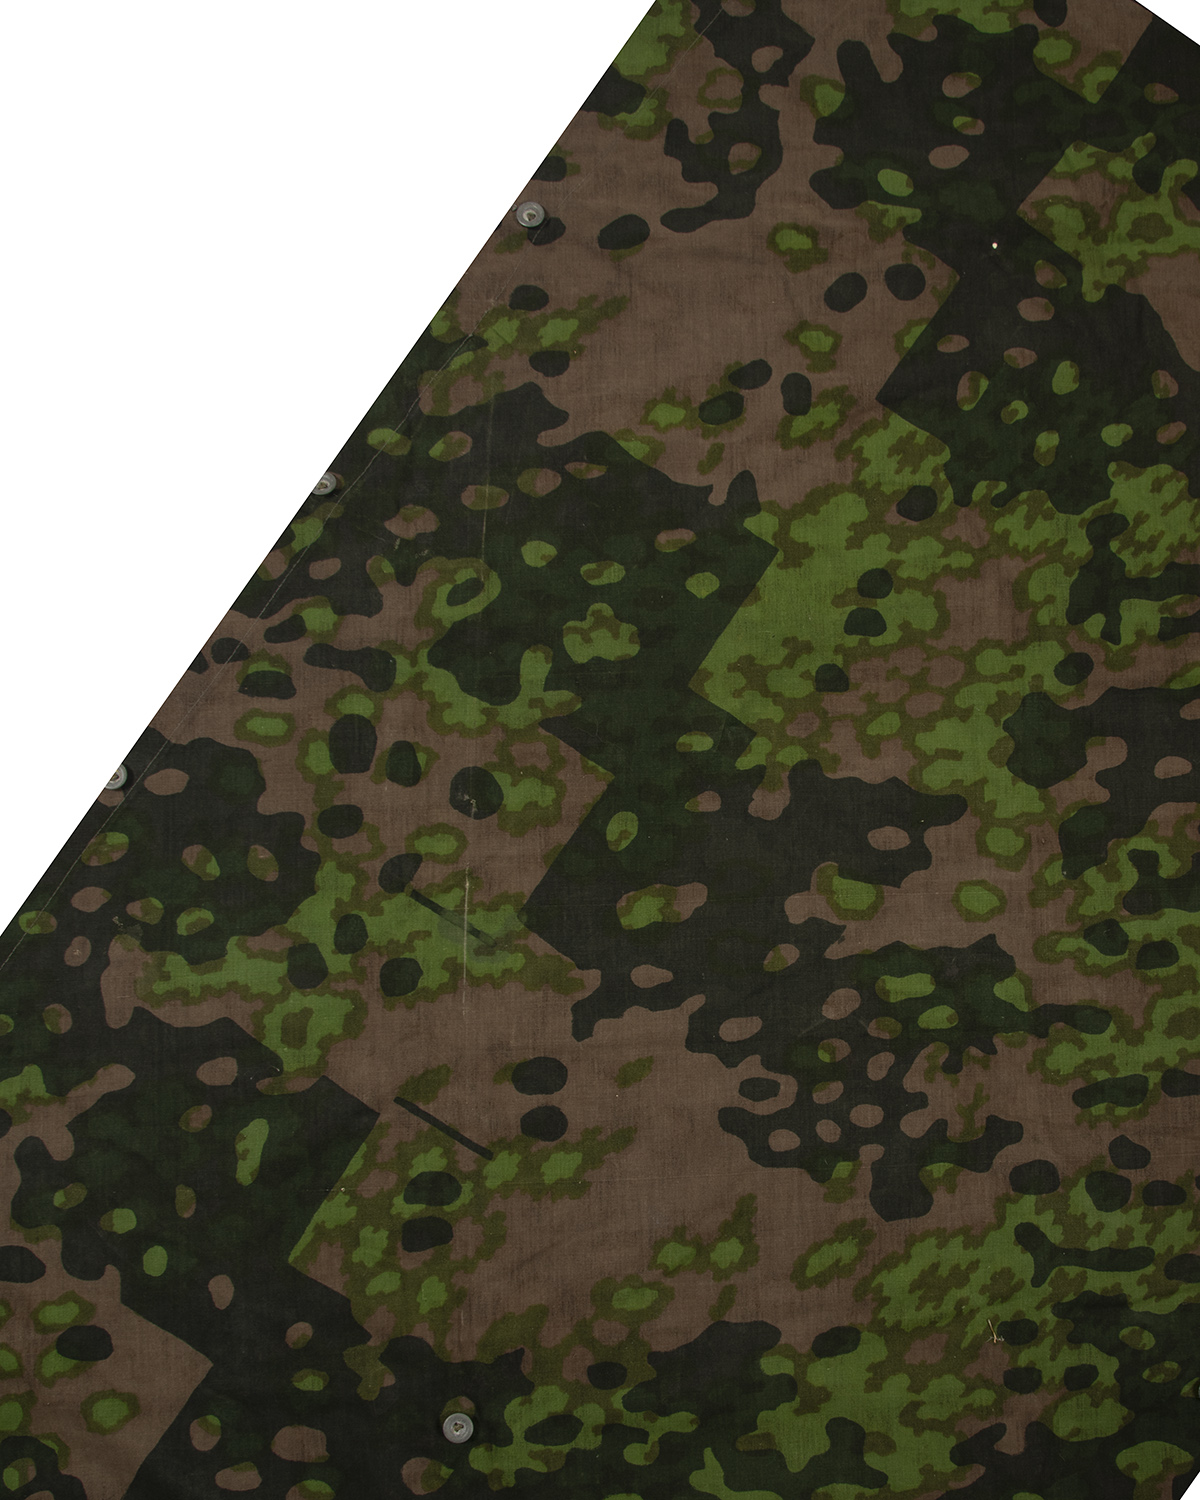
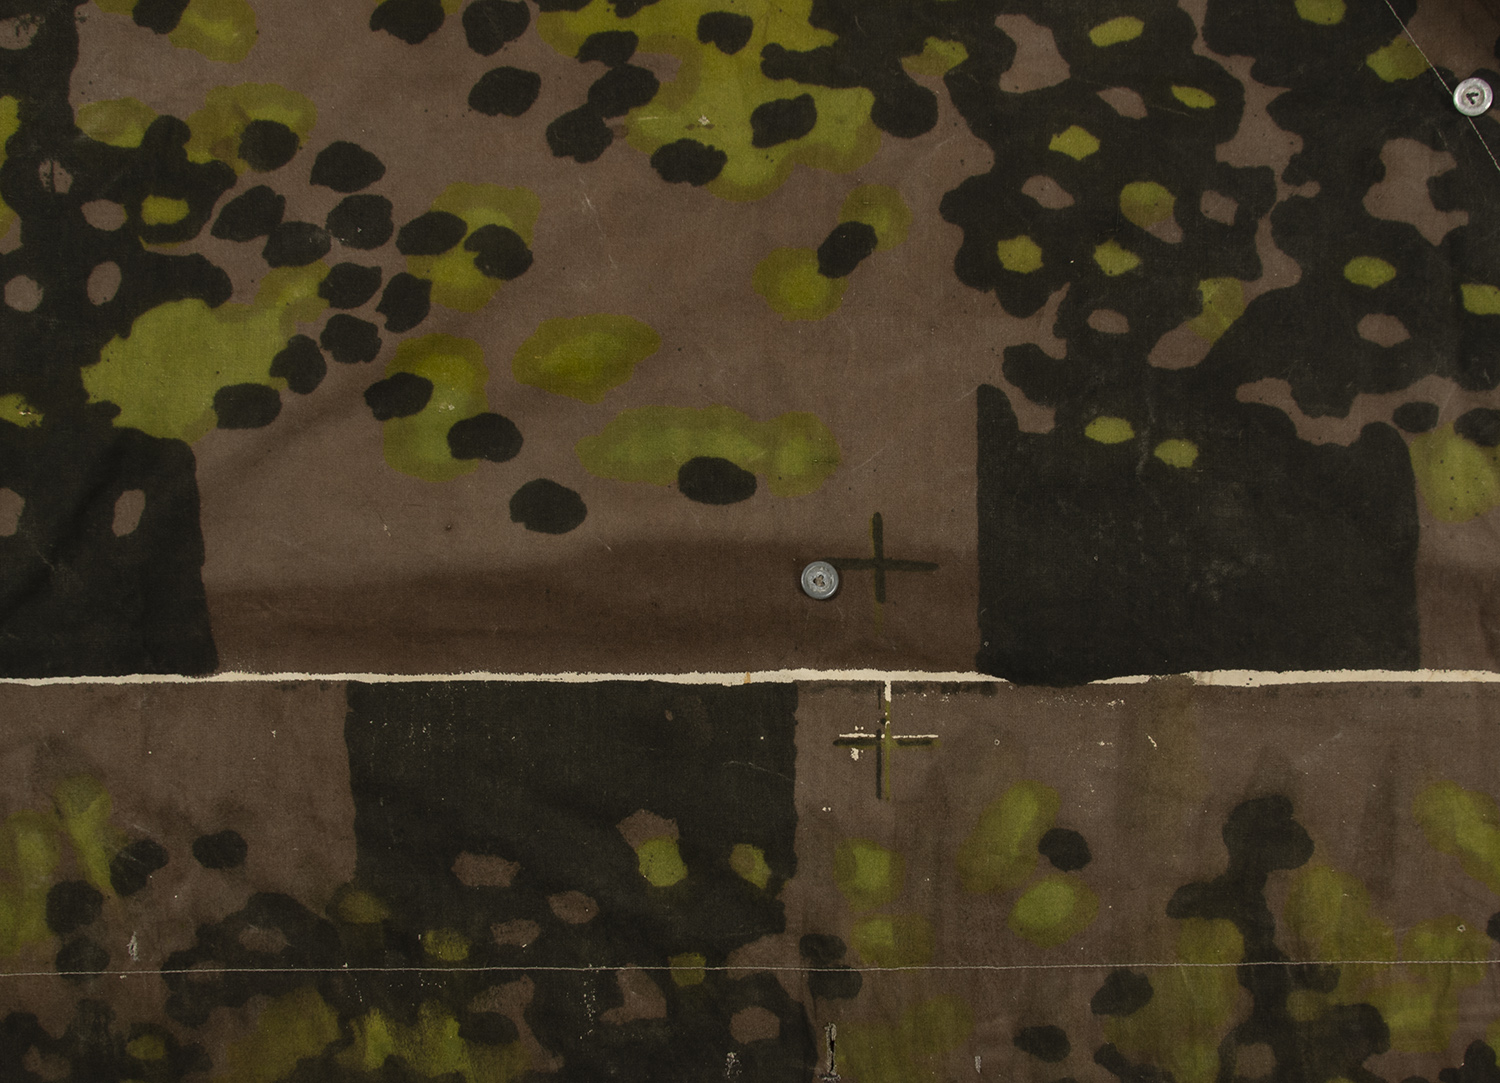
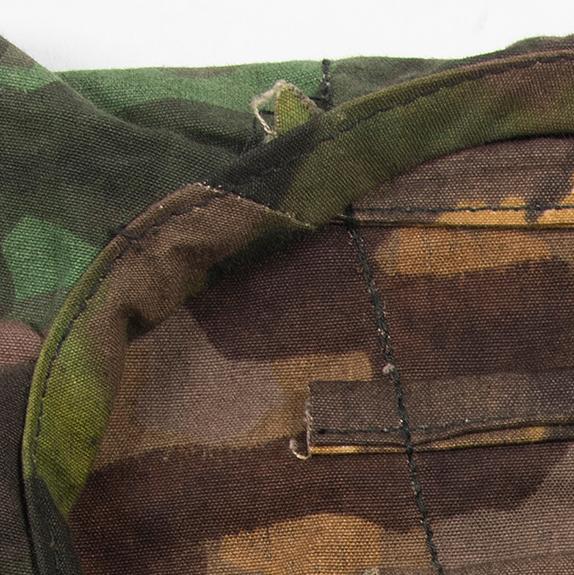
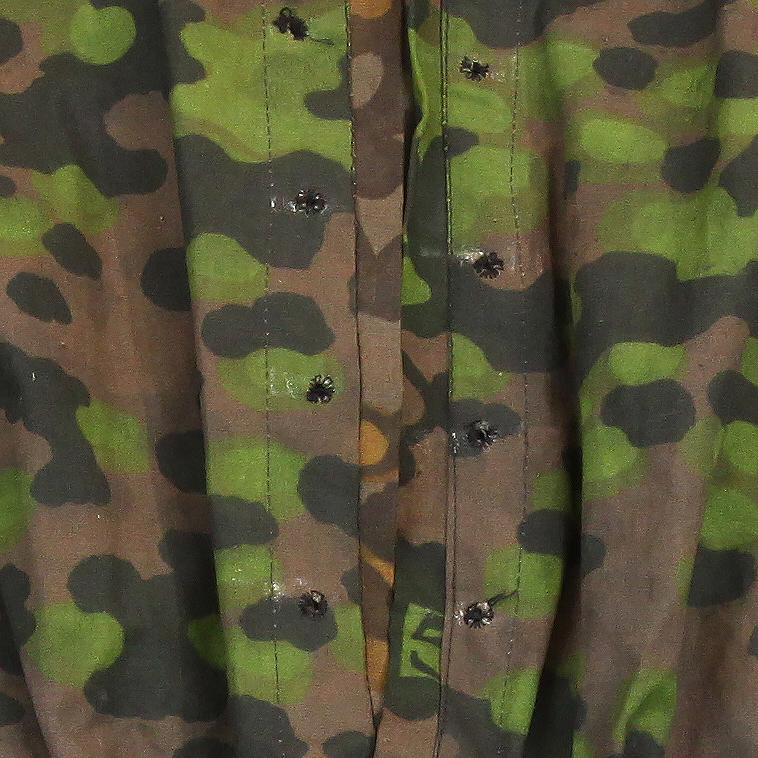 Original smock with chalk marks…how can they be wrong?
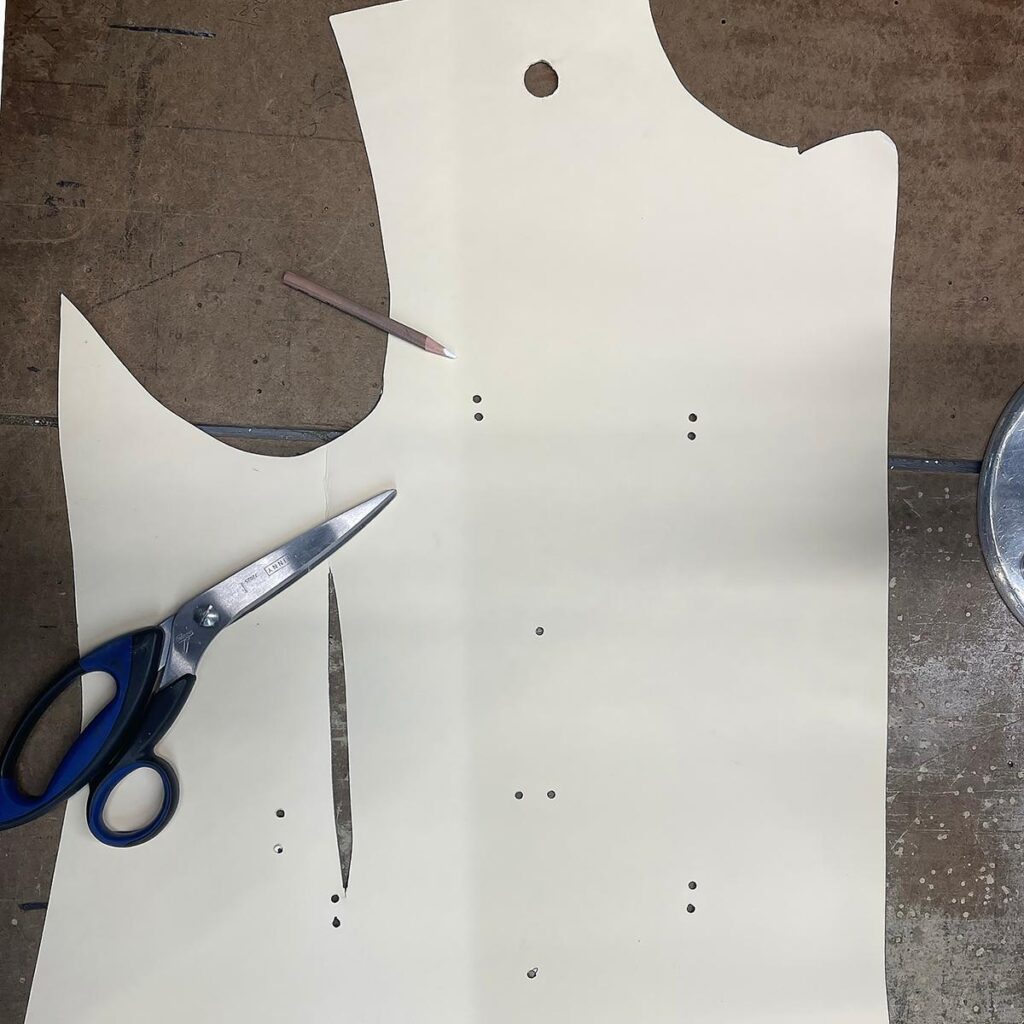
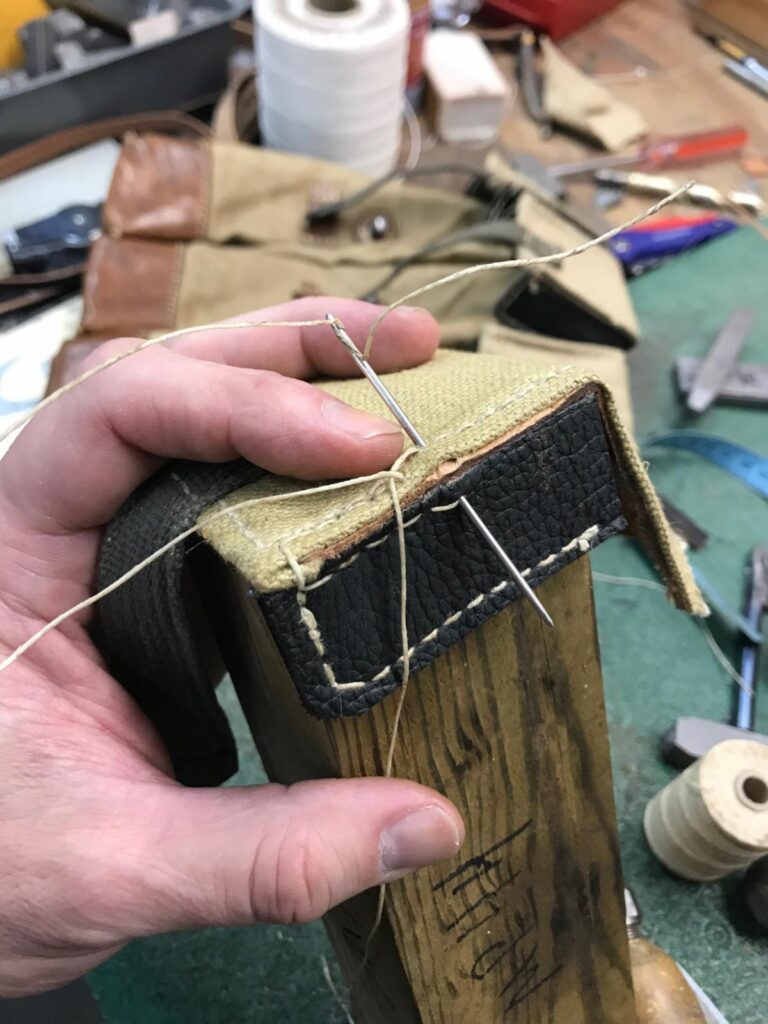
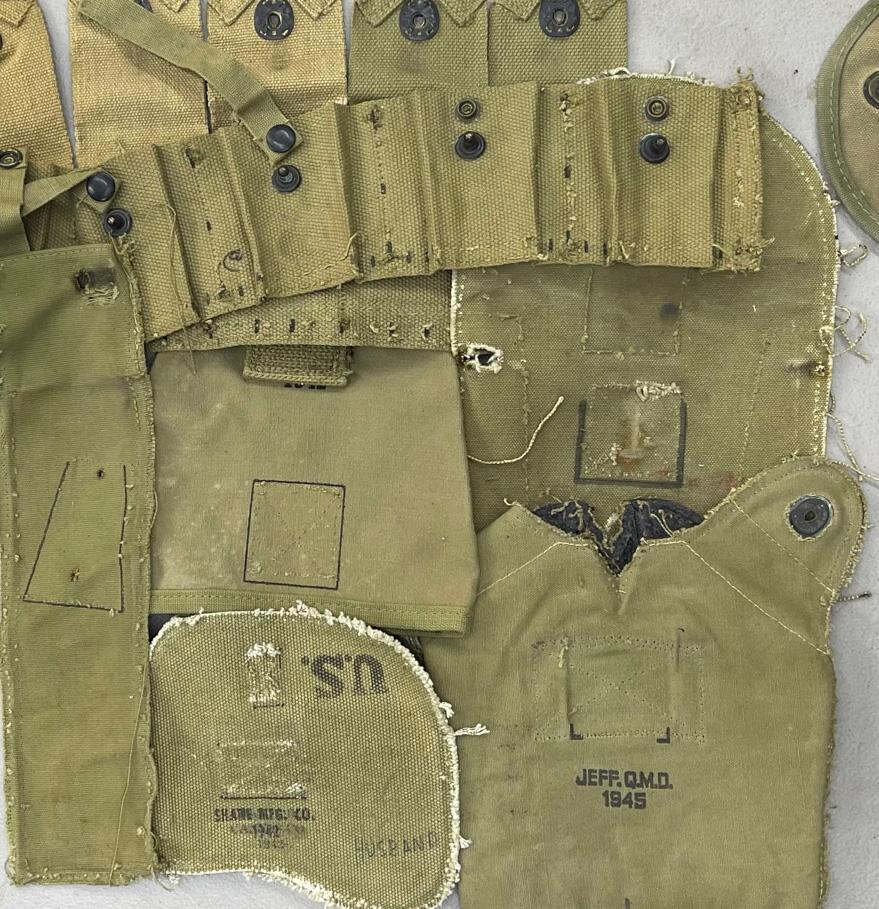 All those squares, U’s, tick marks, dots, dashes and other blemishes were applied at the factory in WWII to show the workers where to sew the parts- not offend the tender sensitivities of those keeping history alive 80 years later.
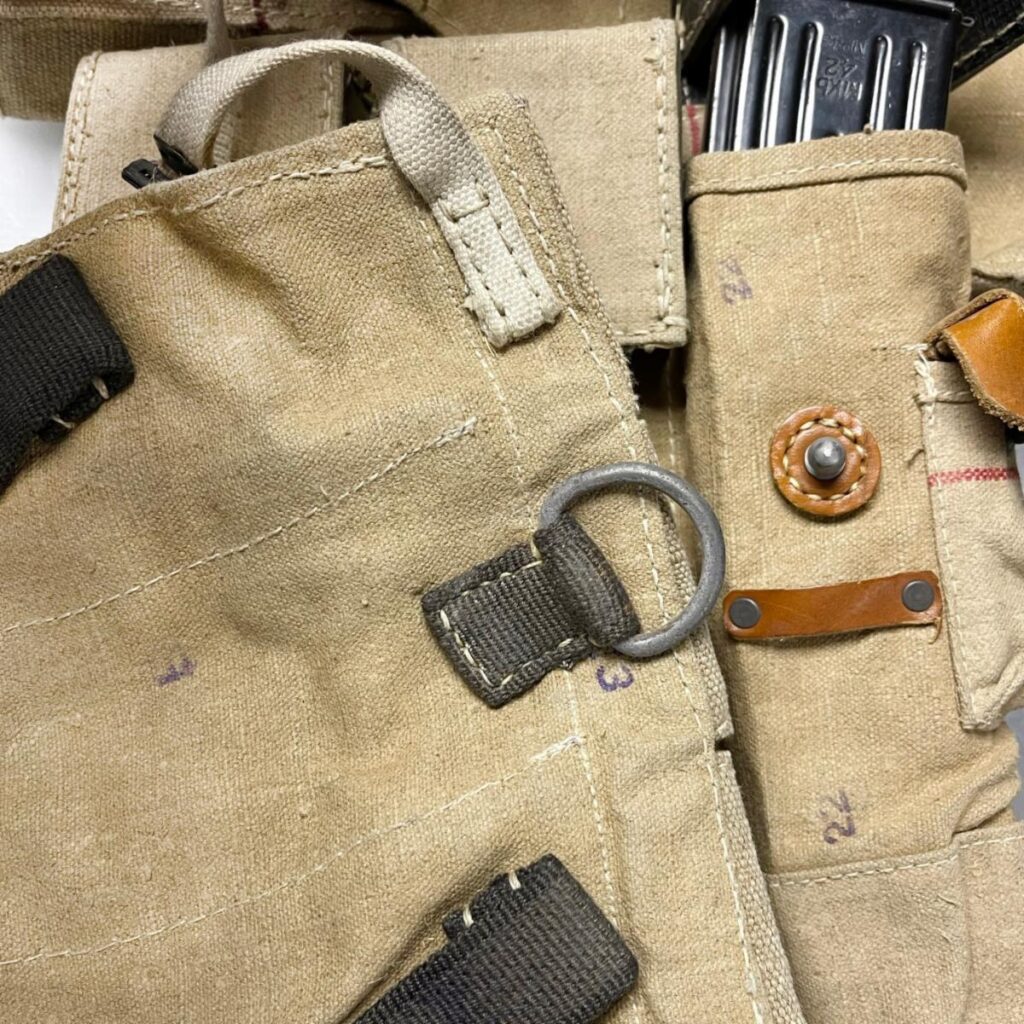 Various stamps on the parts of original MP44 pouches.
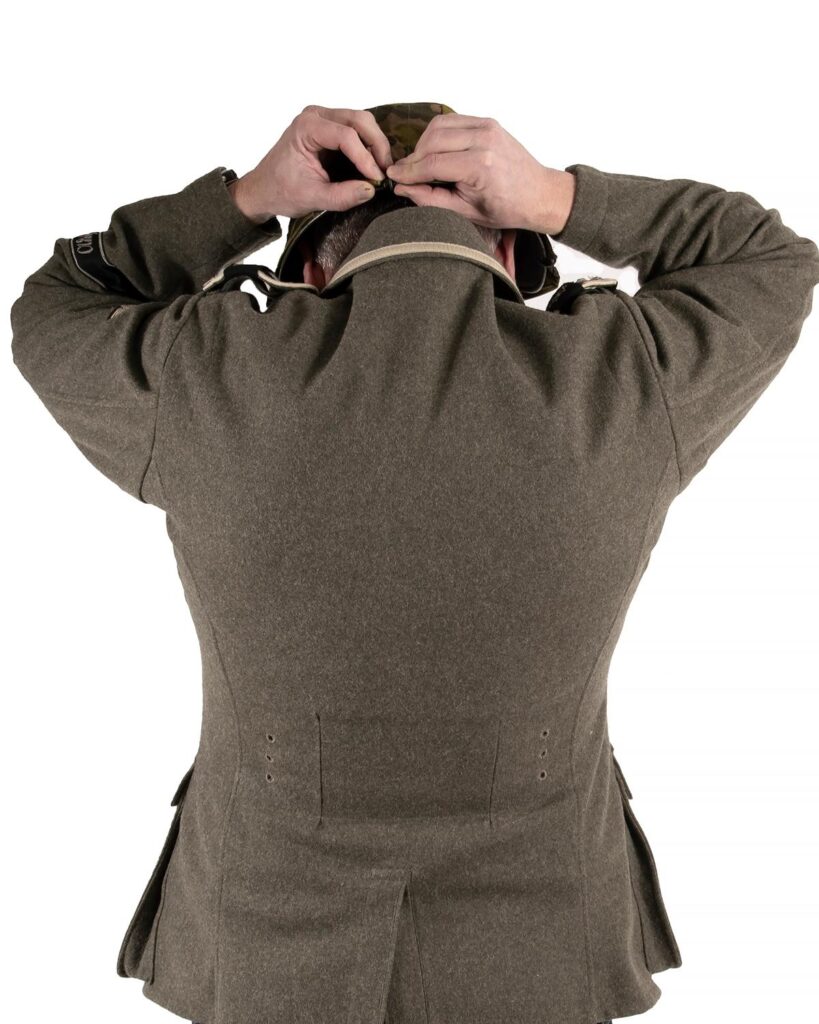
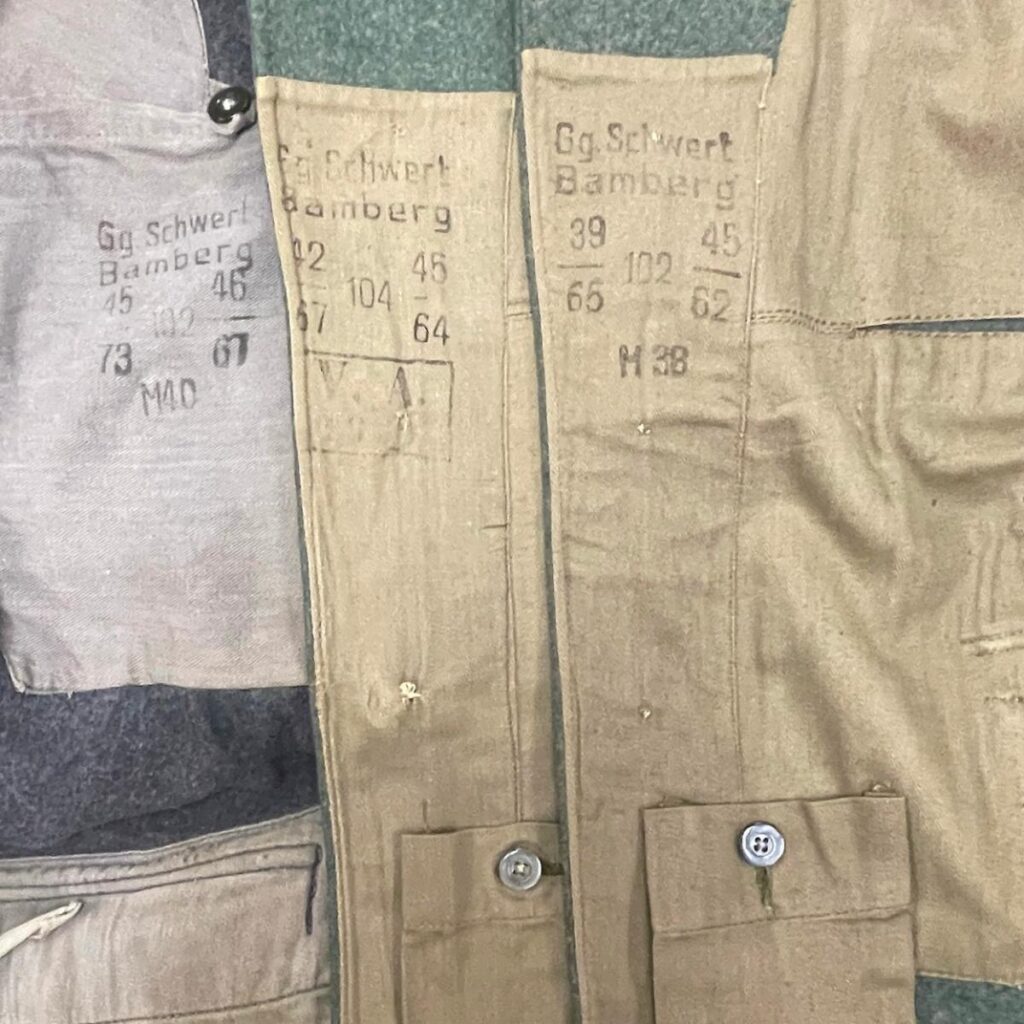
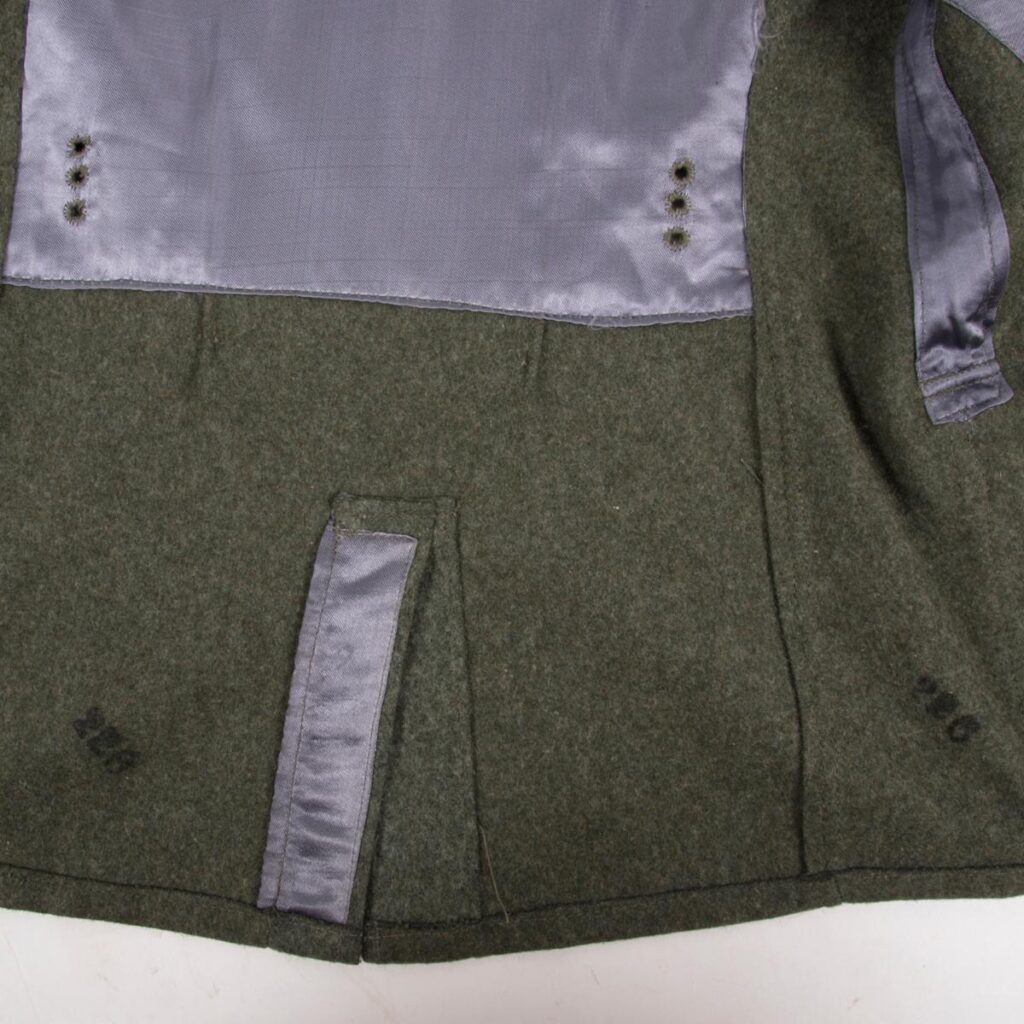 Shade marks (“226”) were stamped in black ink on all the wool parts of this original WSS M41 Feldbluse to indicate the layer of fabric they were cut from. The cloth wouldn’t have been stacked 200+ layers deep- but there were likely multiple cuts on the same table being done that day, so this might represent 2nd cut, layer 26 or something similar.
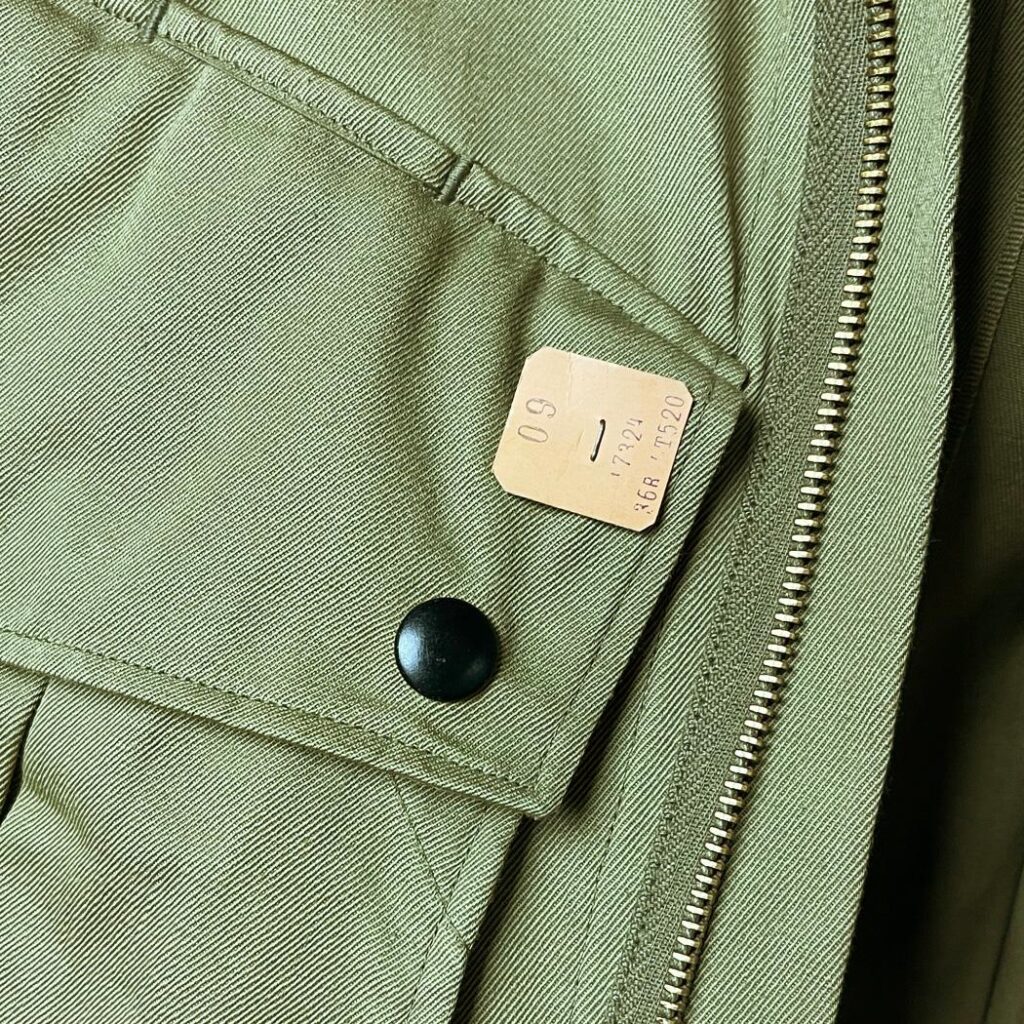 Shade tag on a original jump jacket. 09 is likely the layer, 36R the size, and the other two numbers could be any number of things. The info on the tags varies from factory to factory.
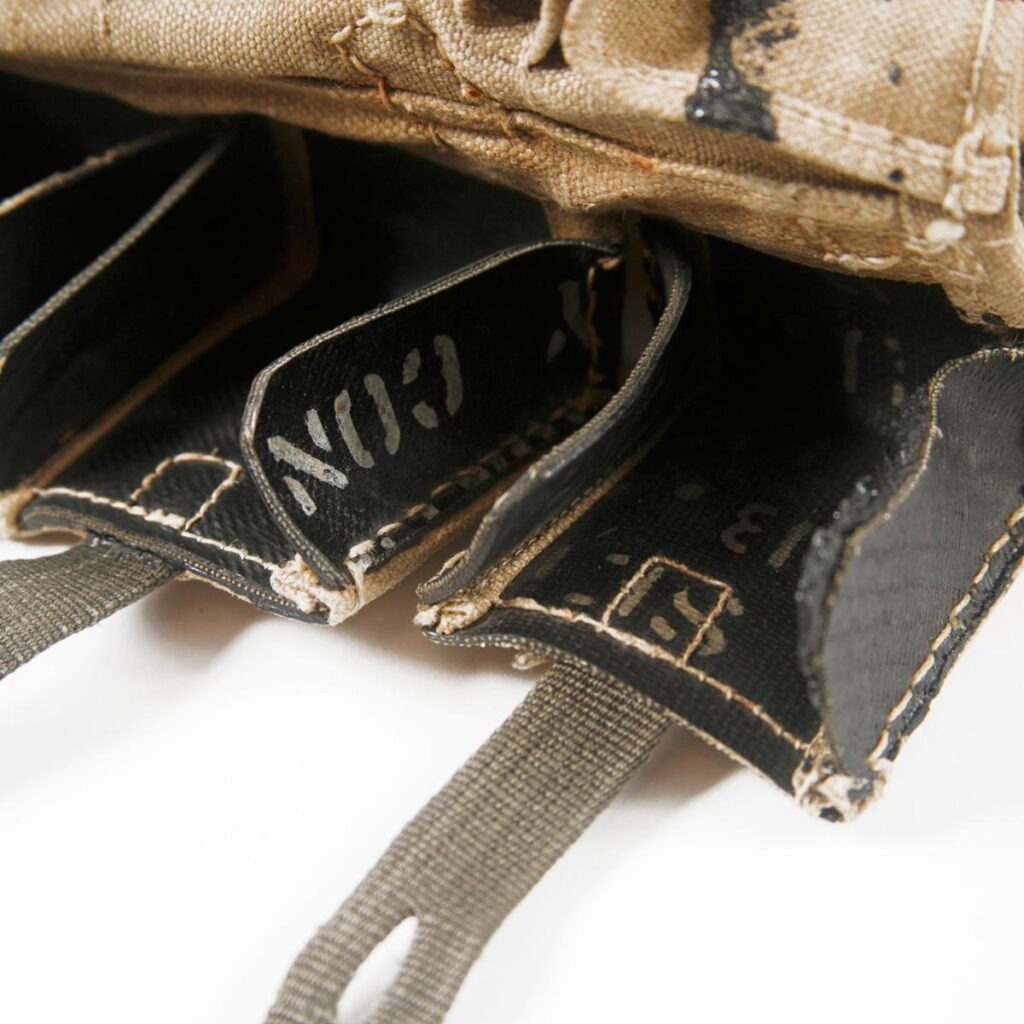 Inside flap of original MP44 pouches. We assume the “CON” is the first part of “Continental” (a major rubber and tire maker) as that’s what these flap sides are made from.
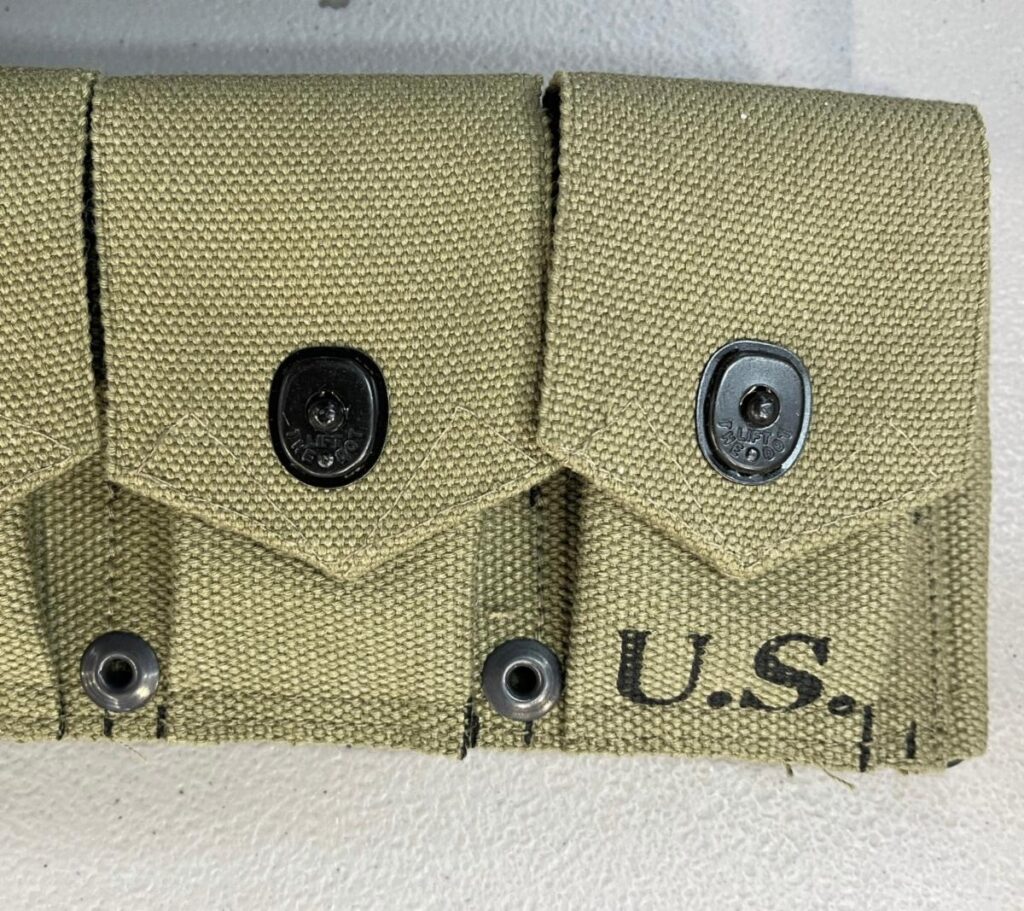 Guide marks on our cartridge belts.
 This is the last installment on the ins and outs of the most expensive helmet decorations in the universe.
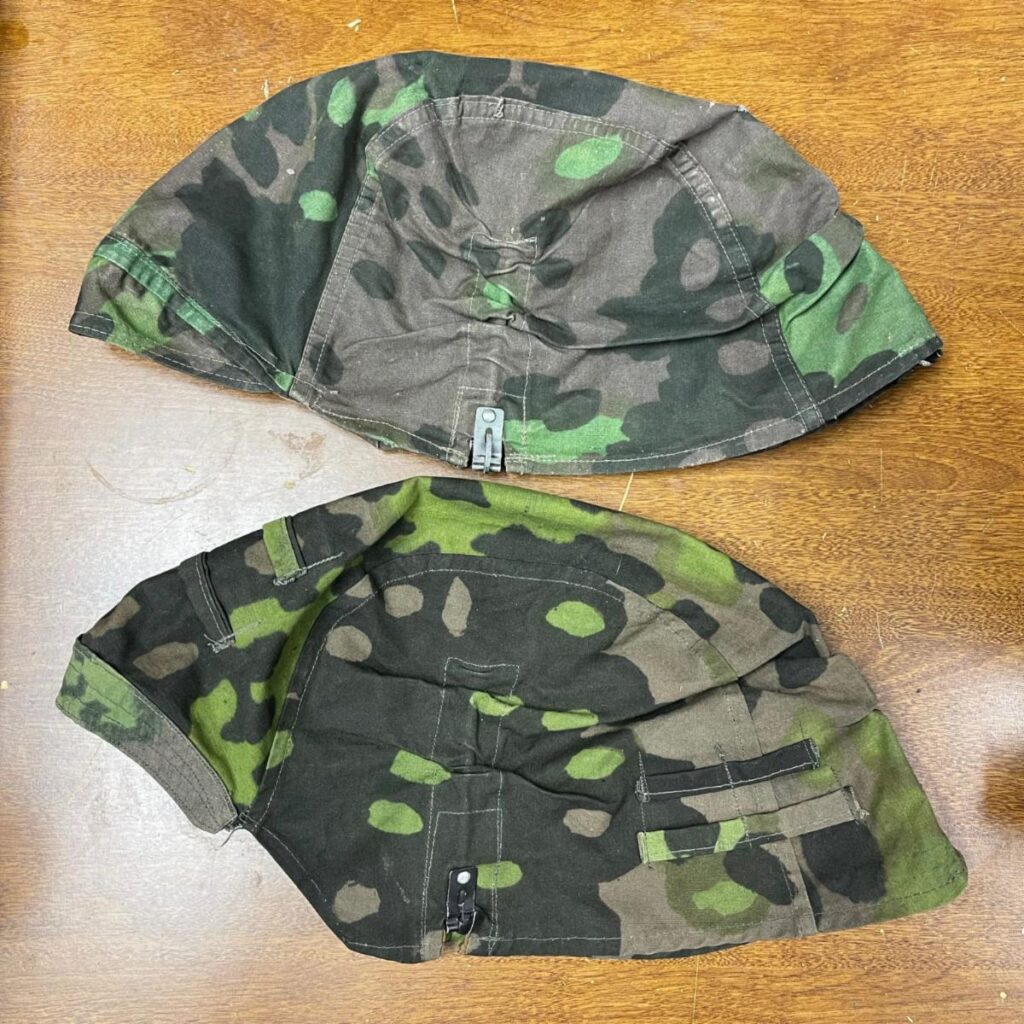
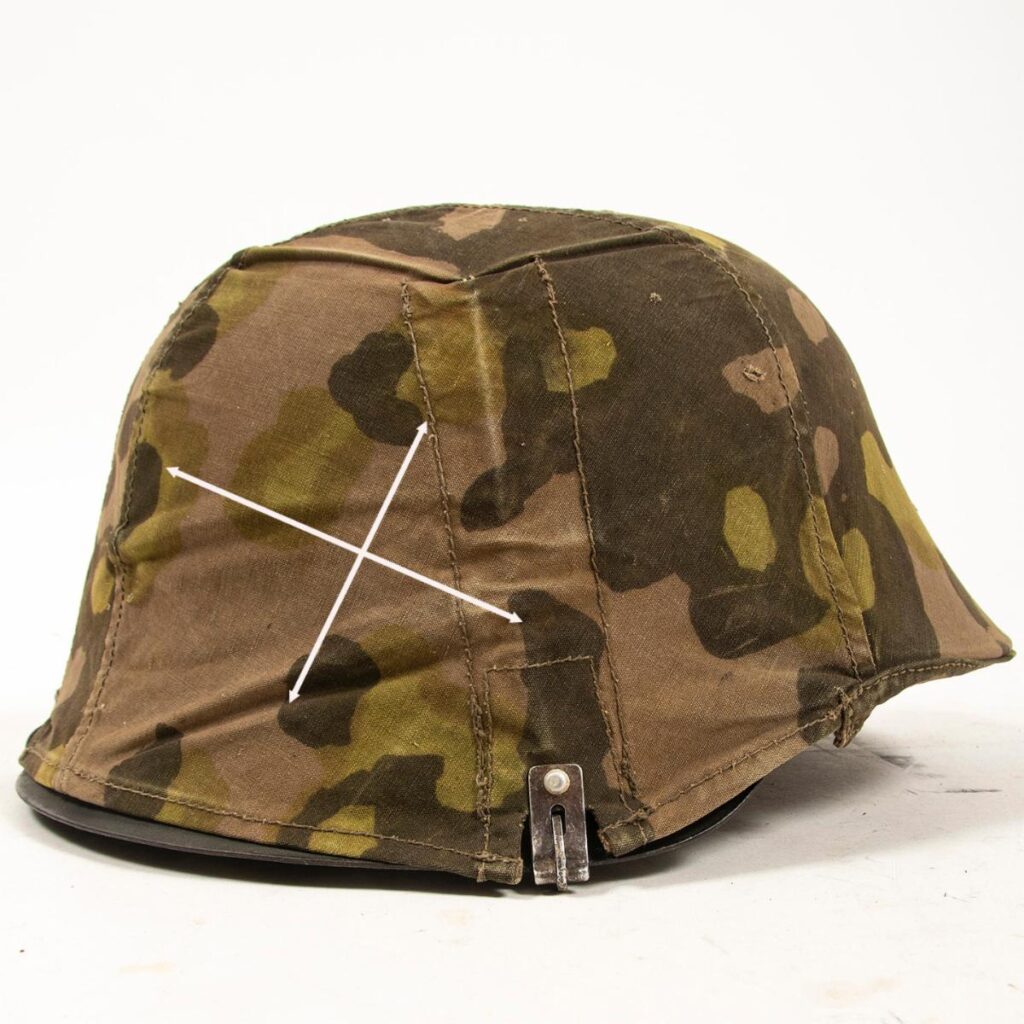

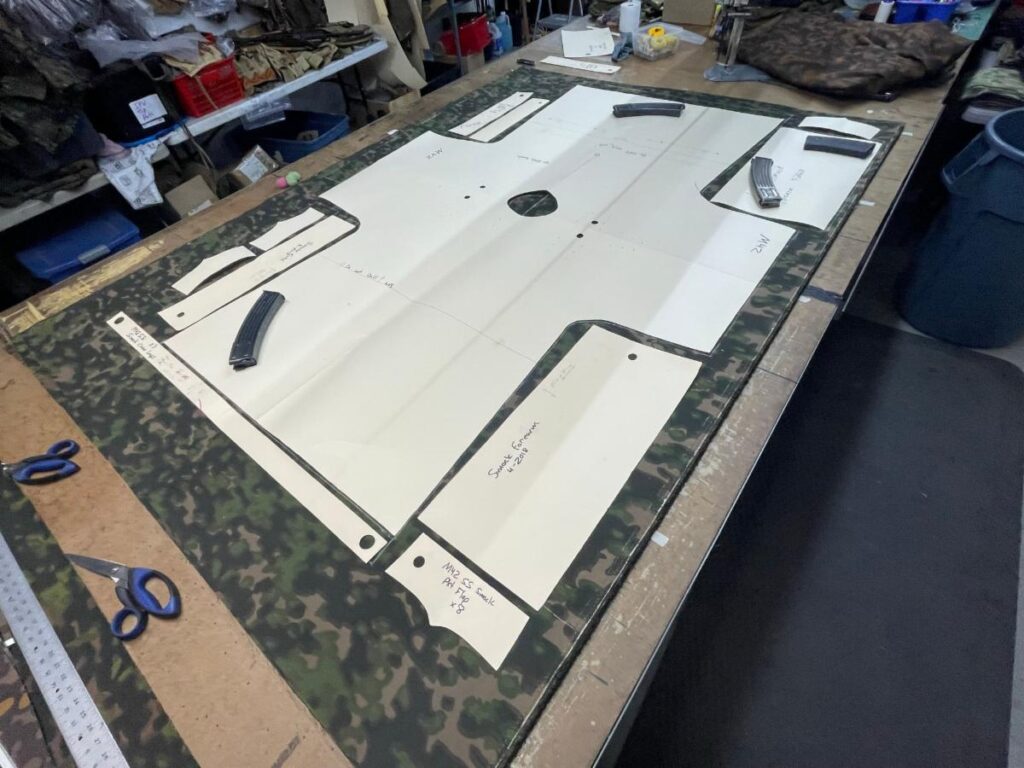
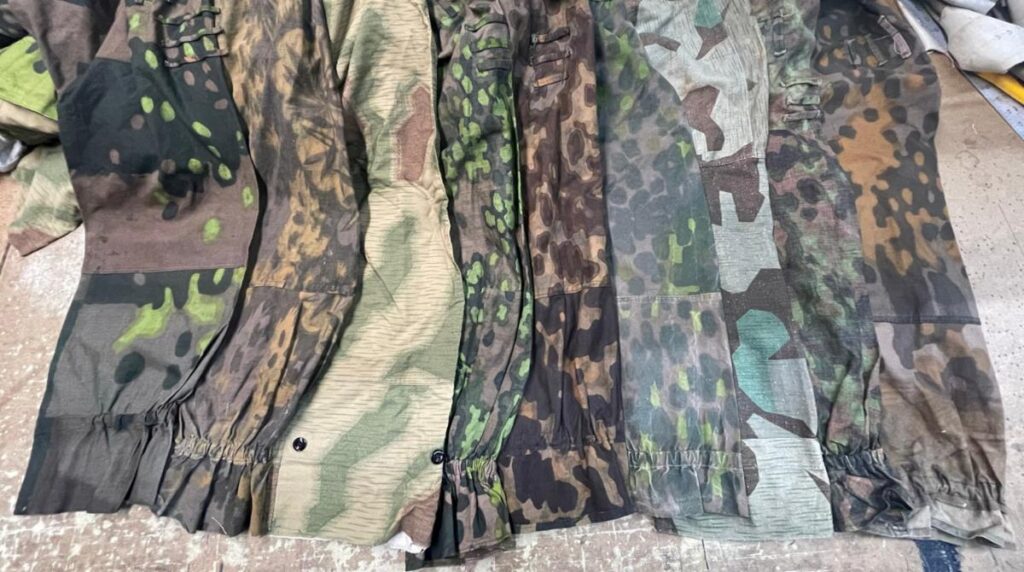
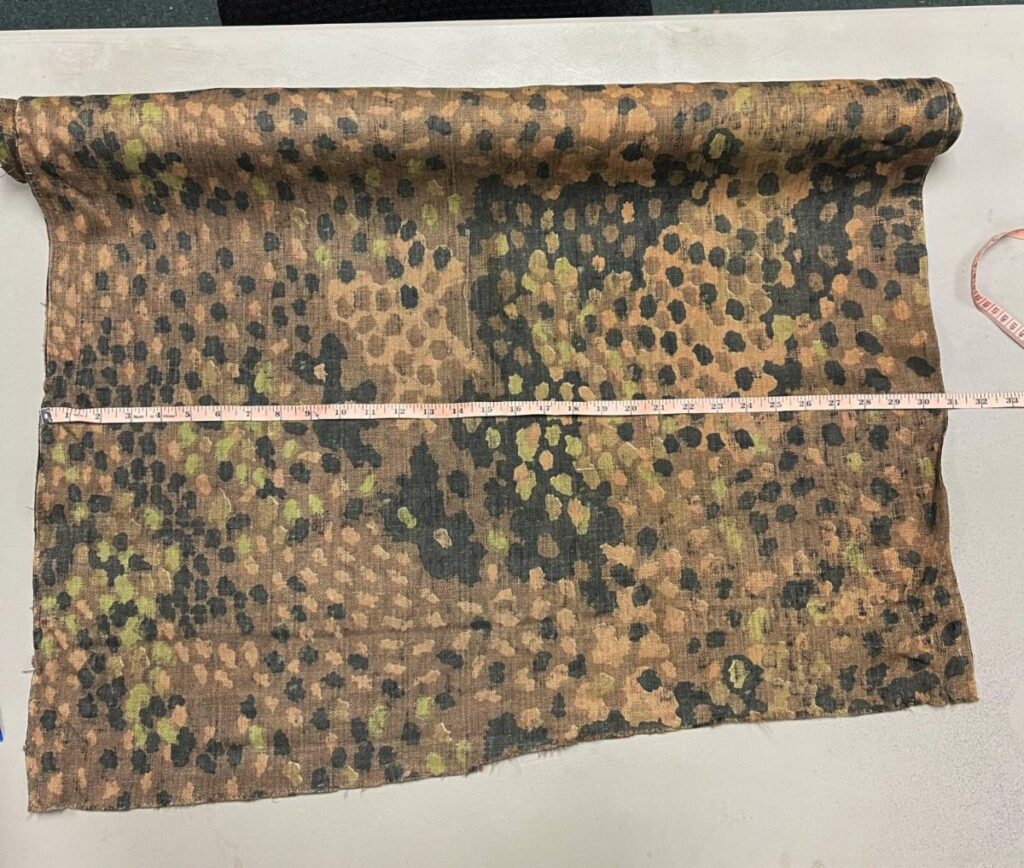
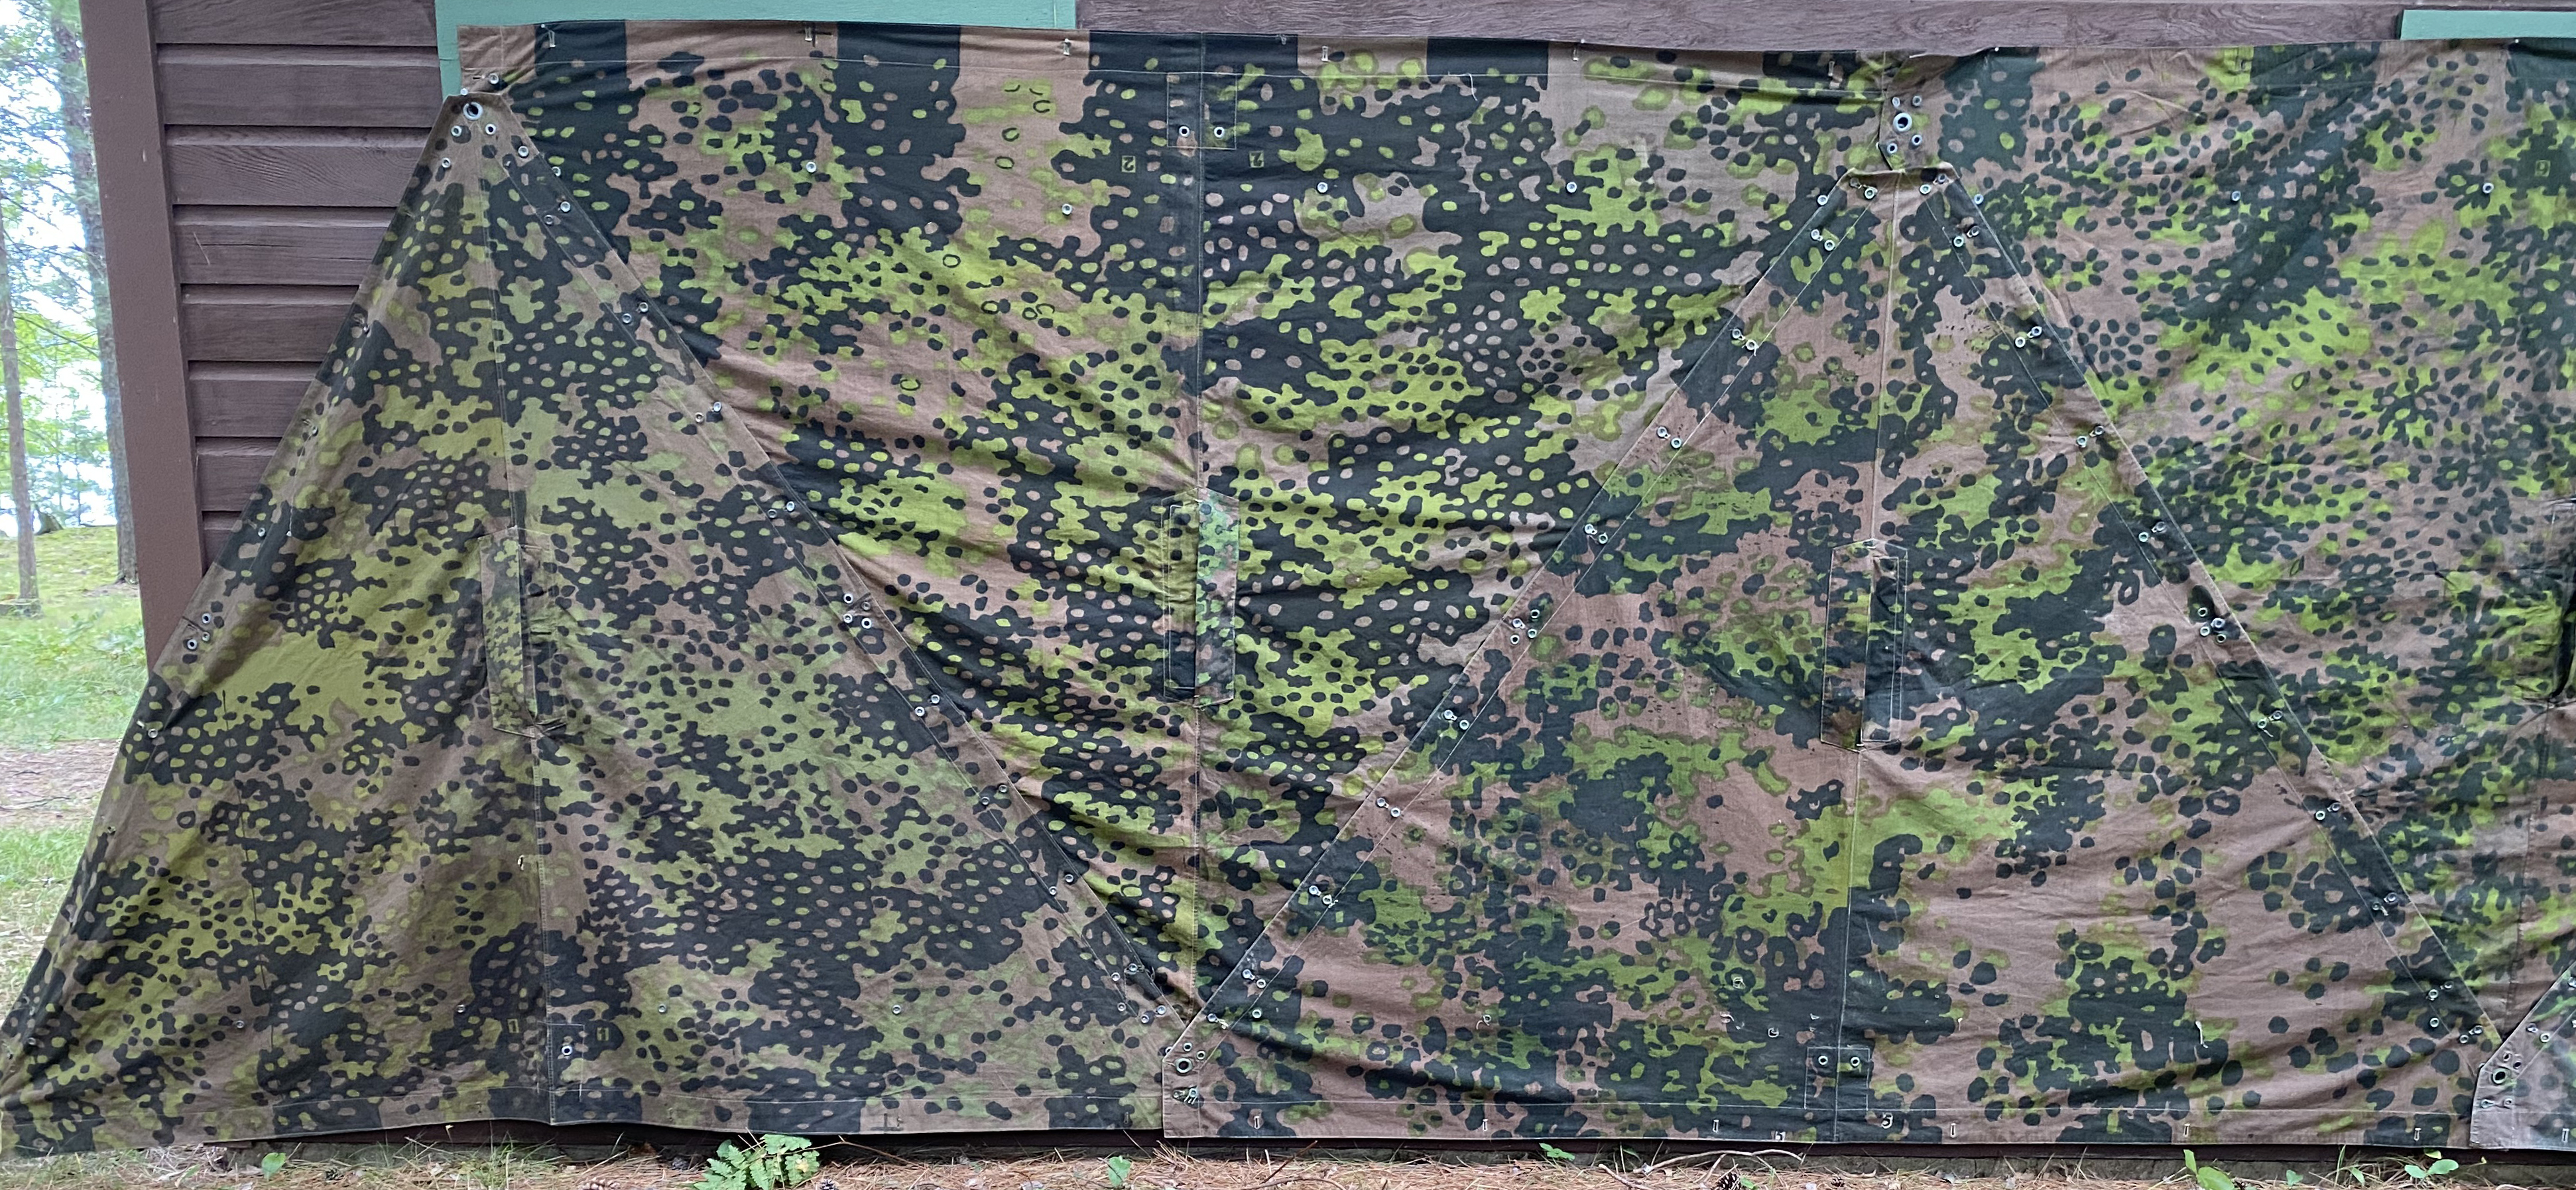
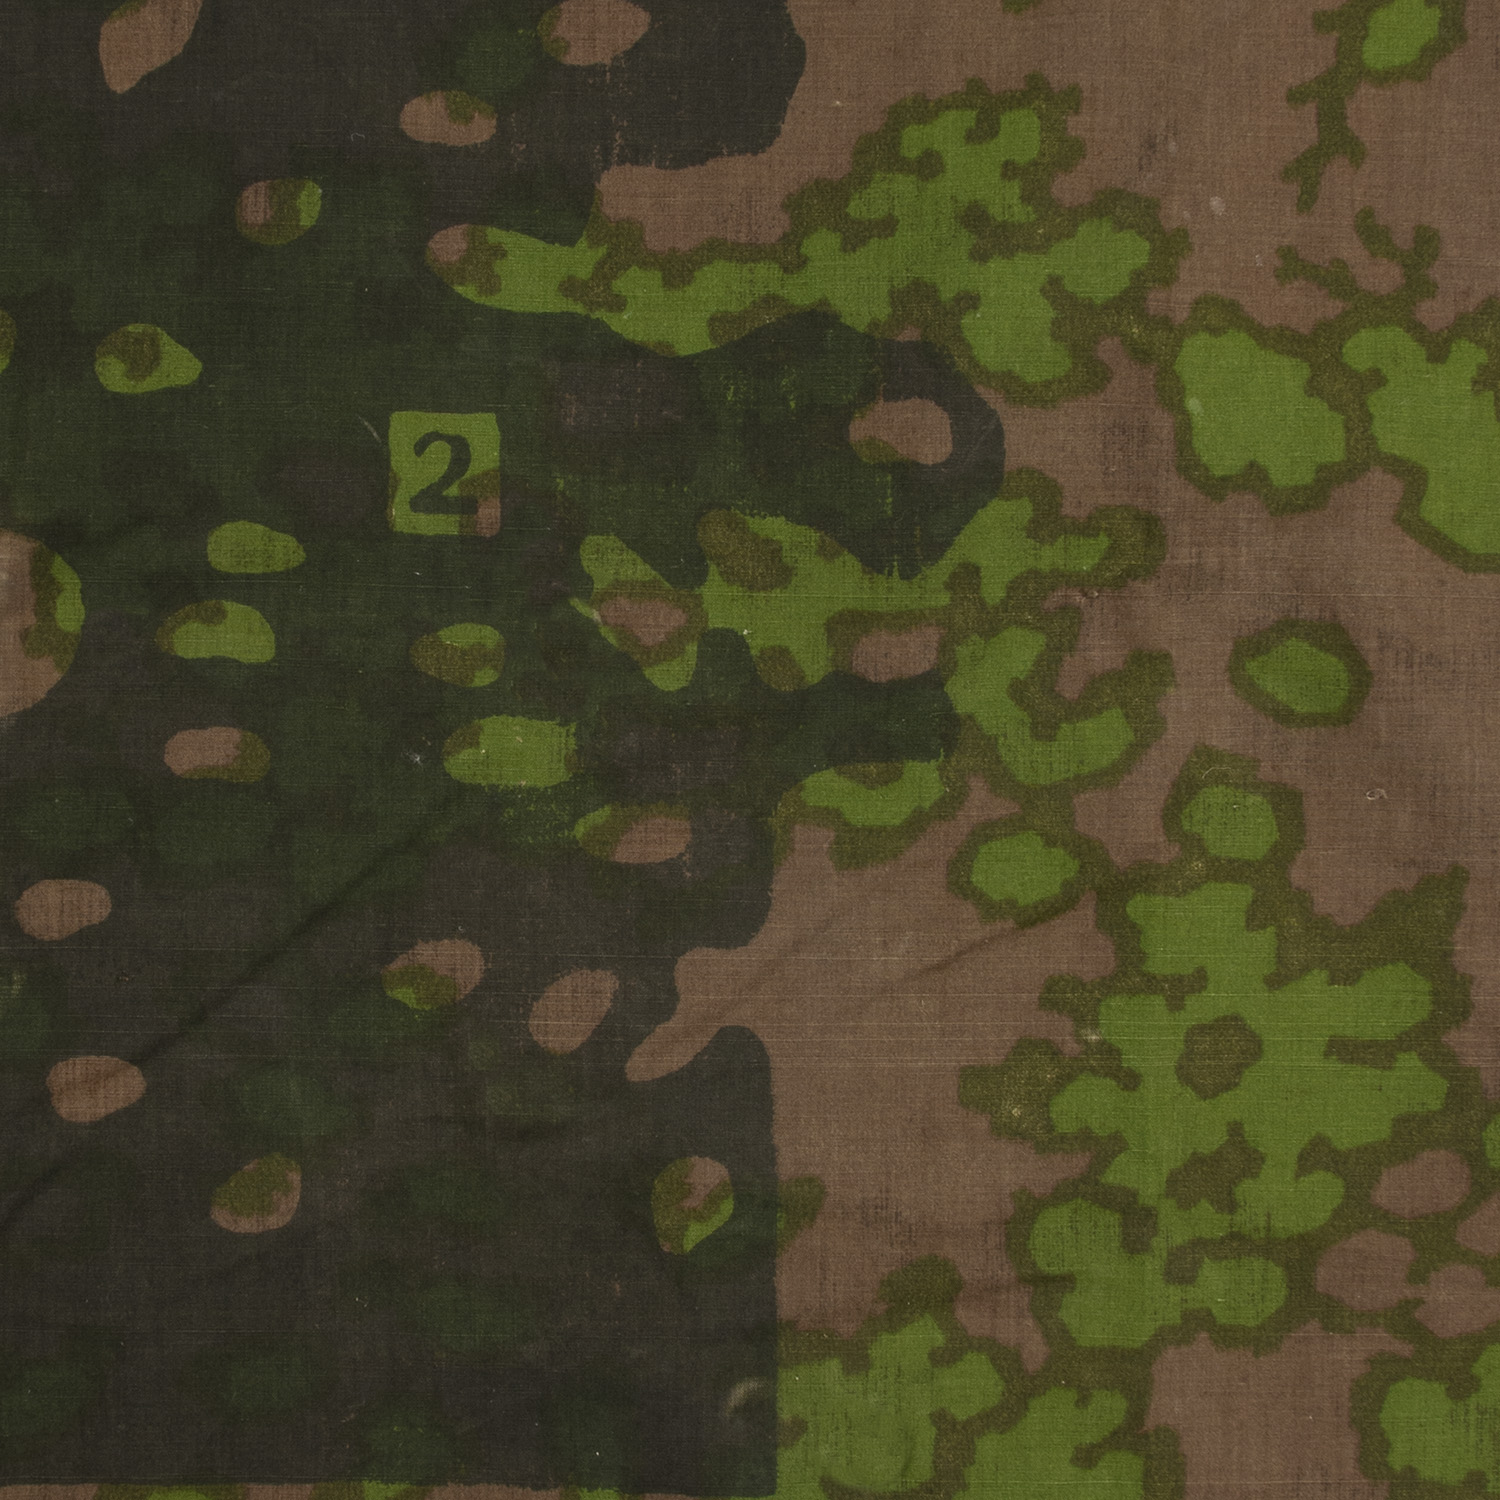
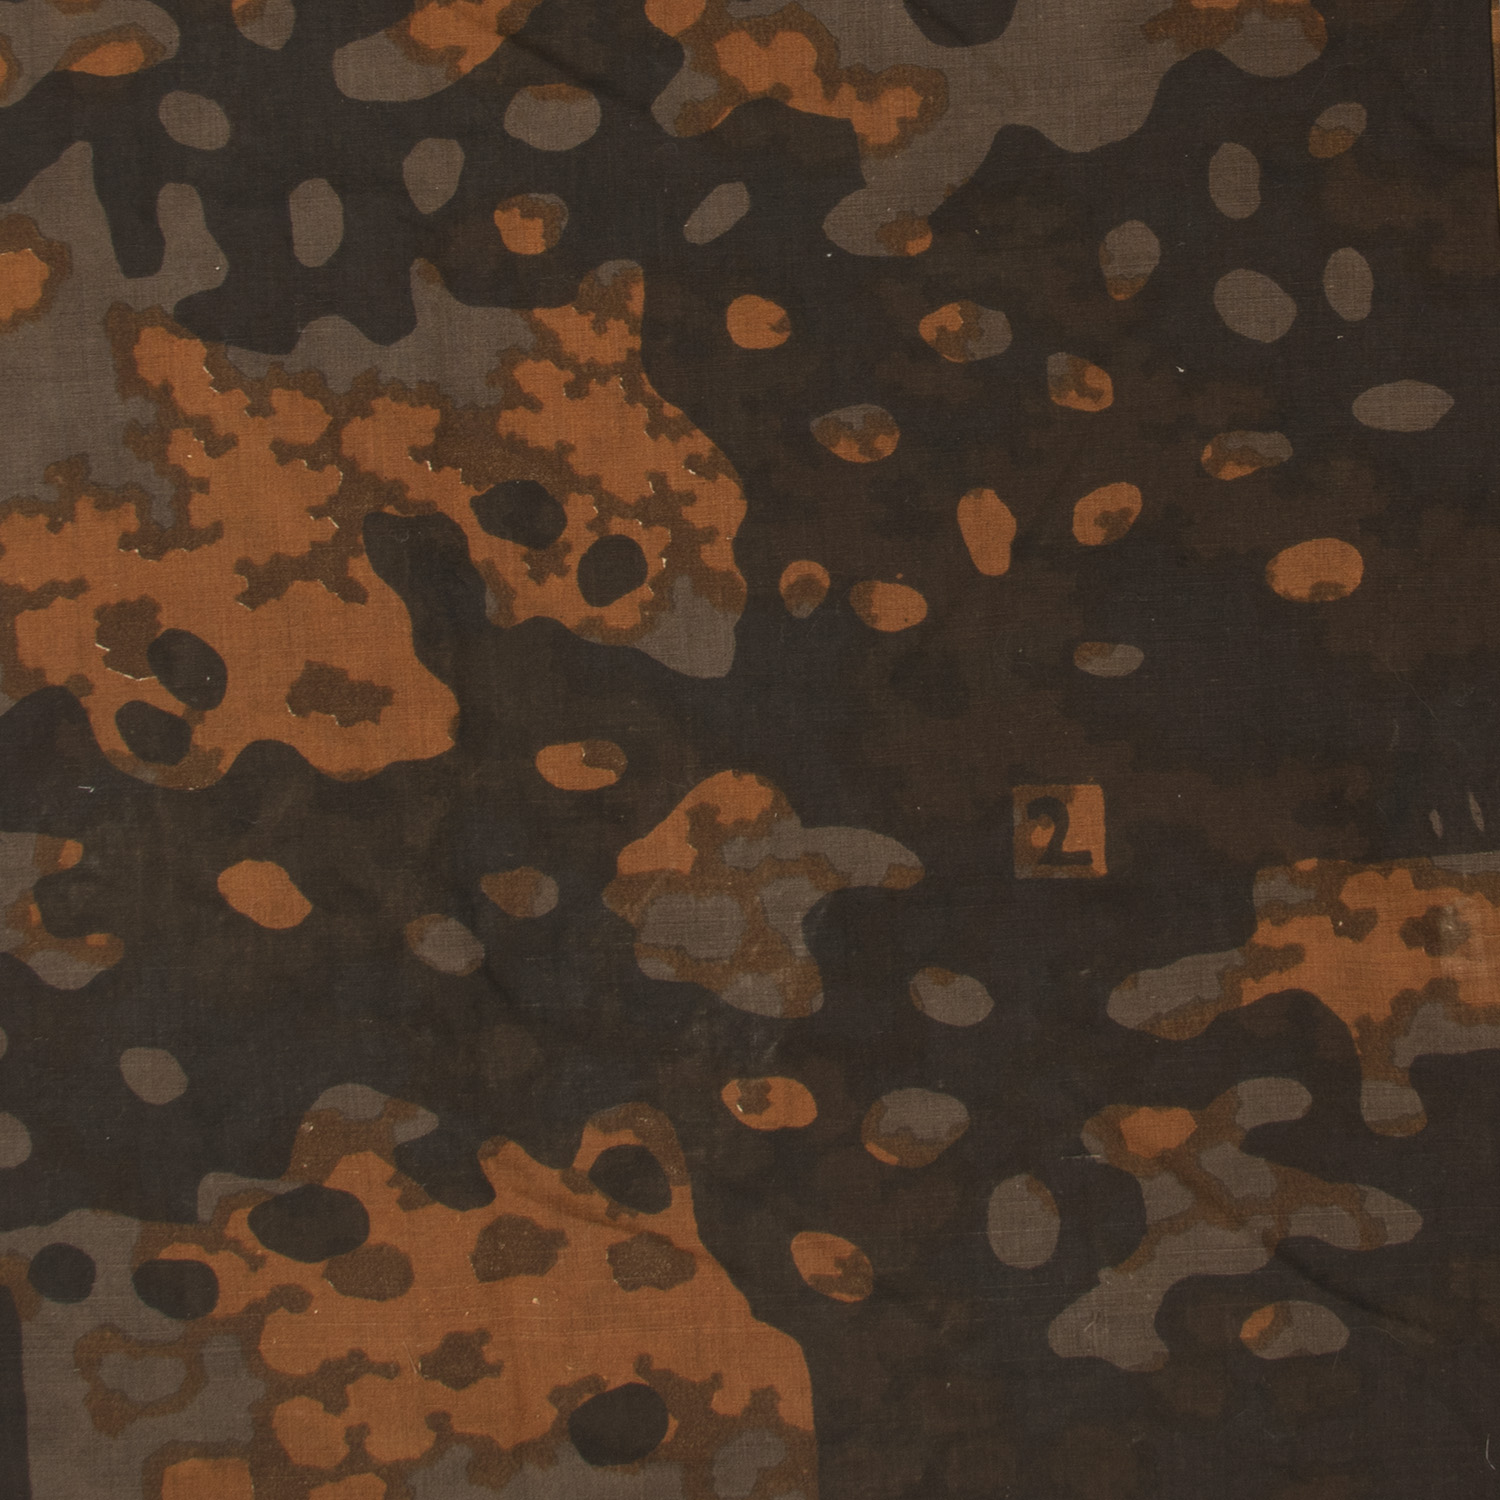
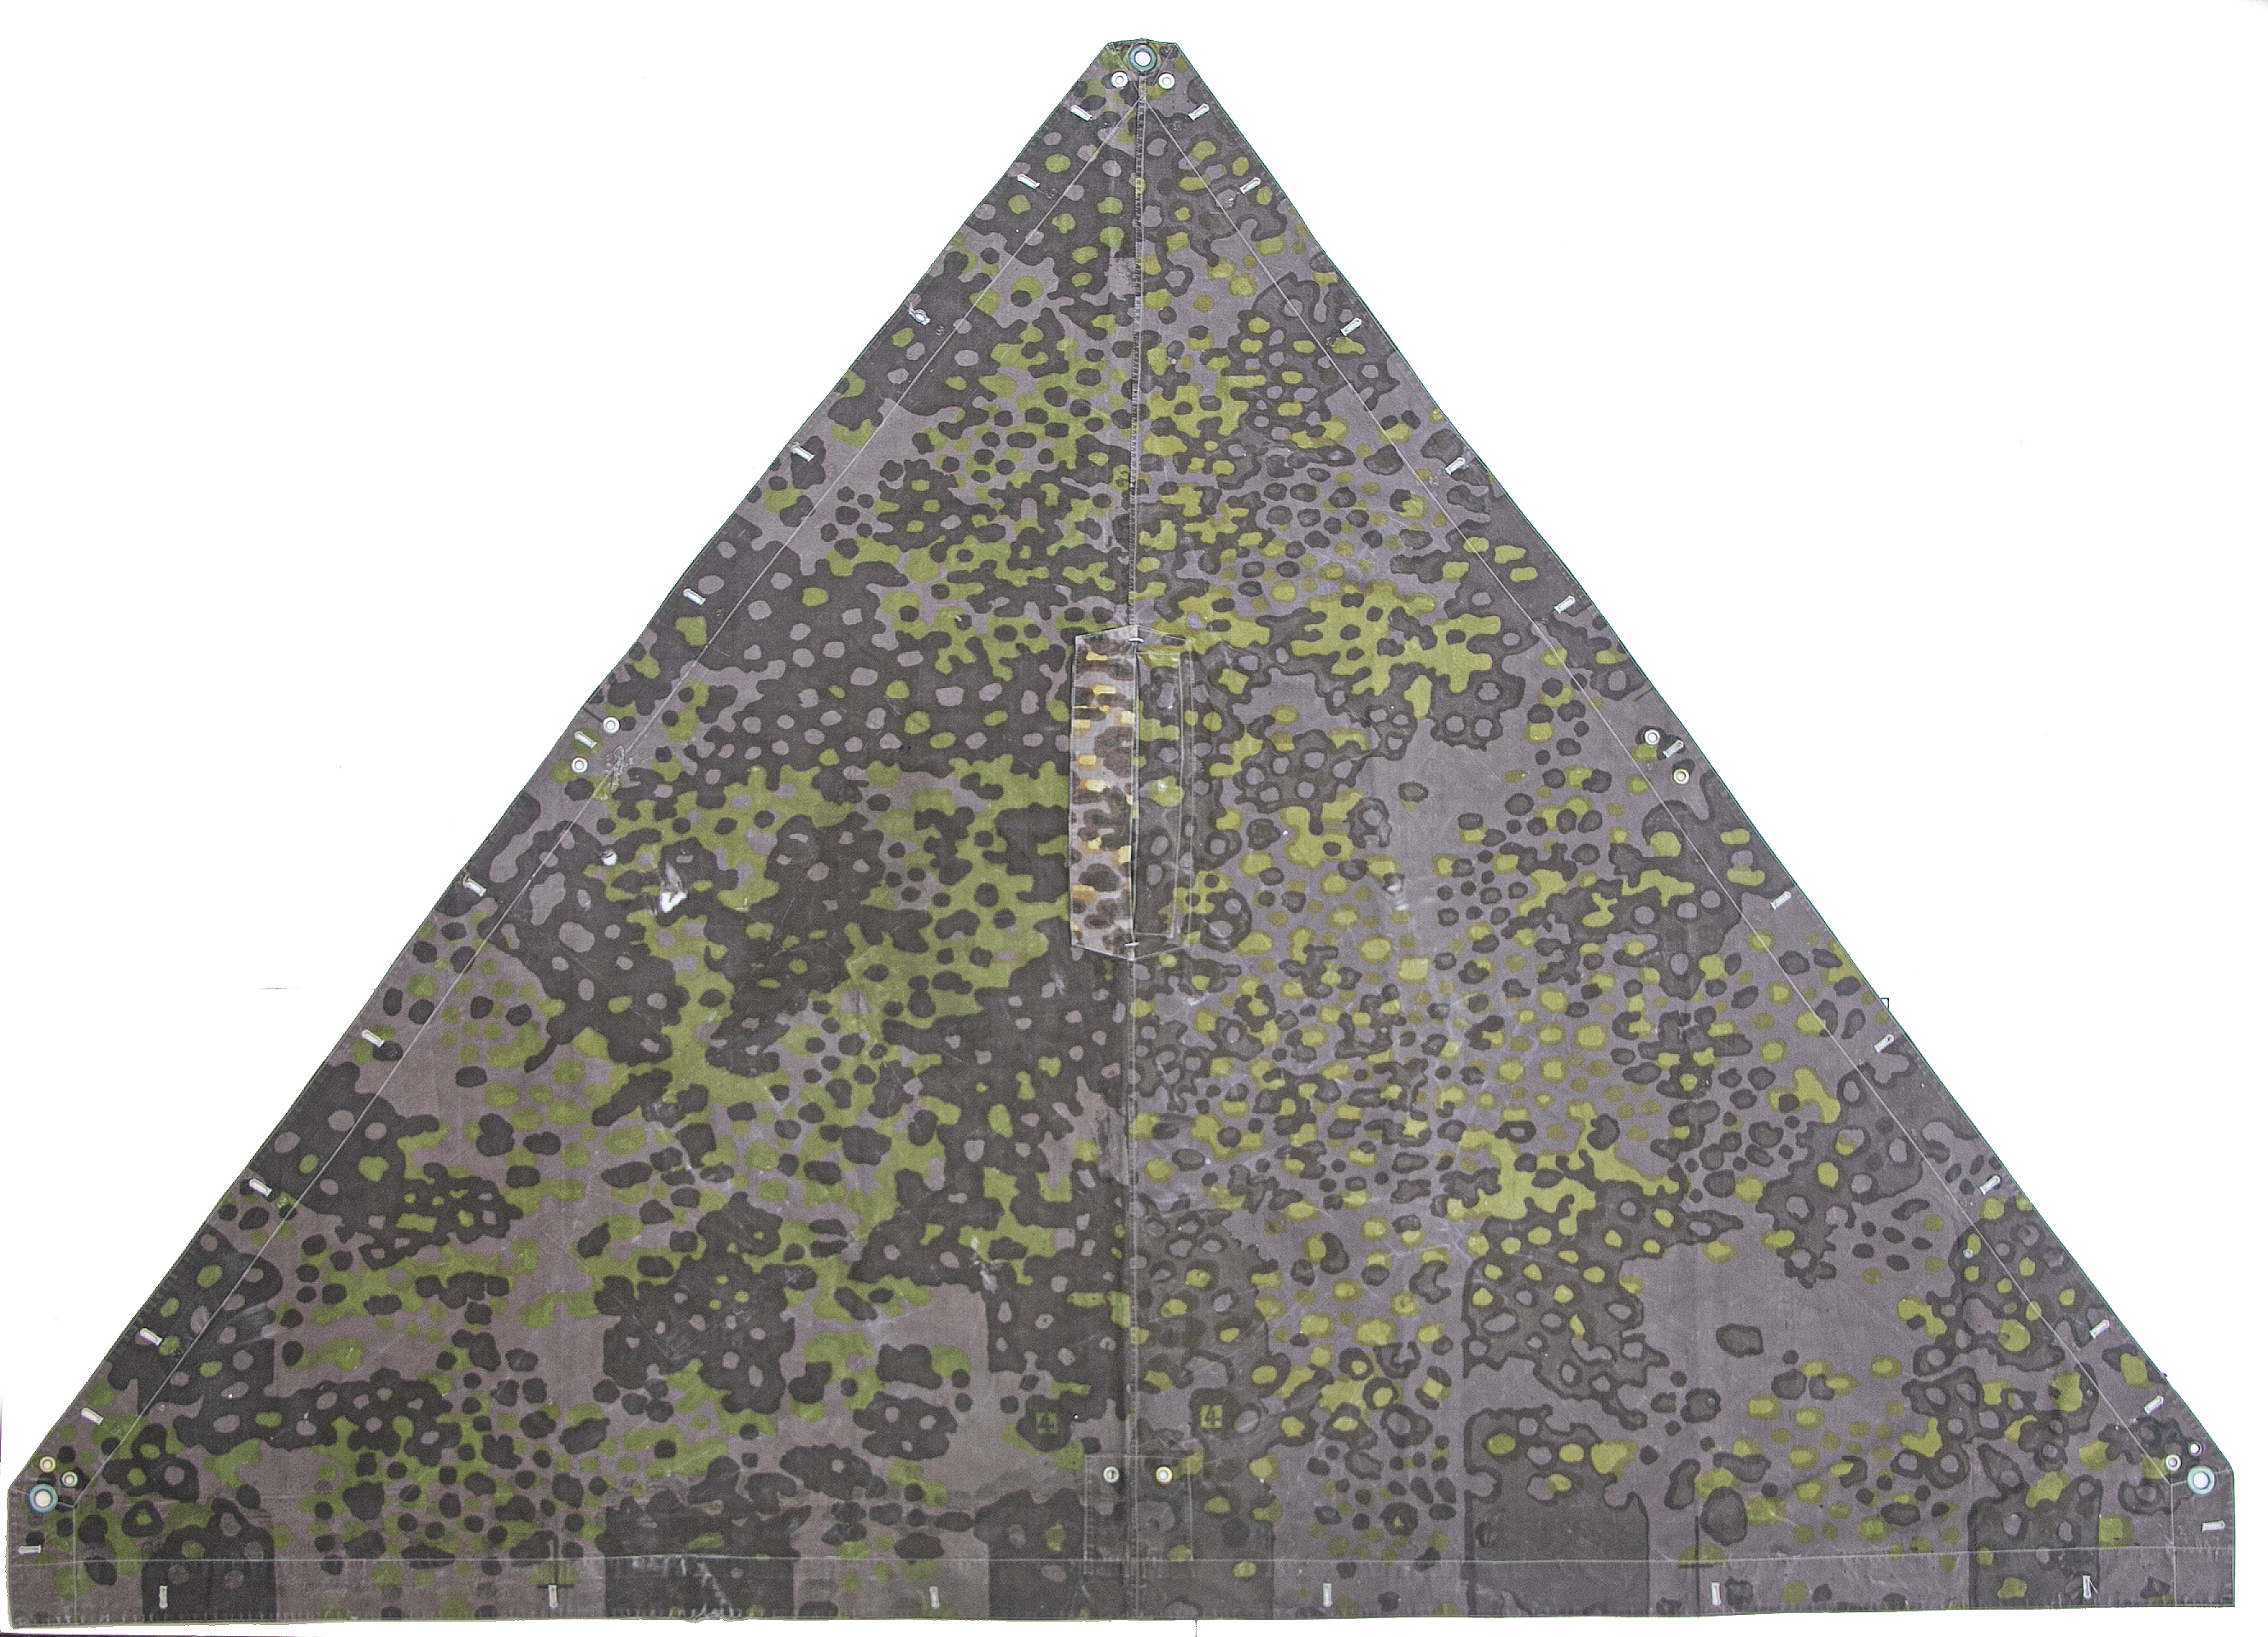
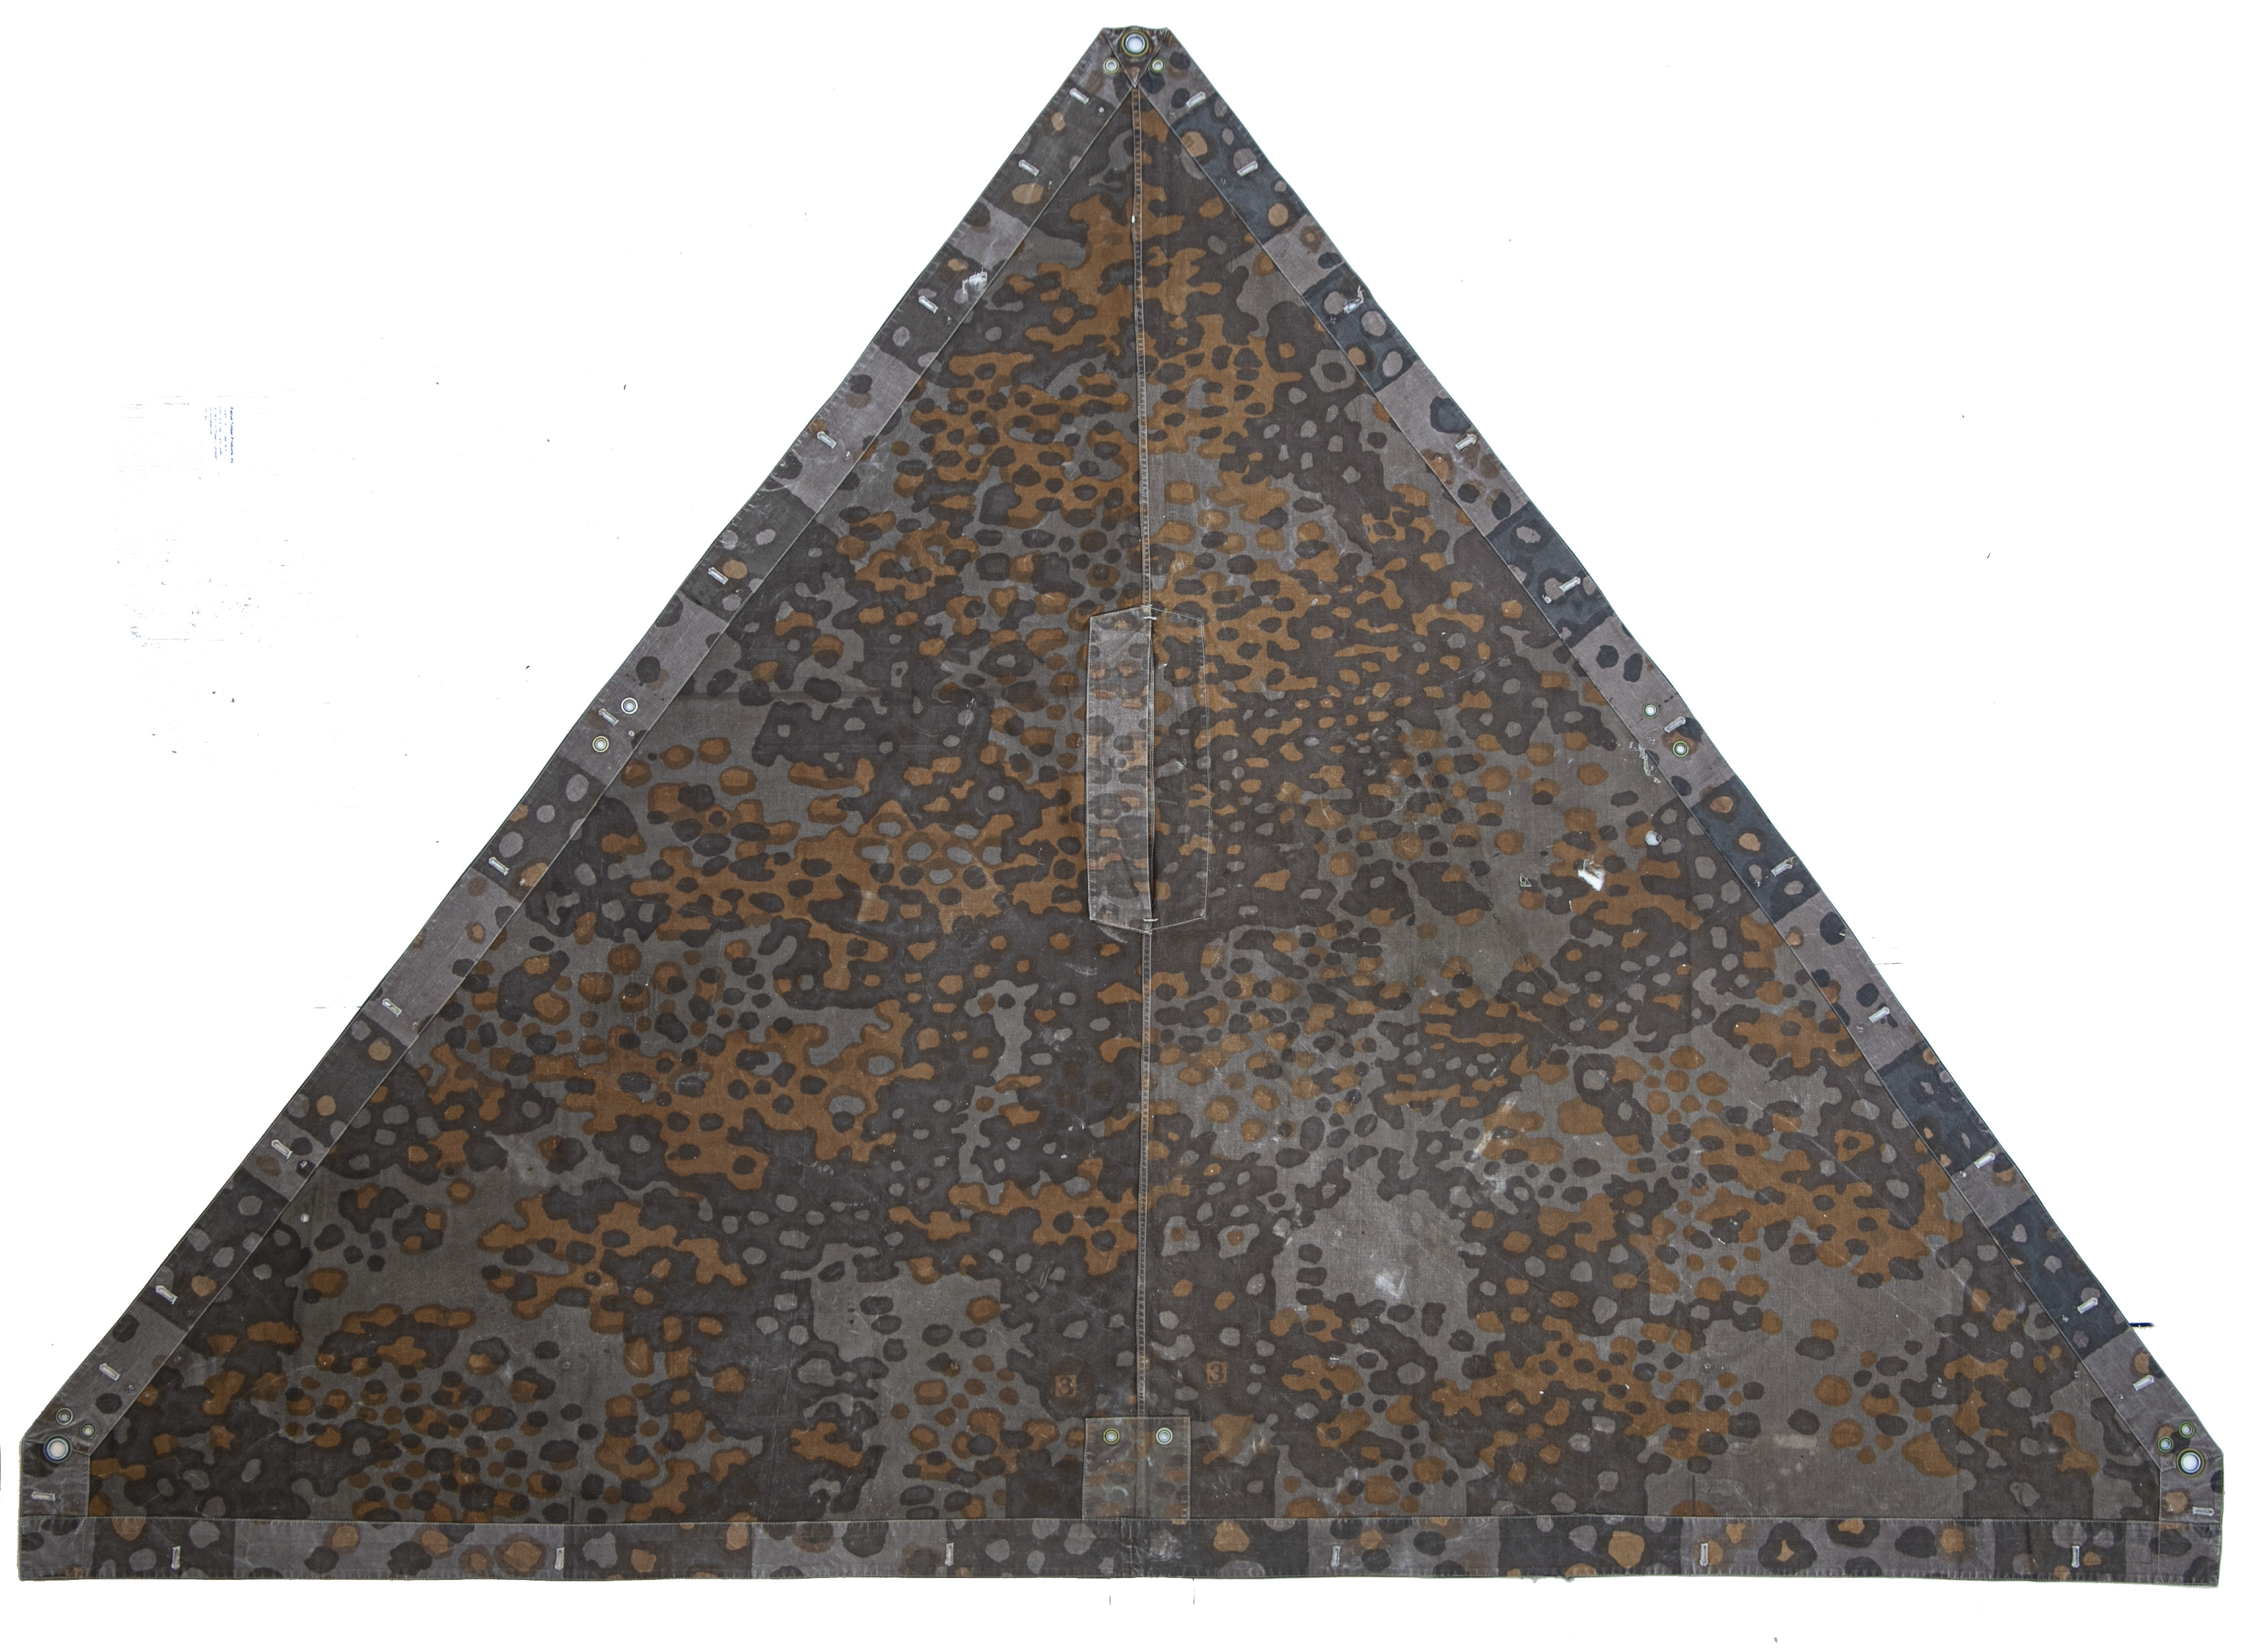
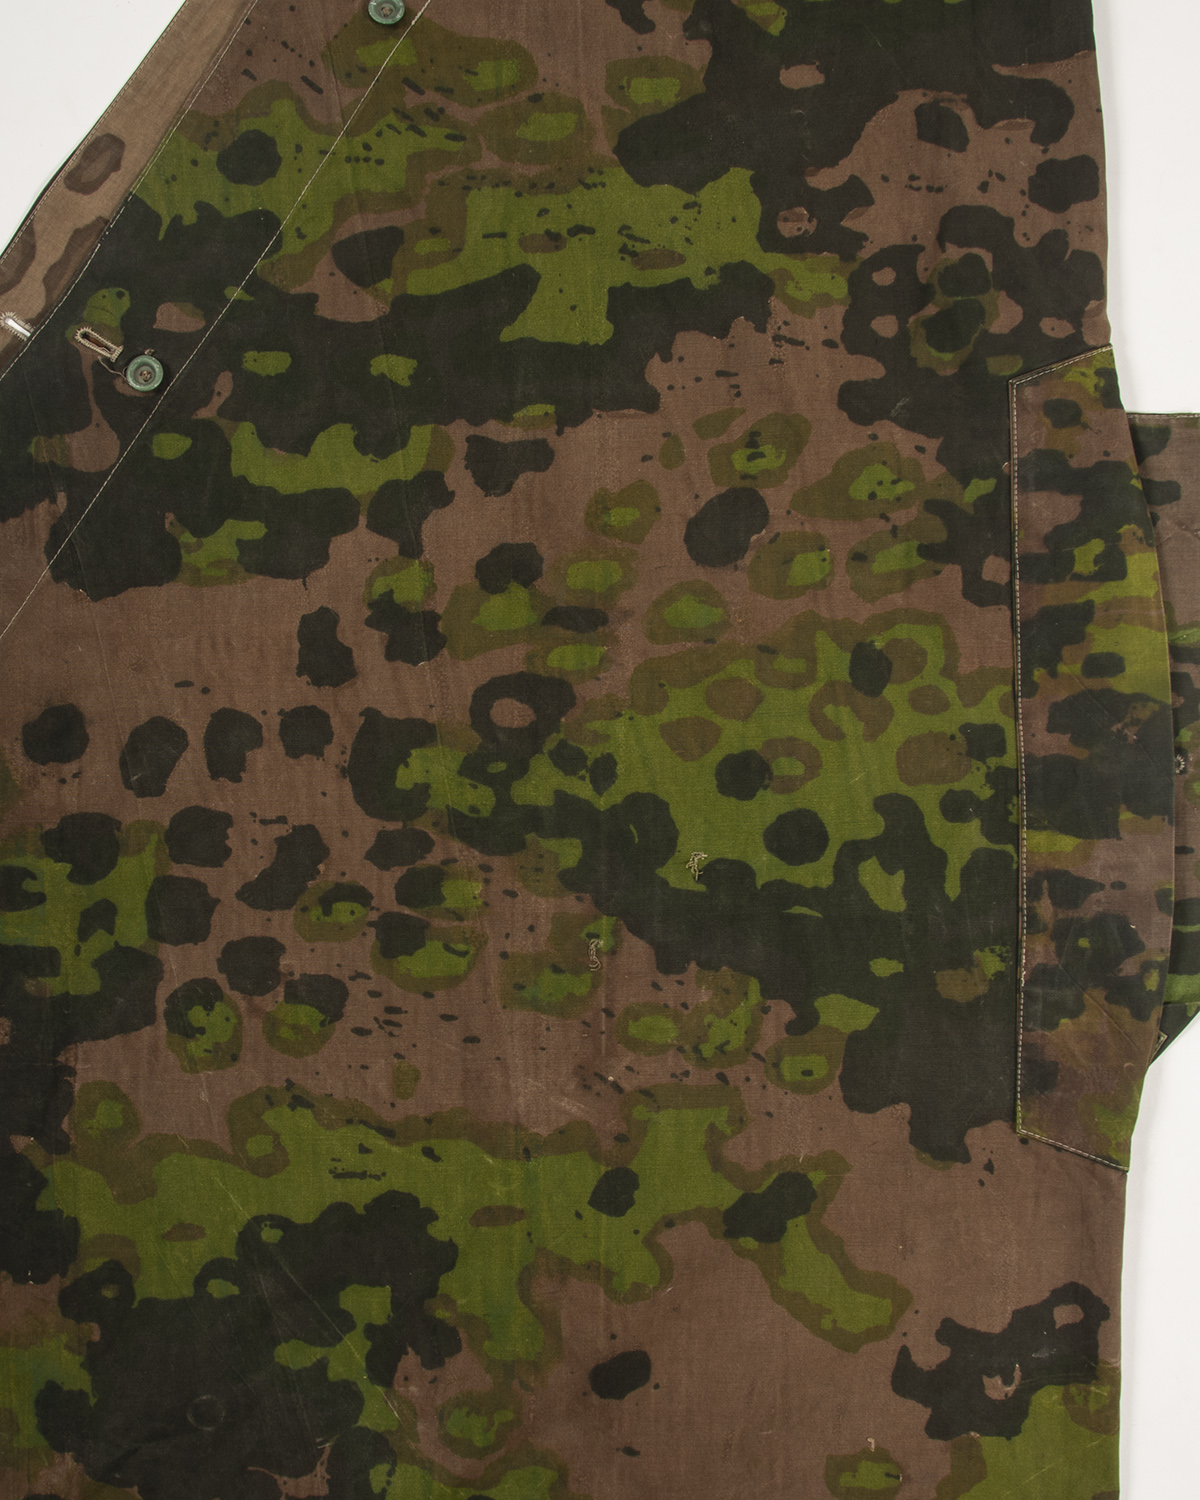
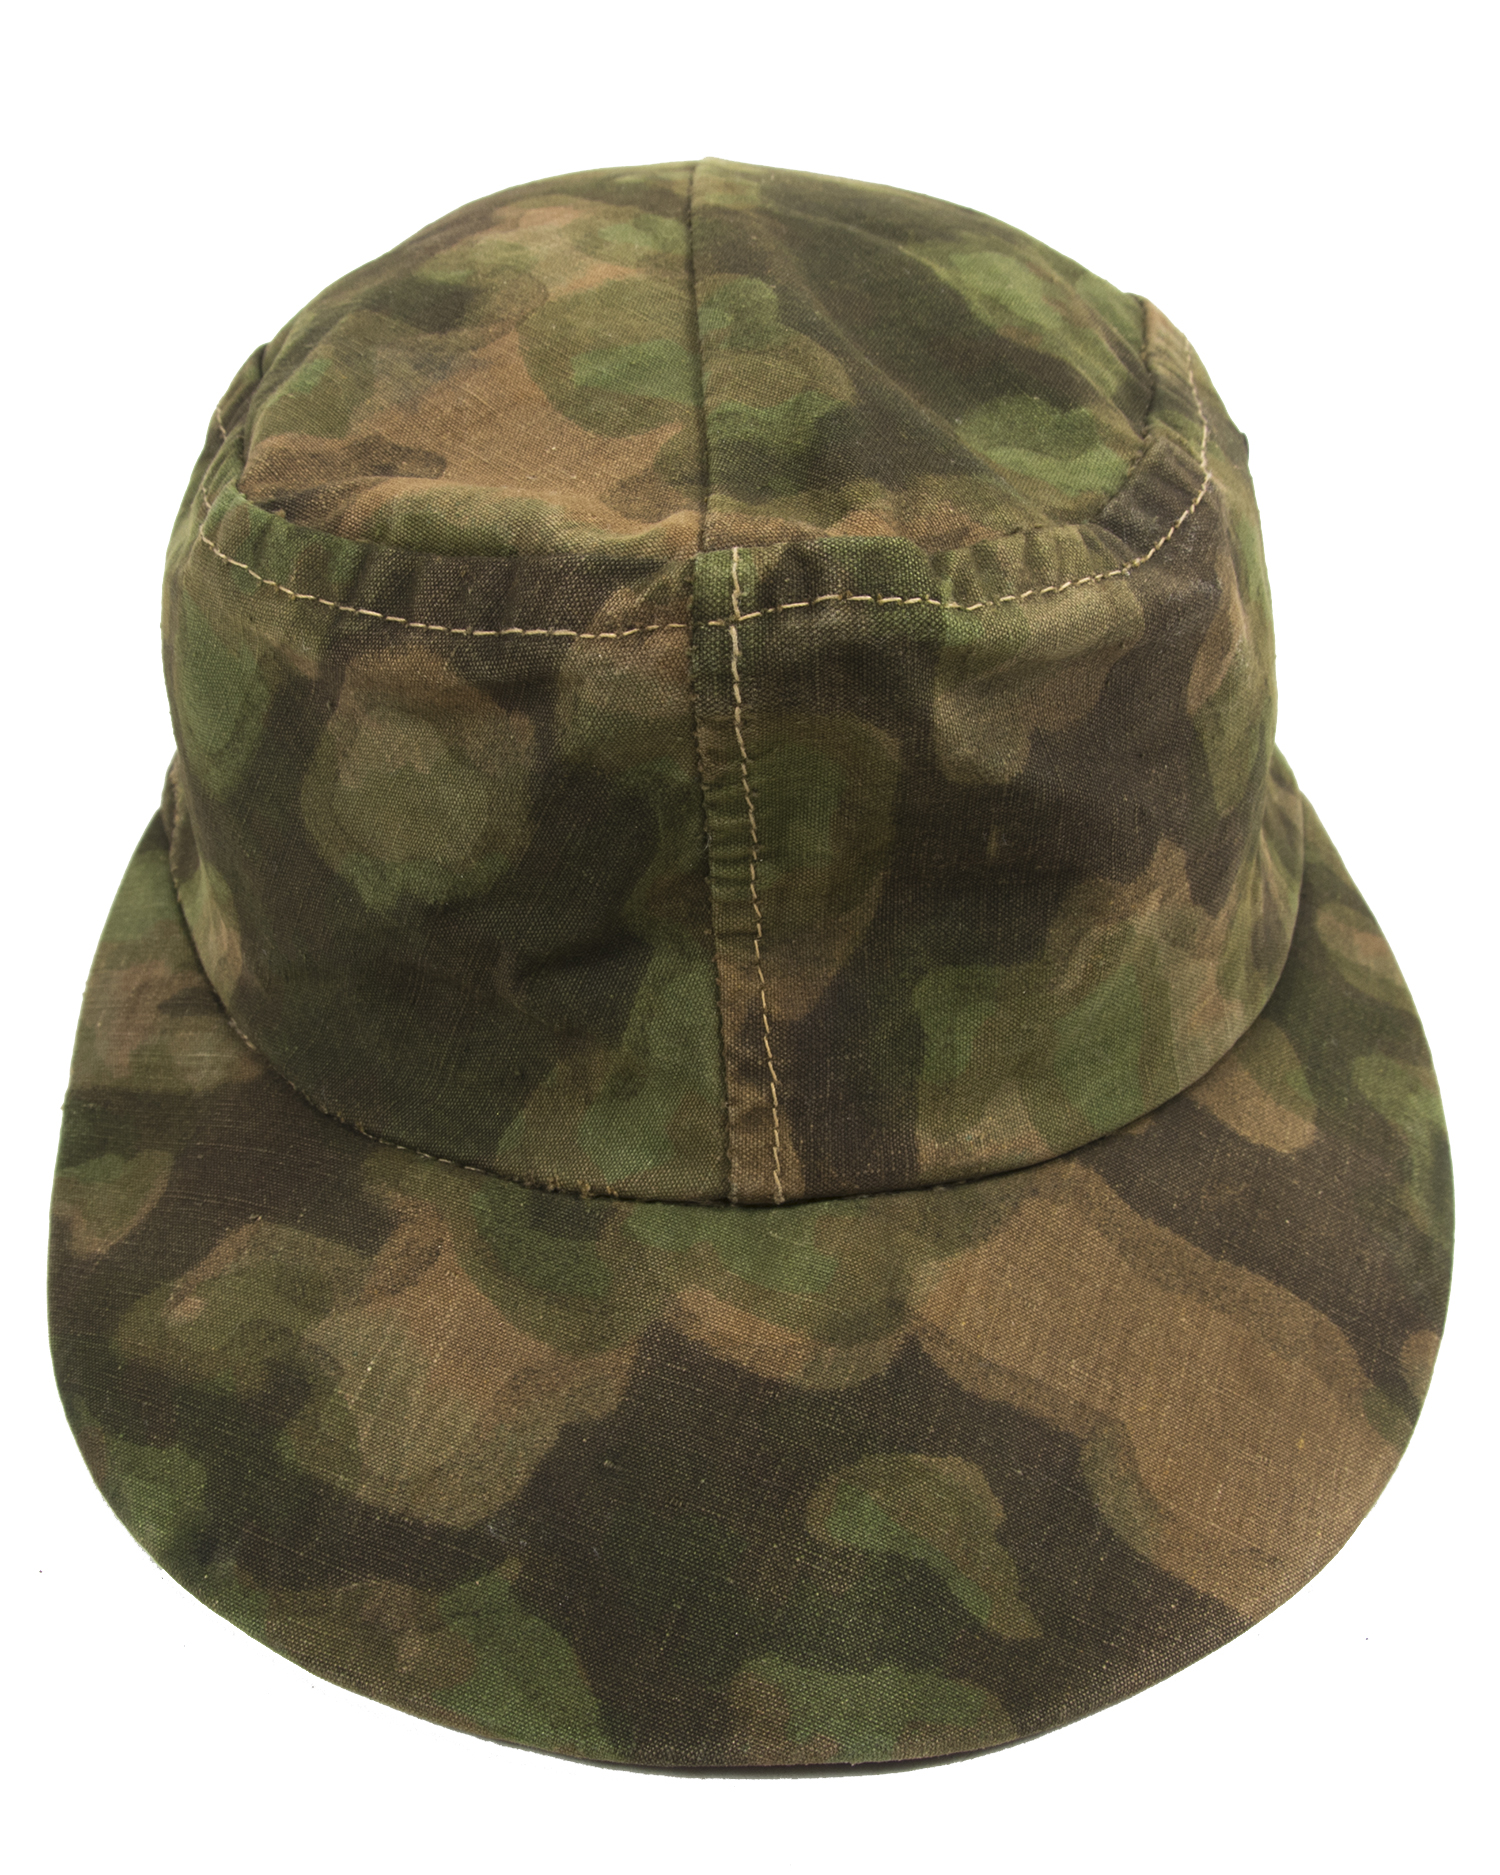
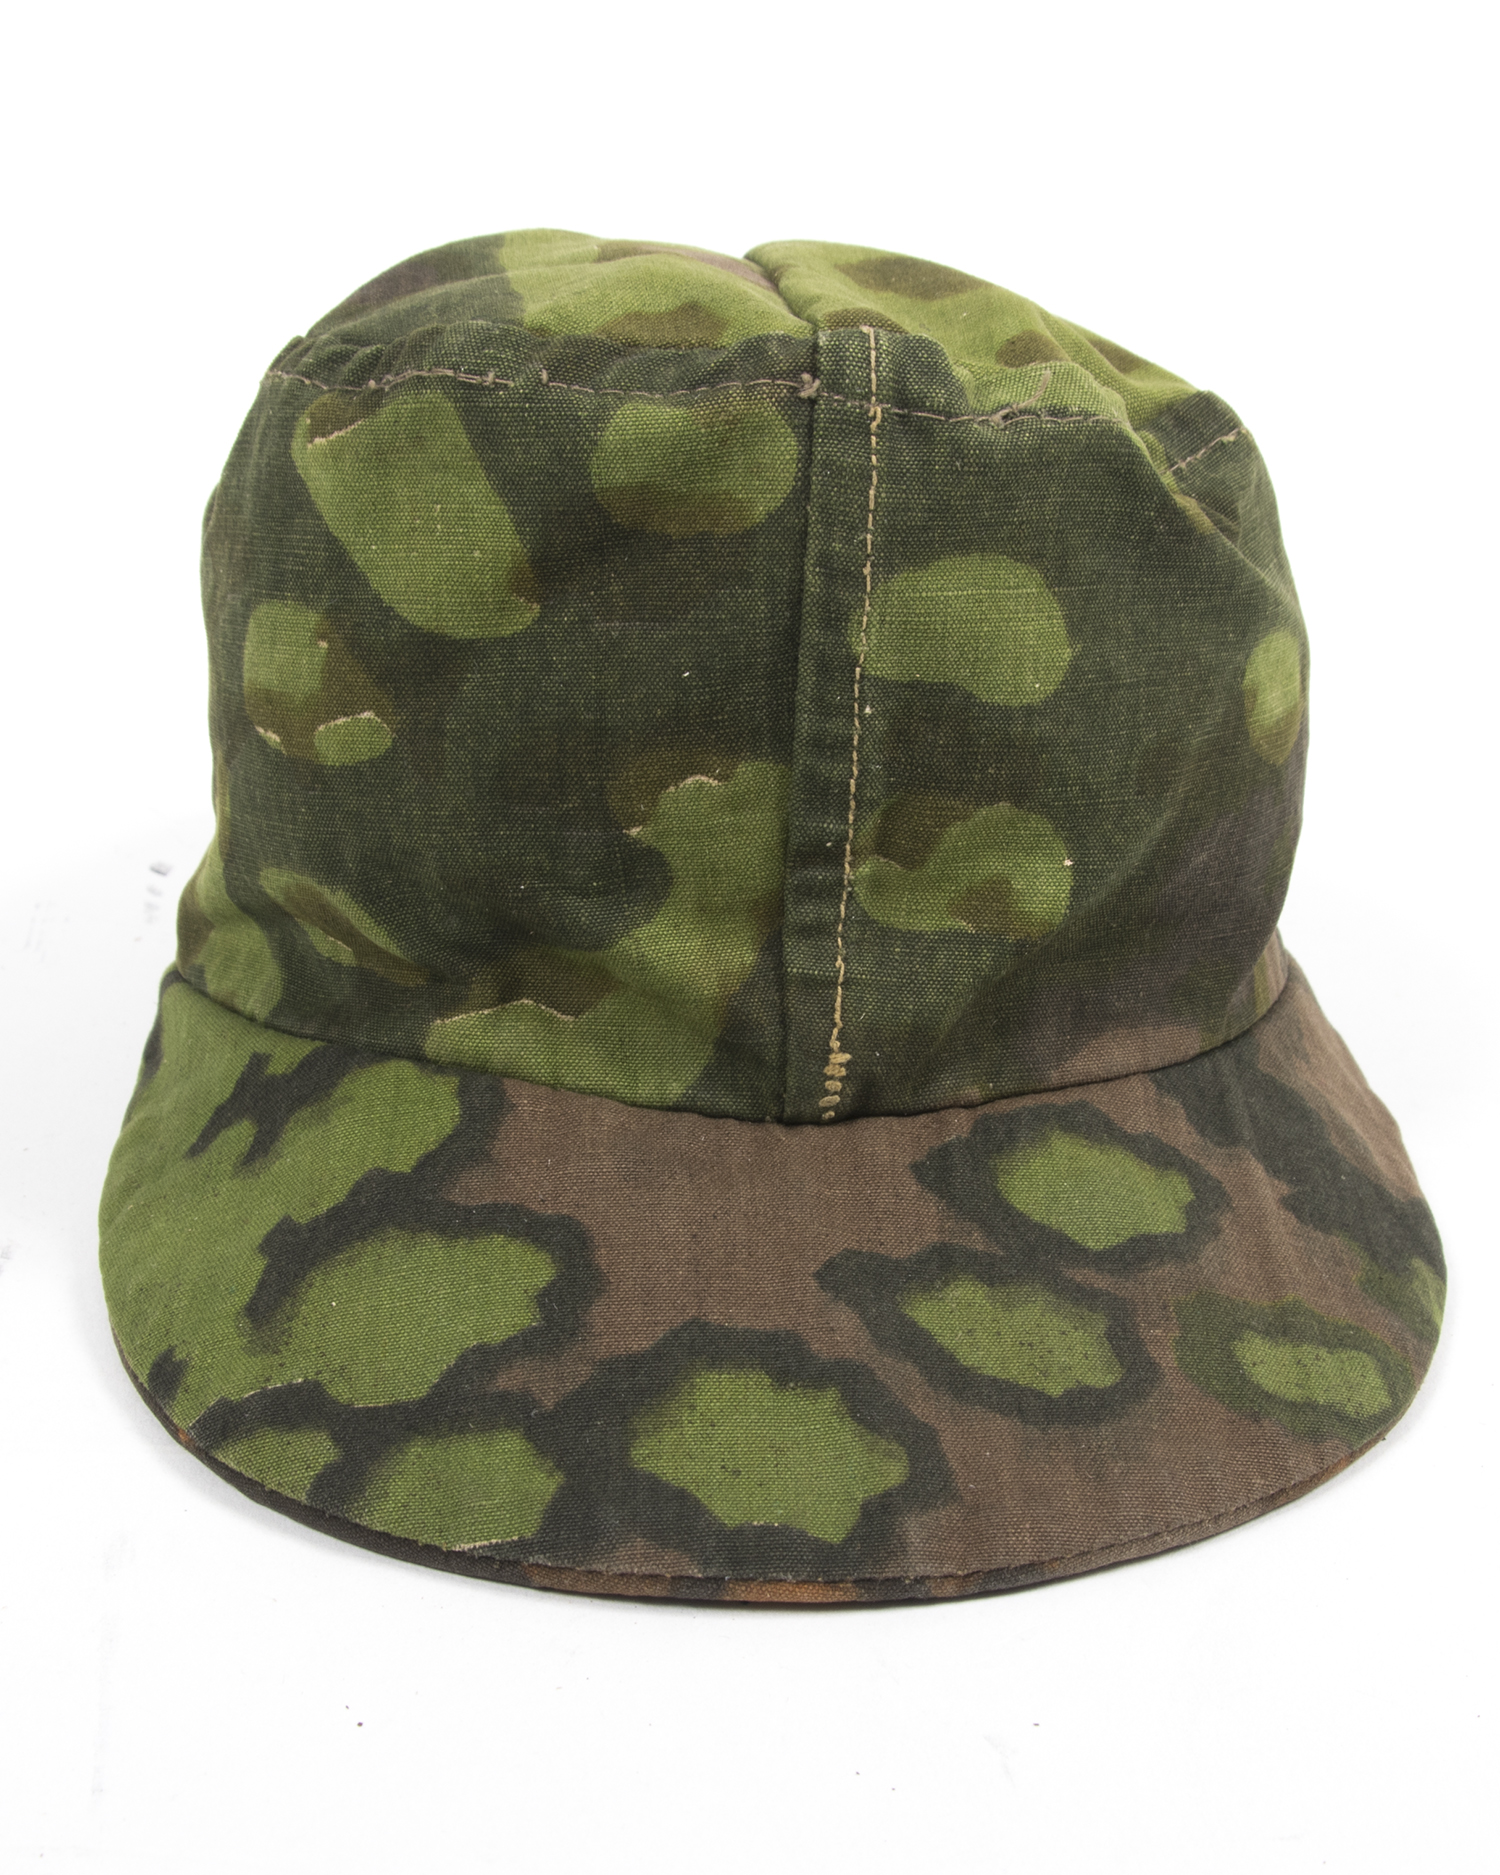
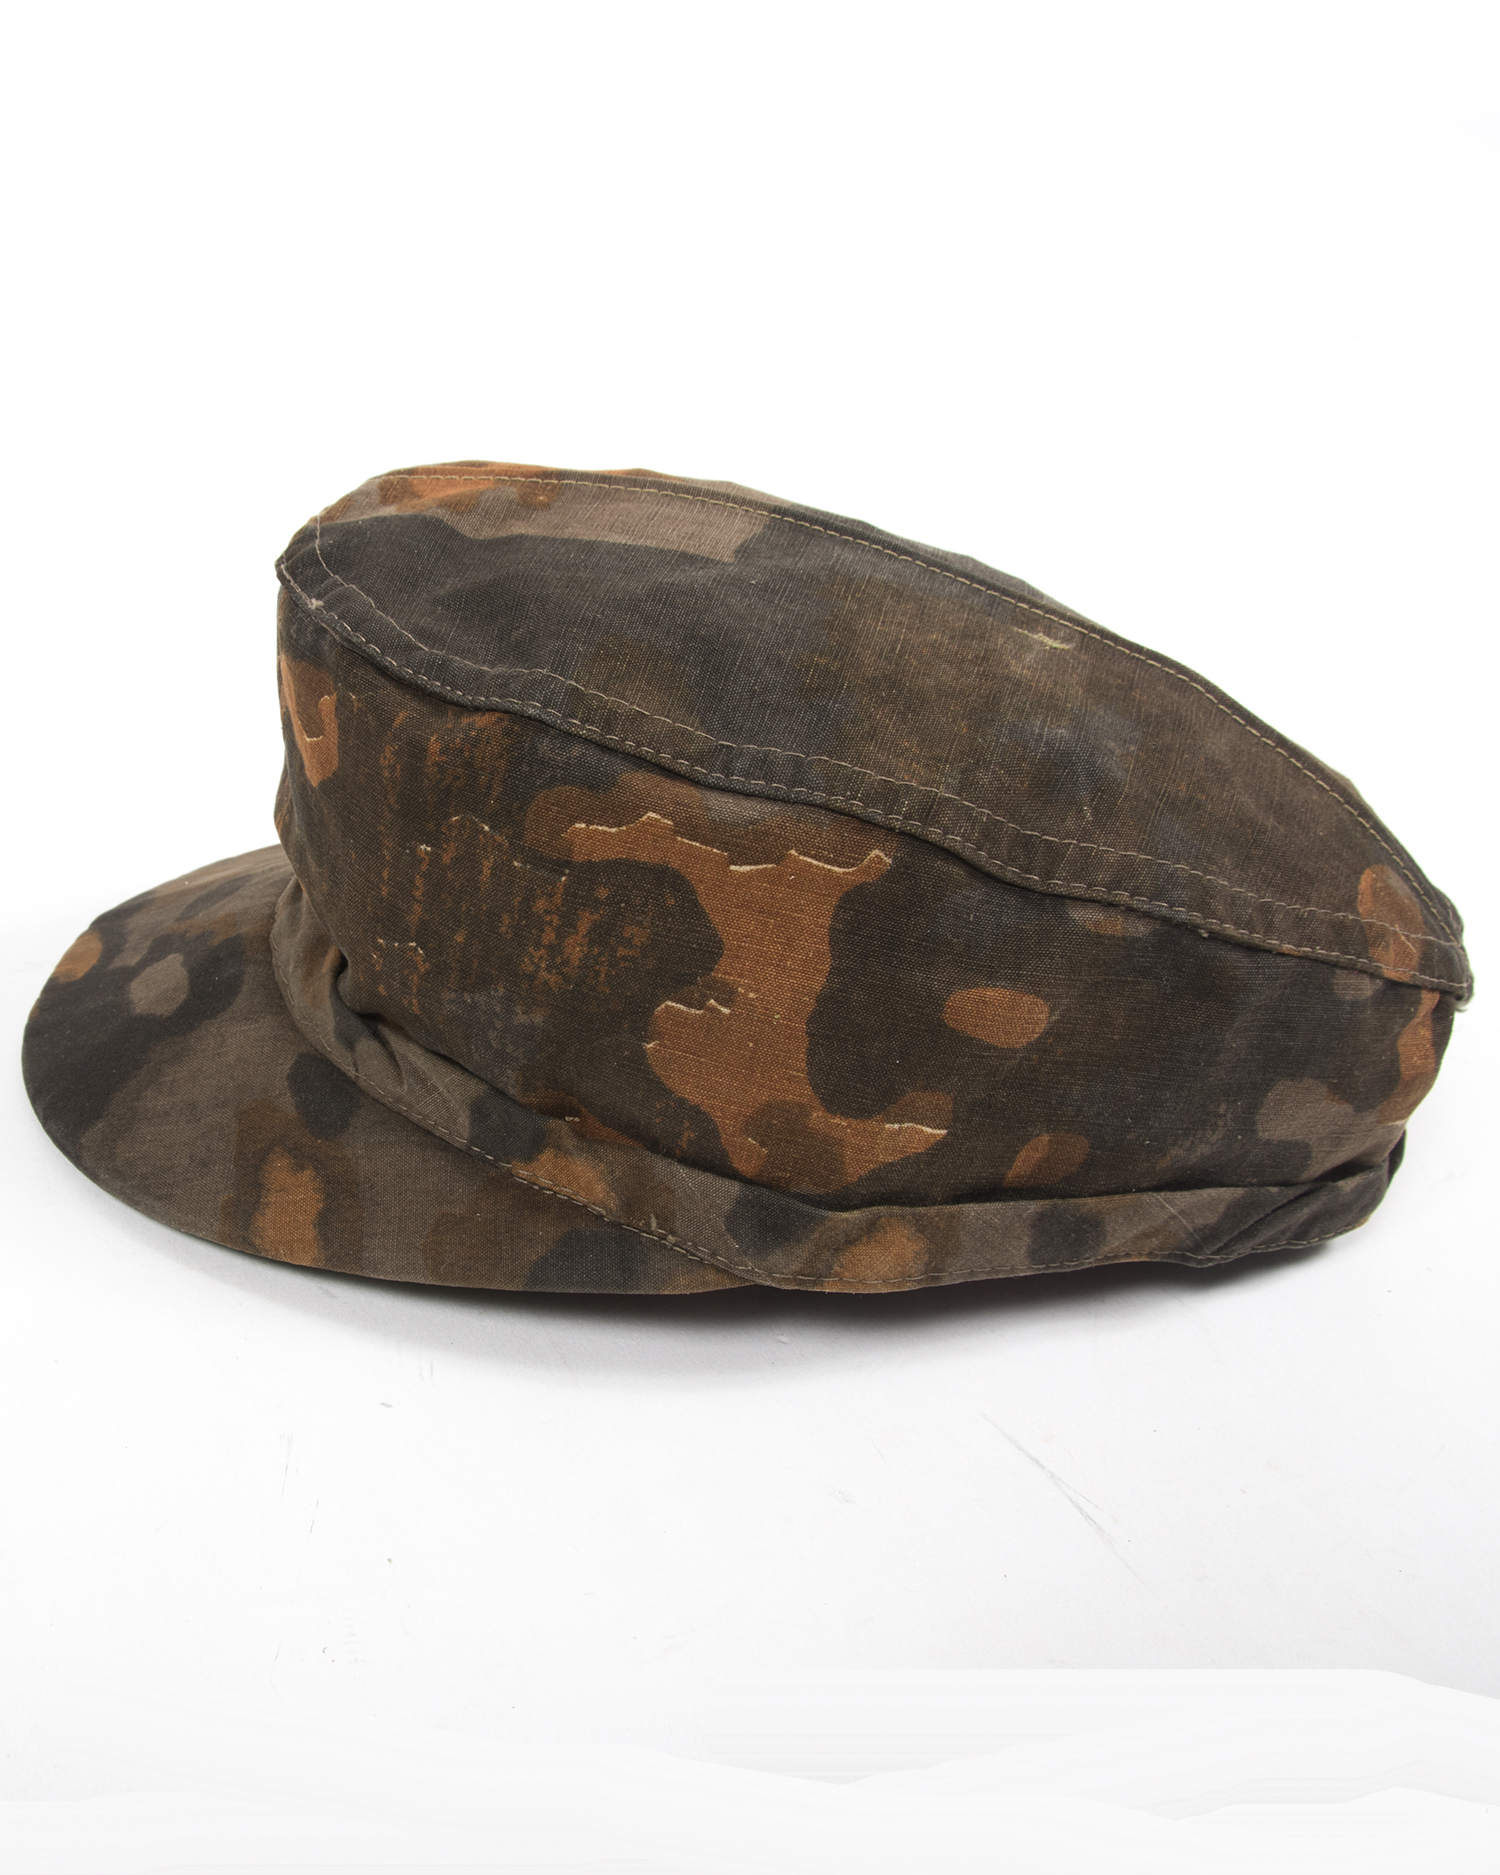
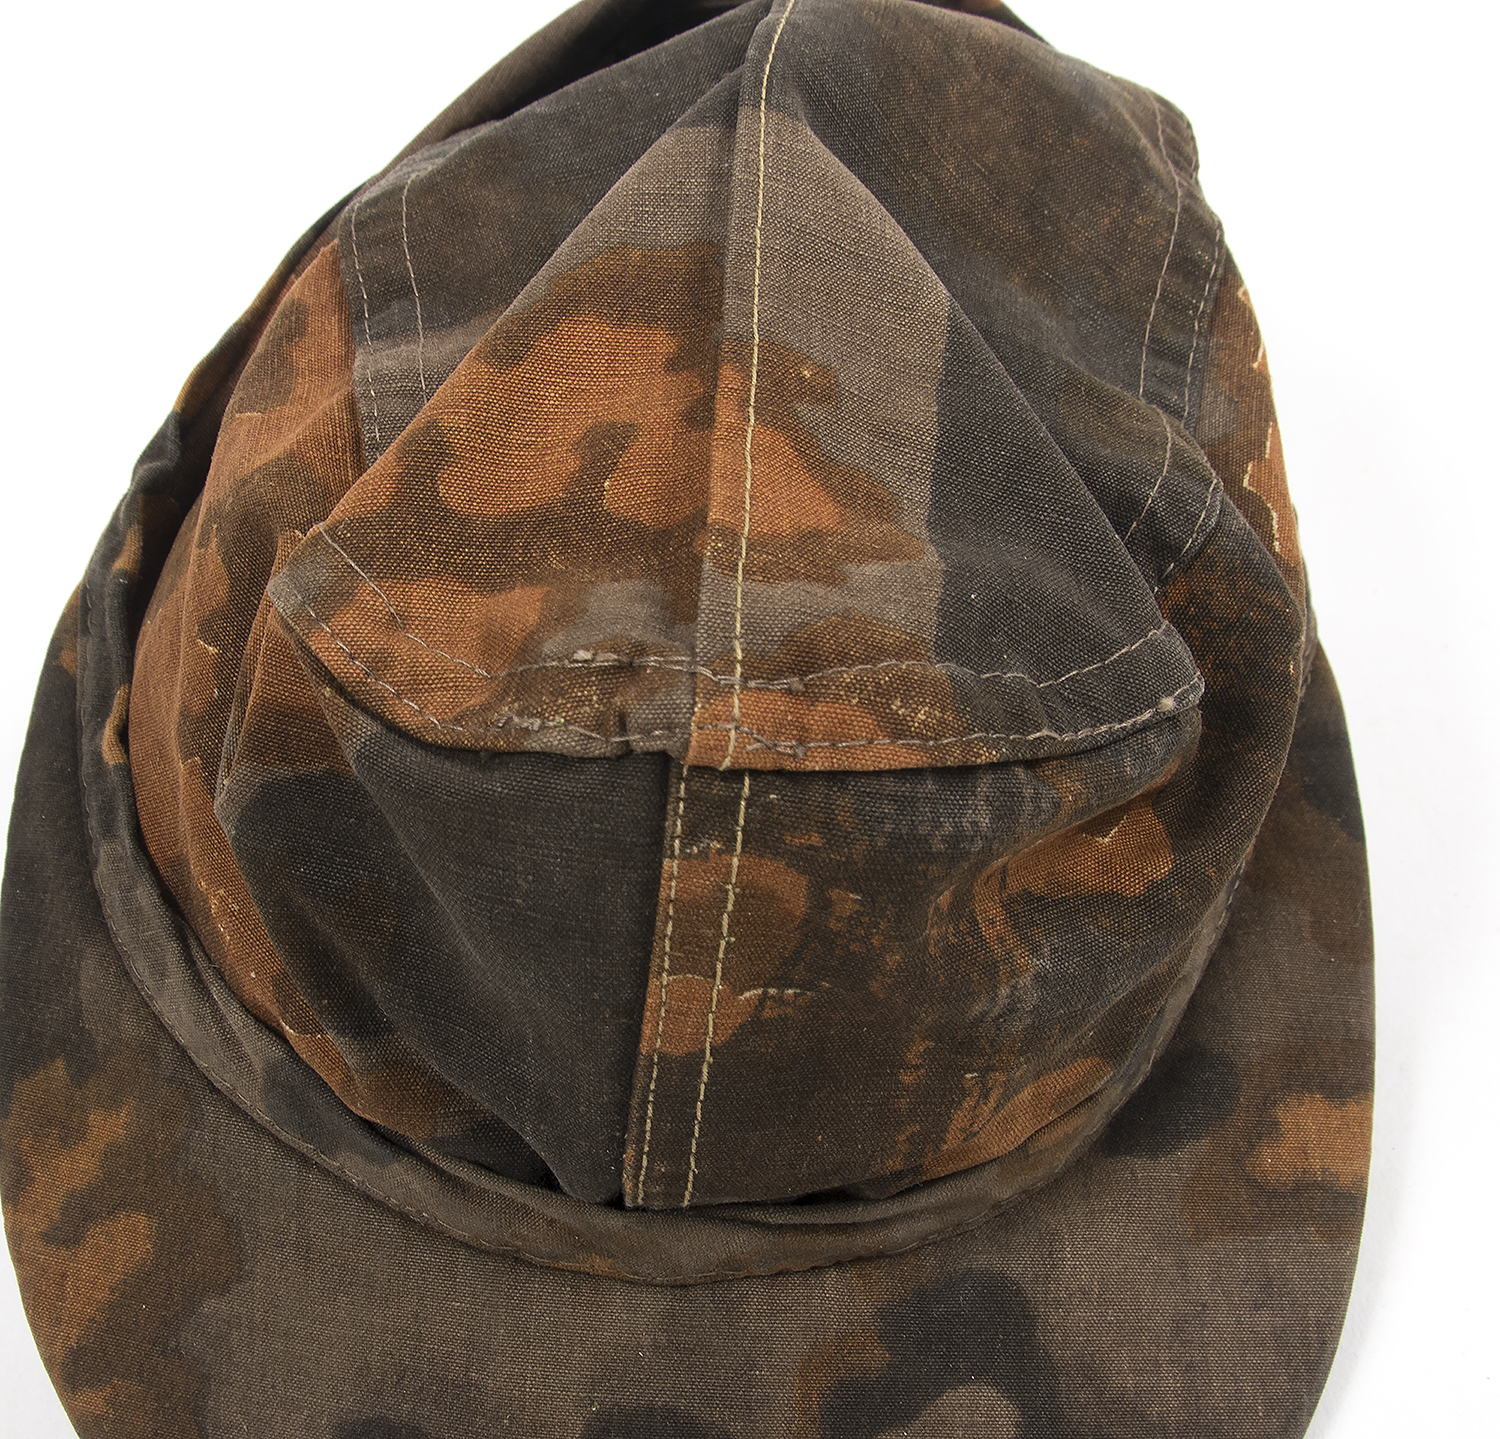
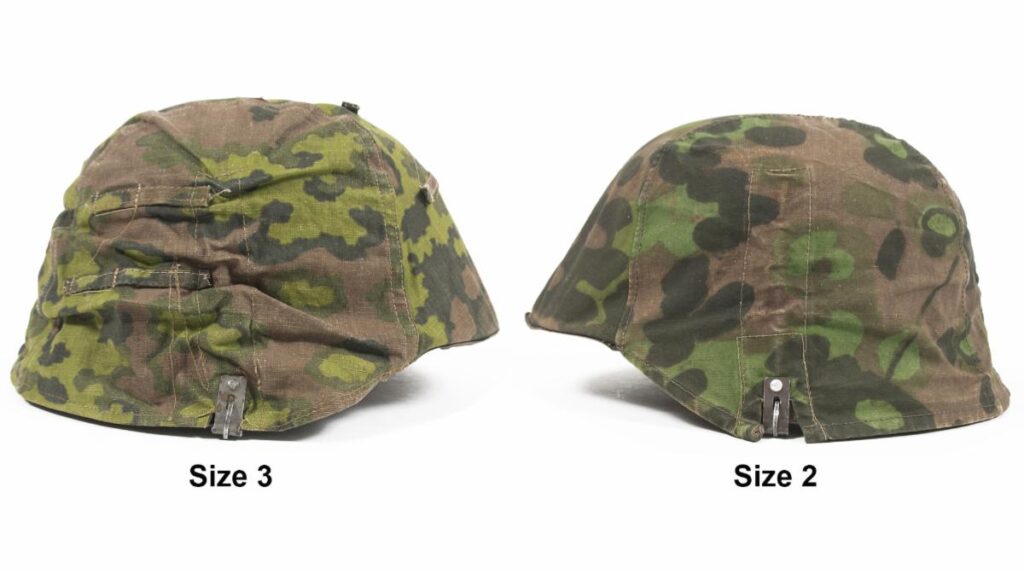 The two original covers used for our patterns.
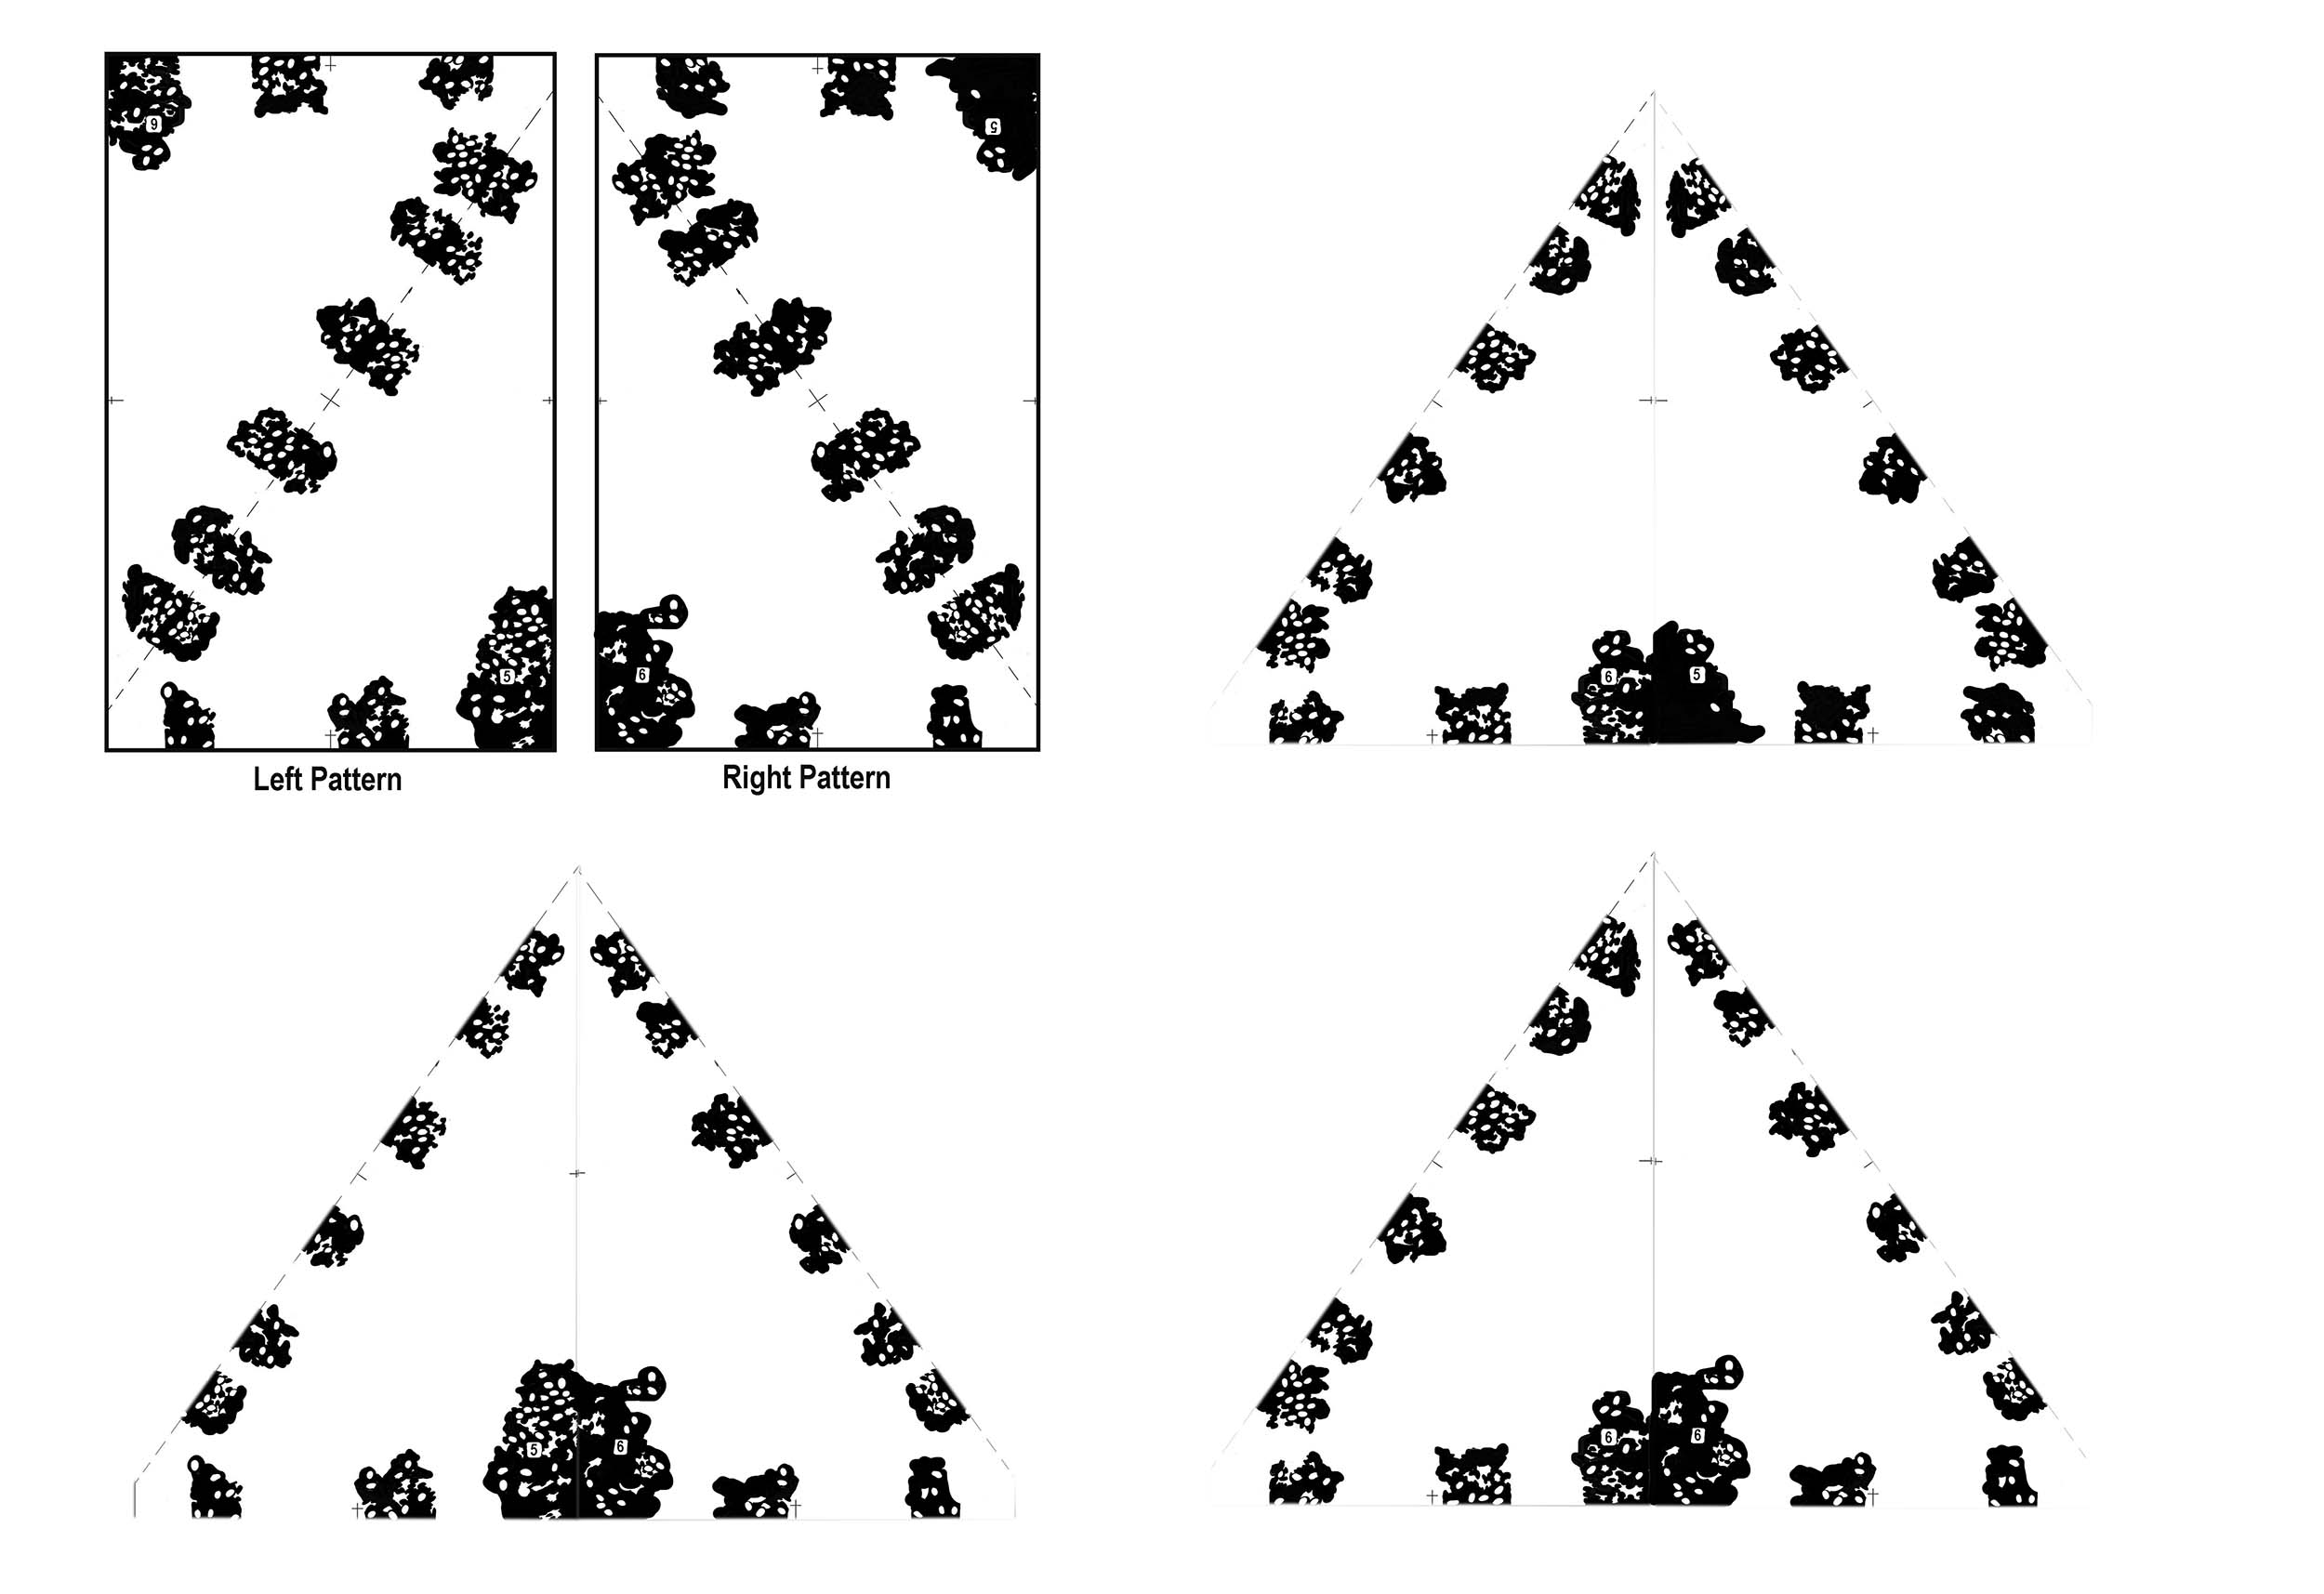
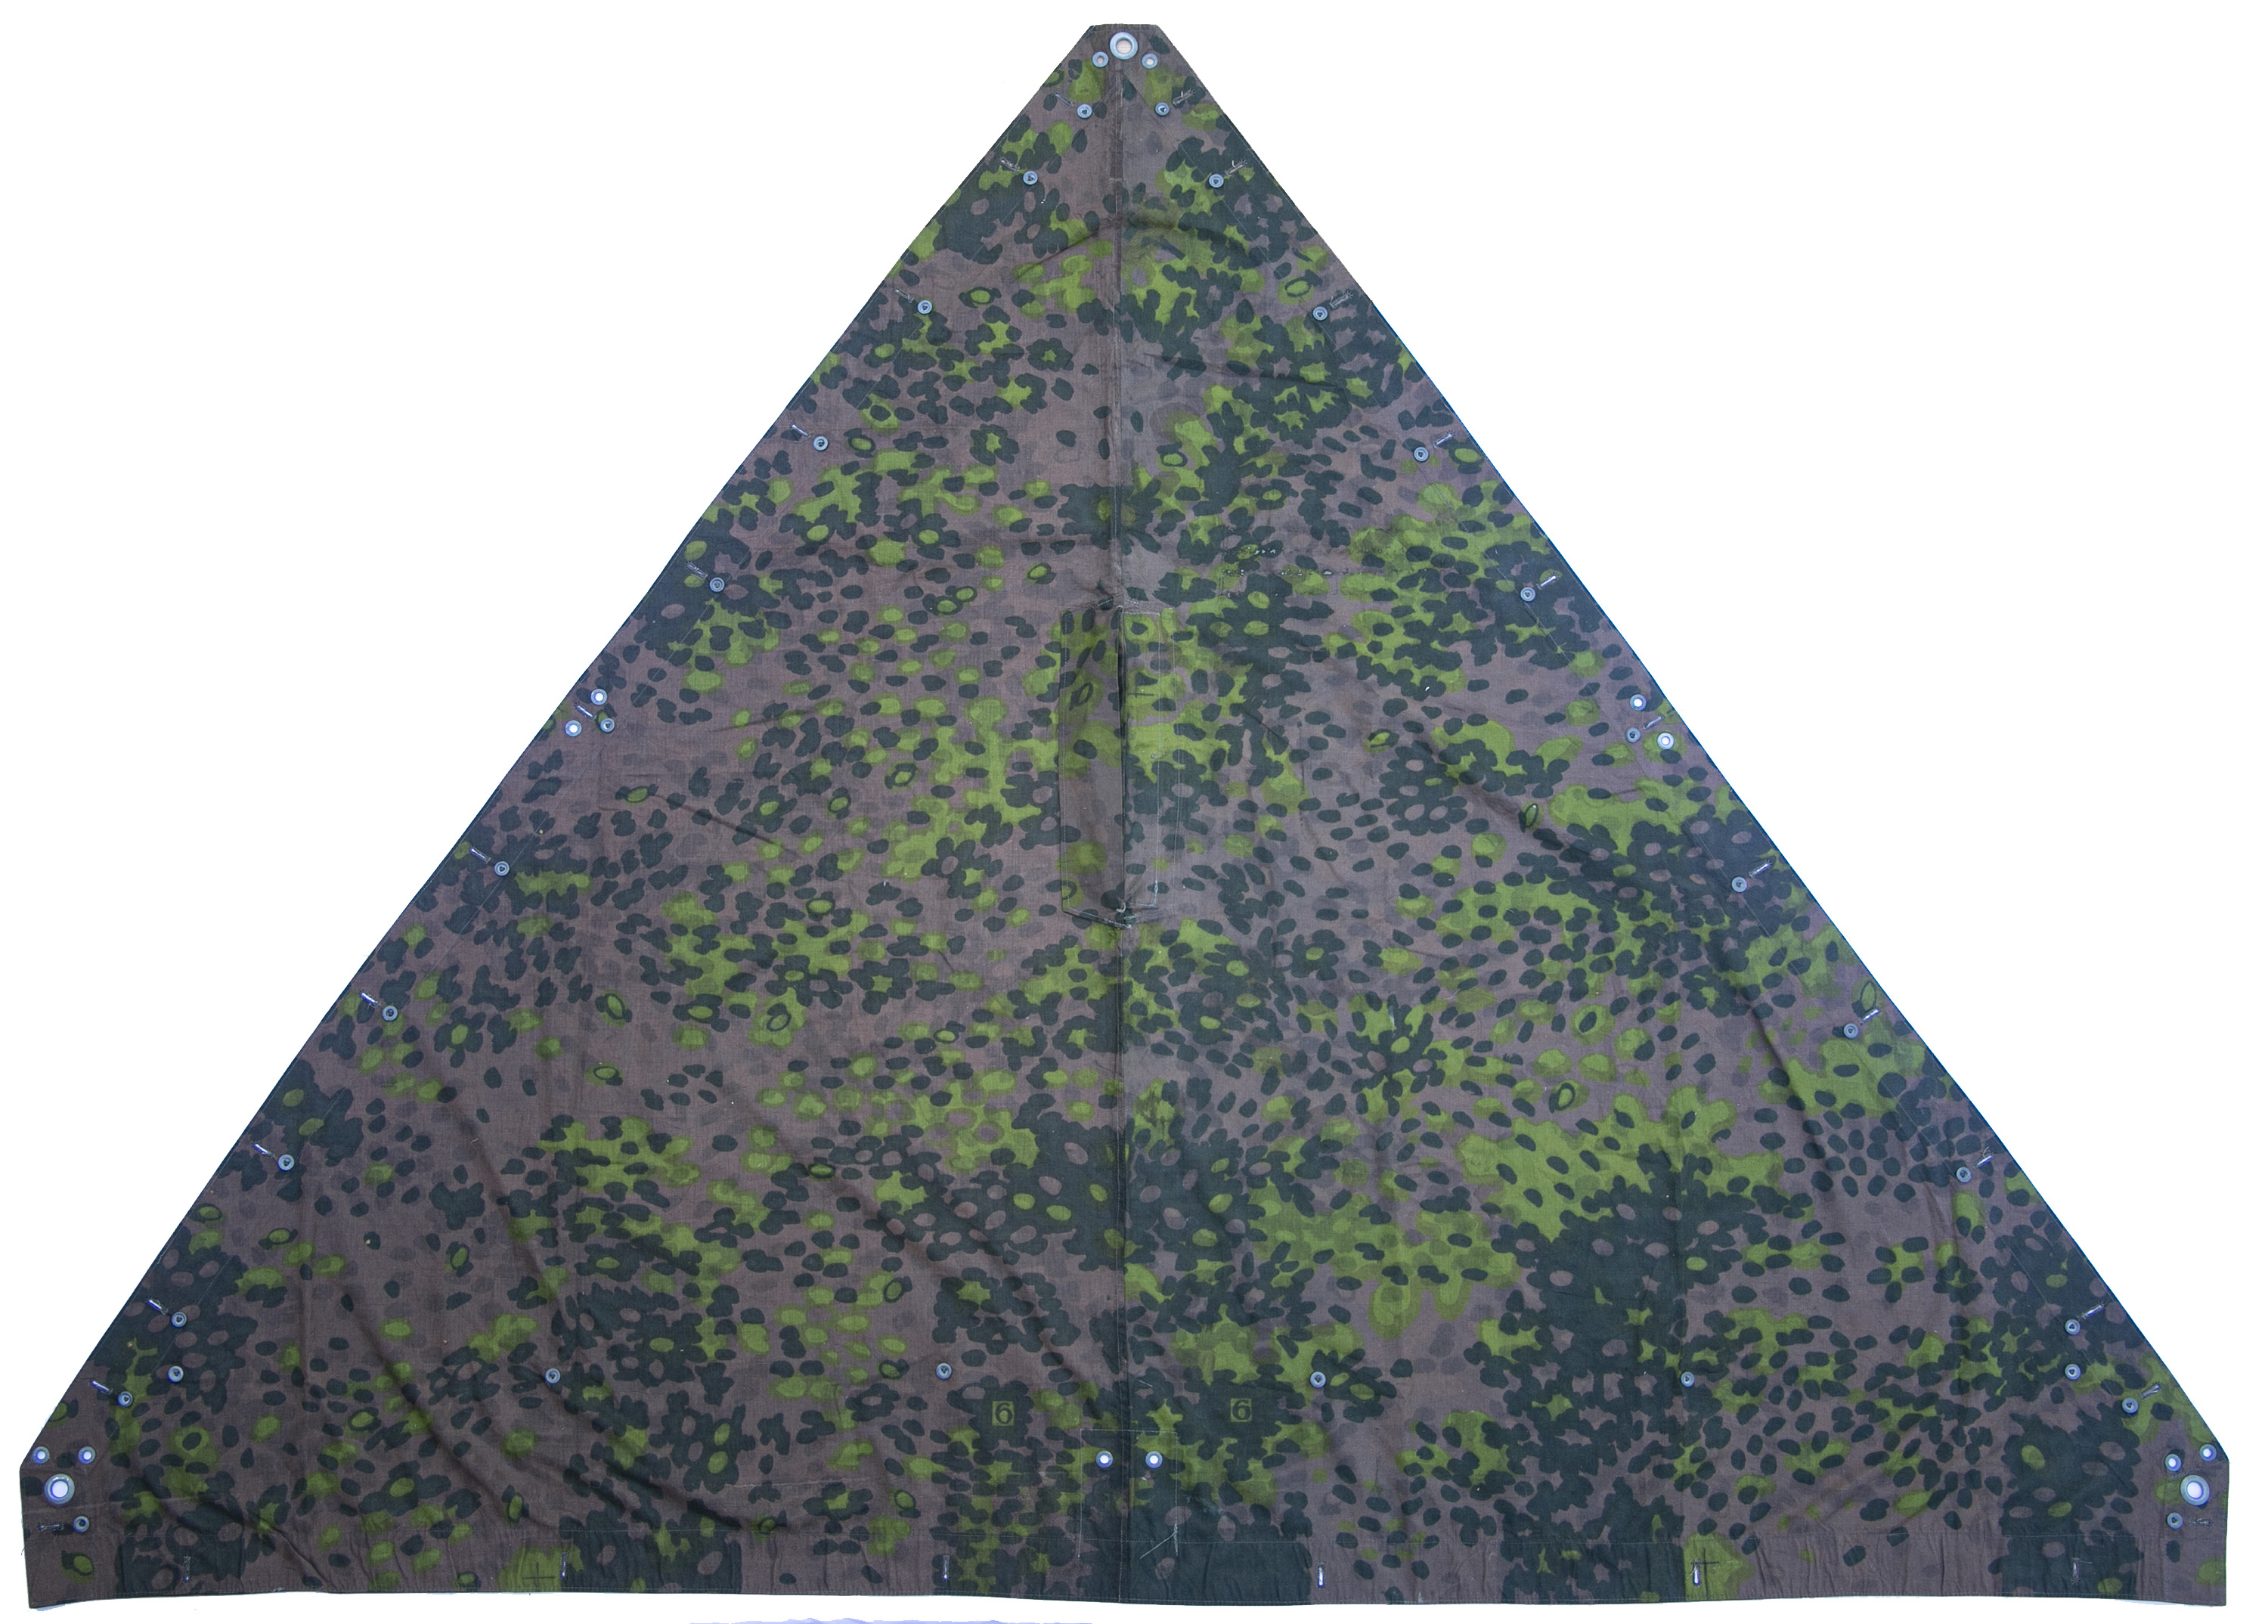
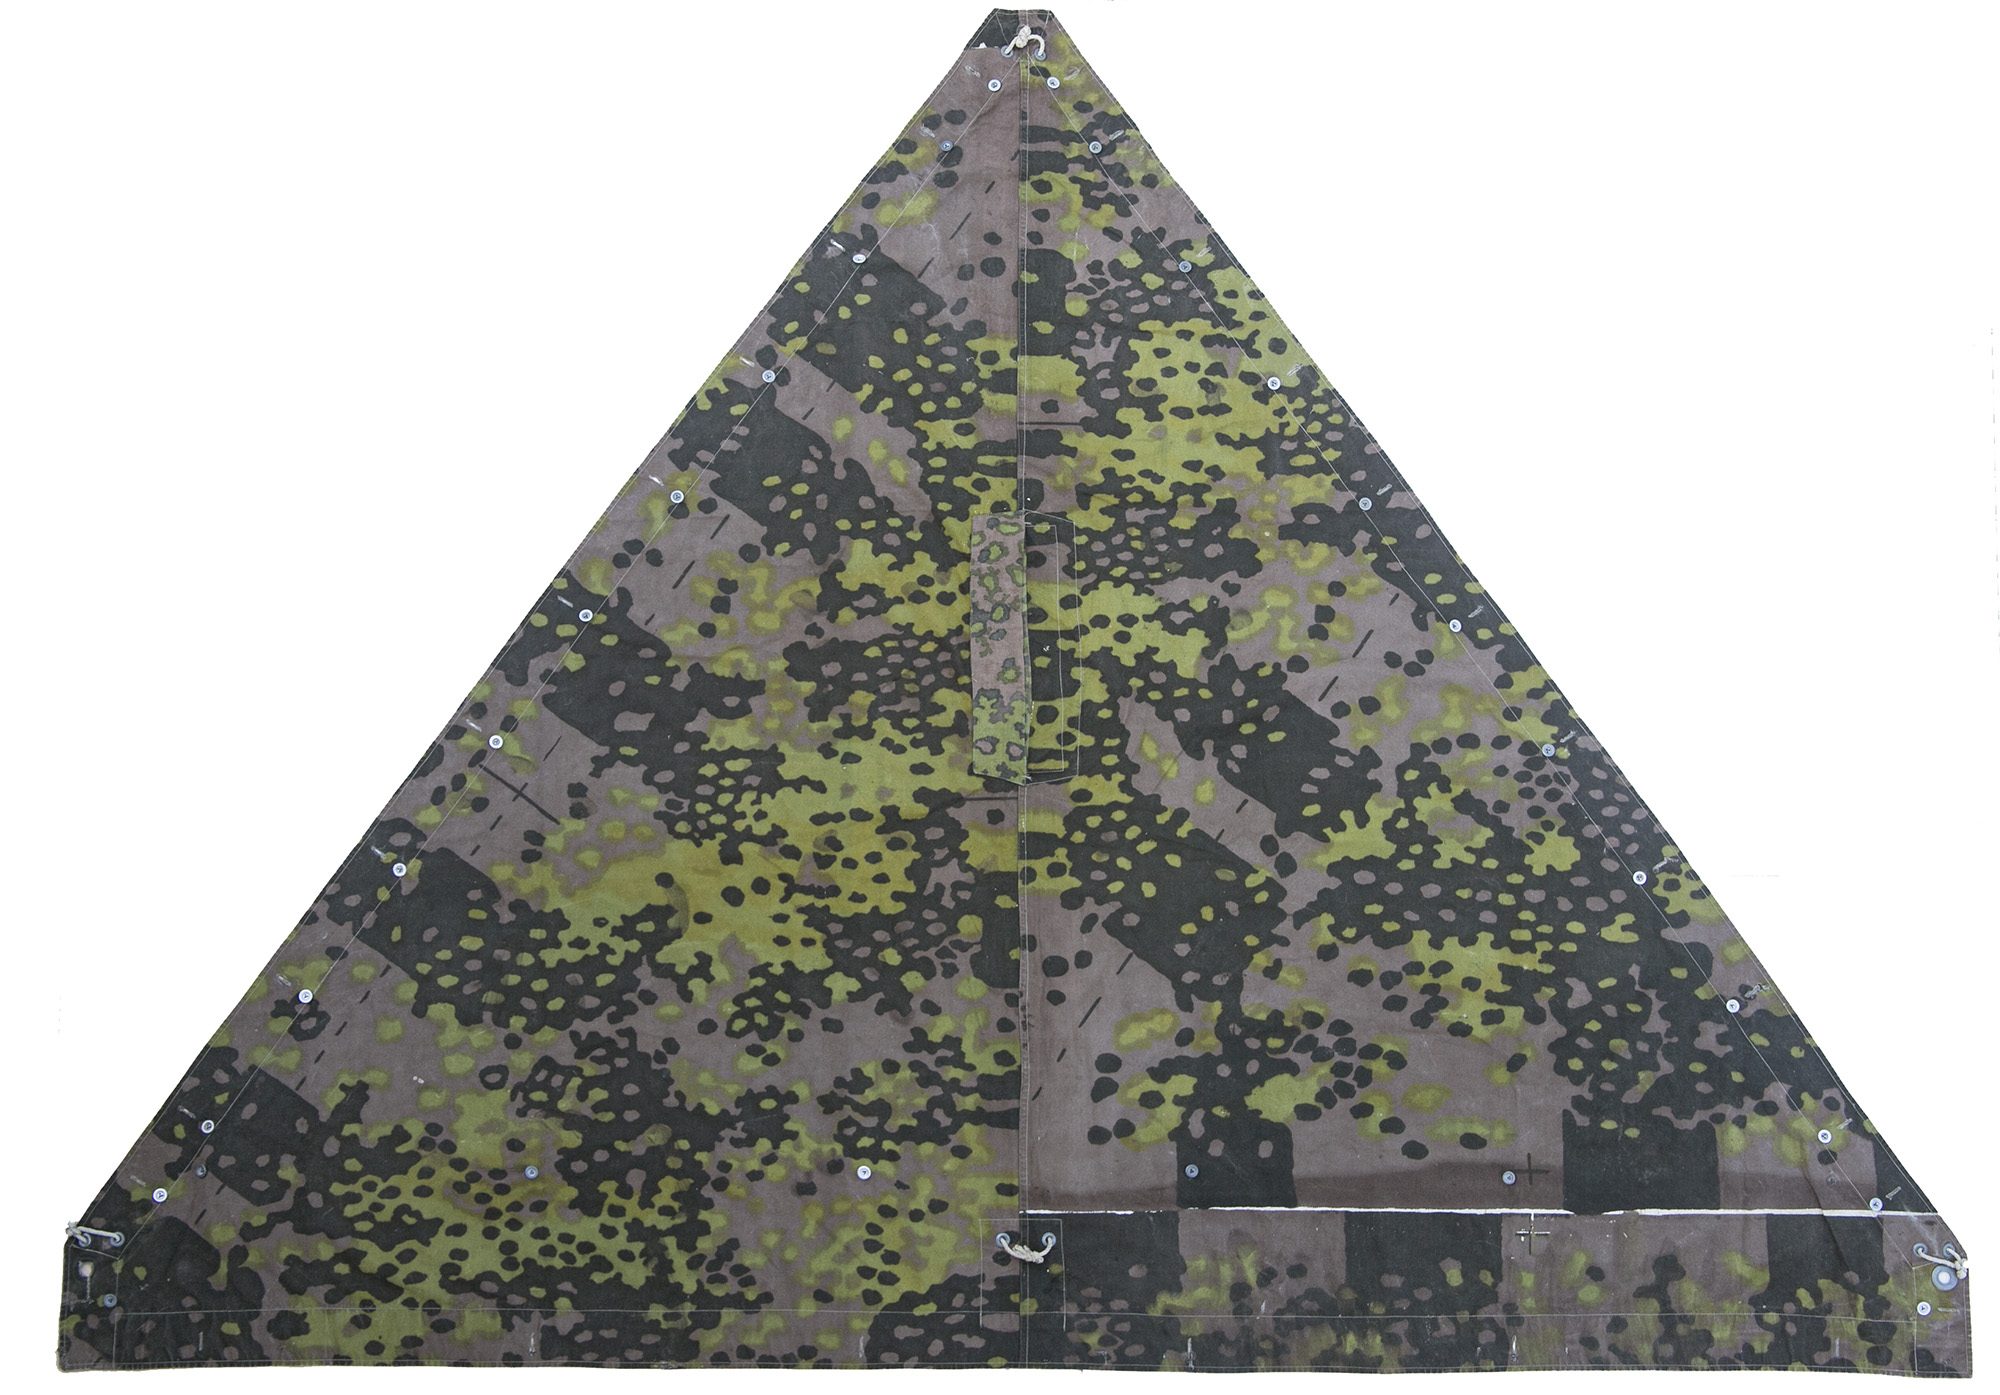
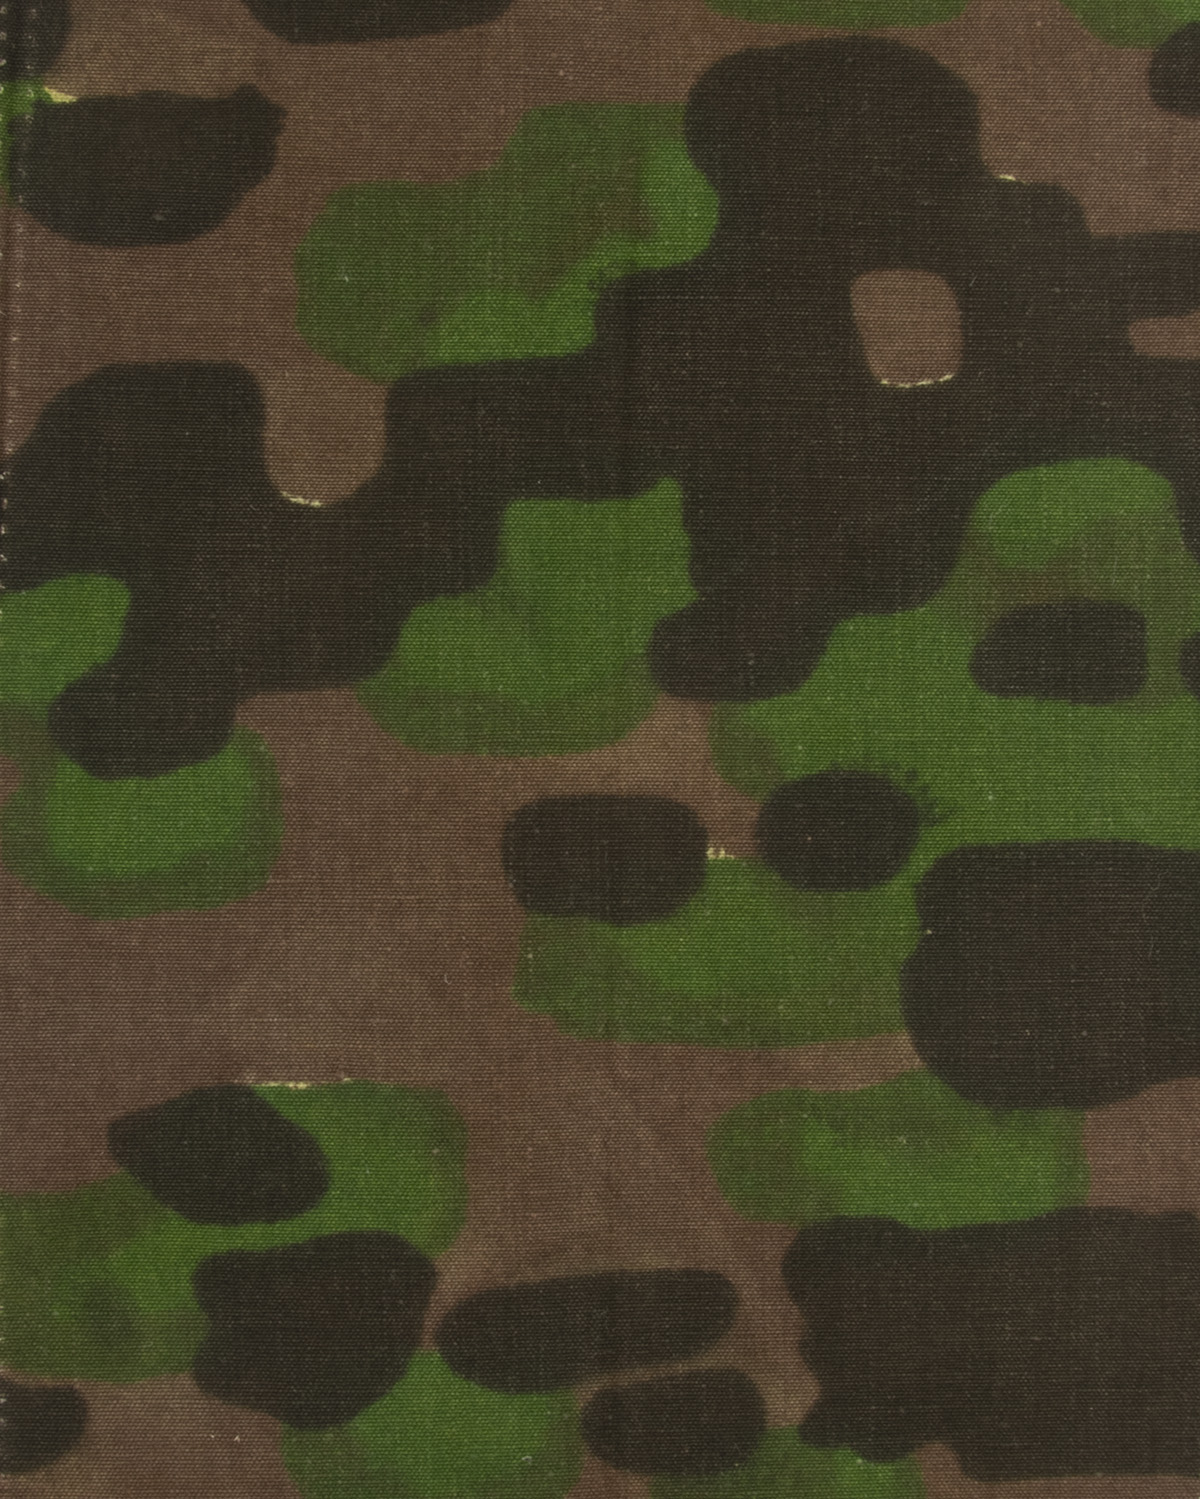
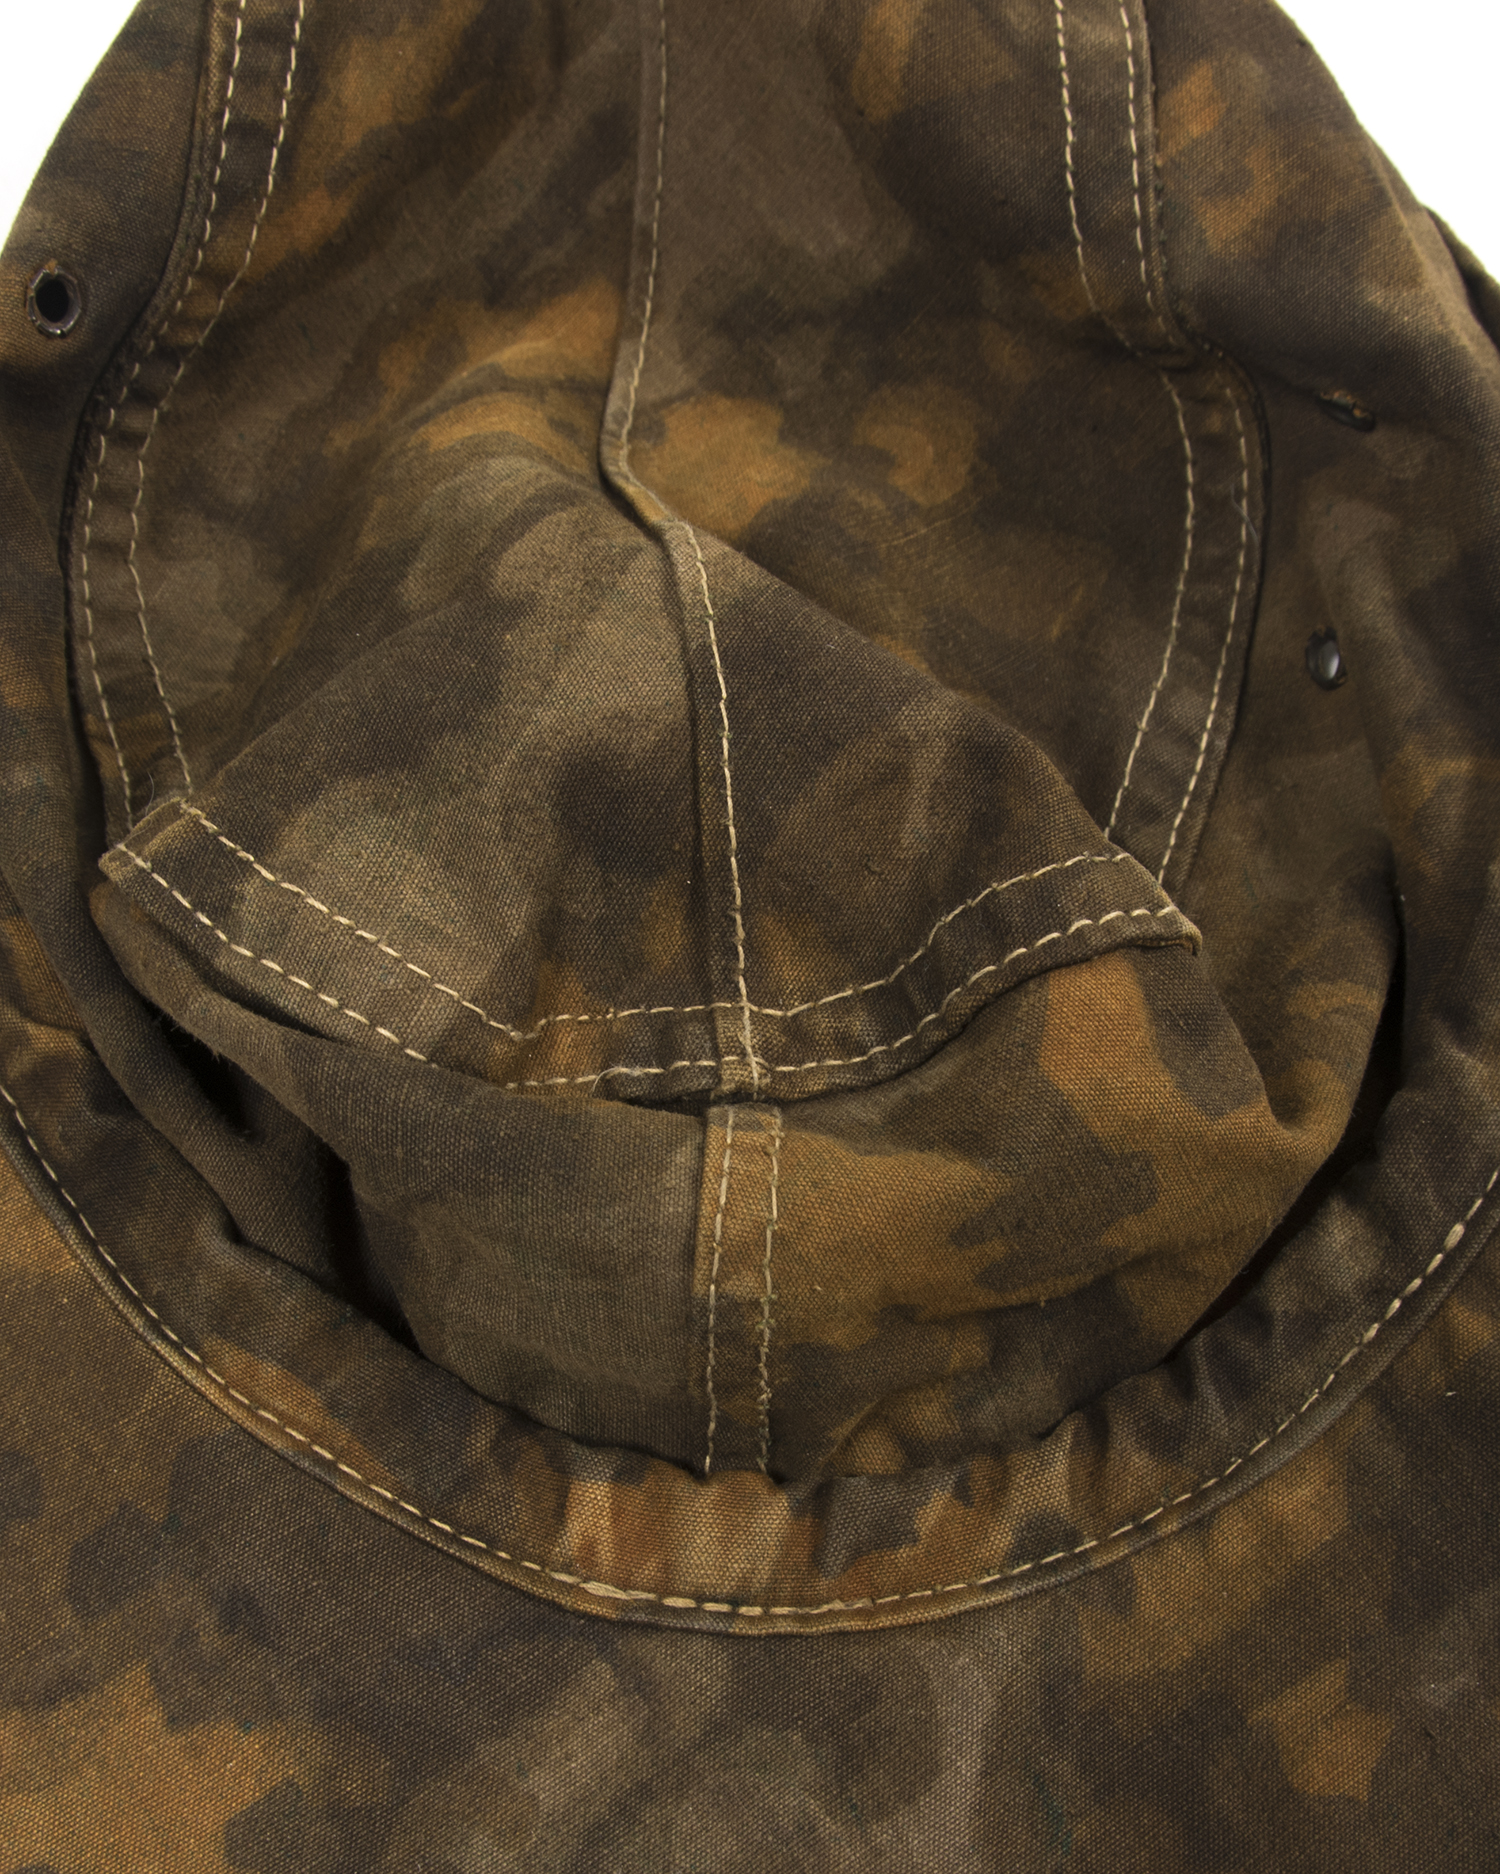
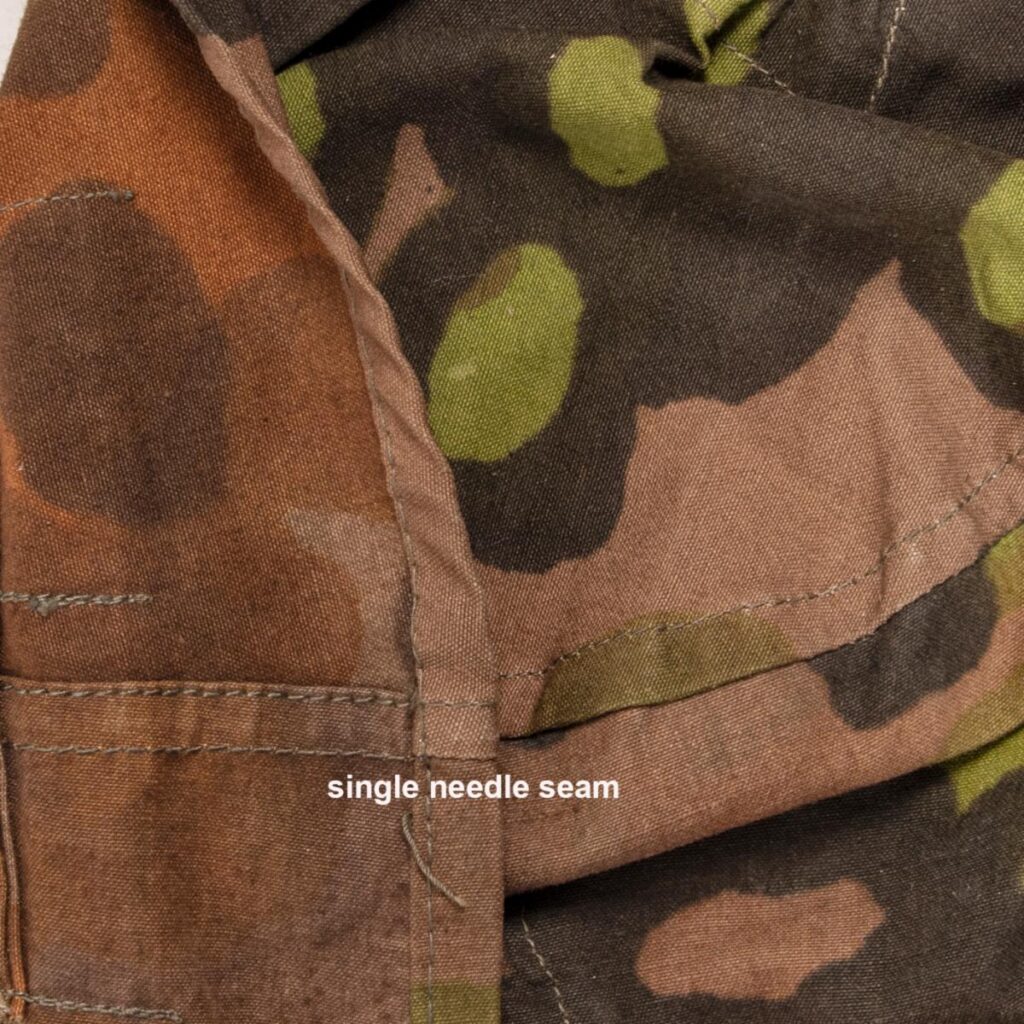
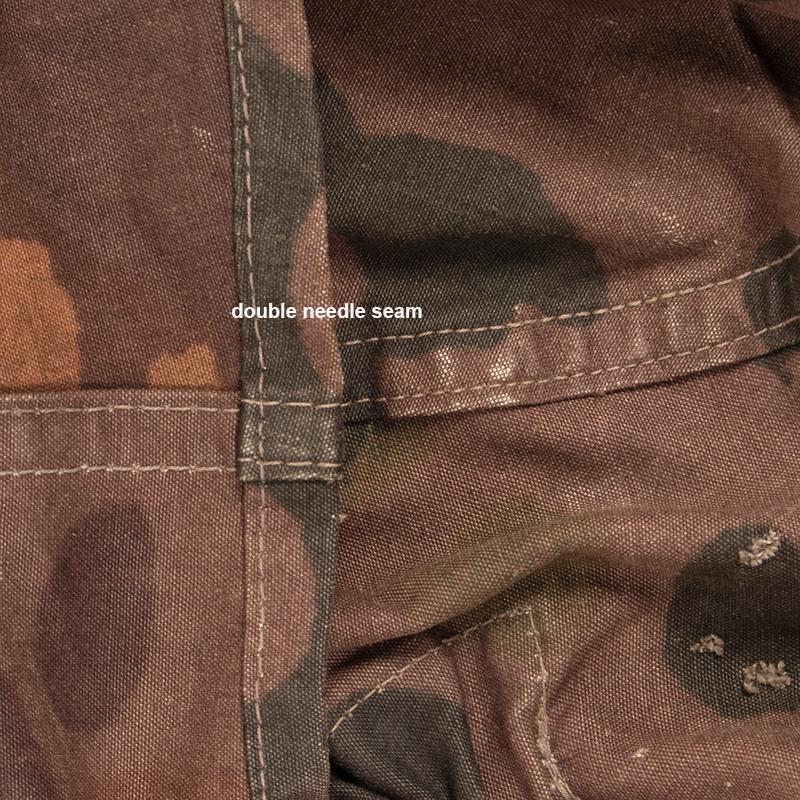
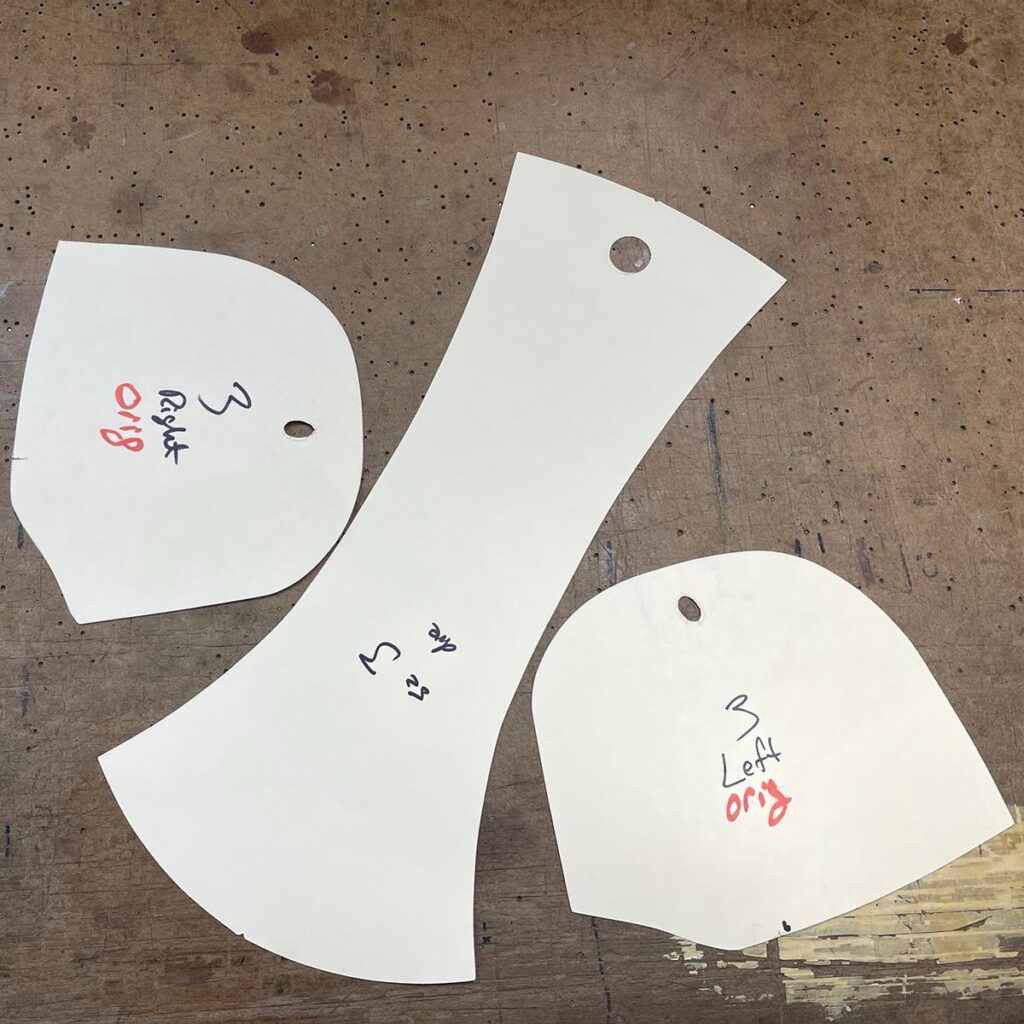 The three main panels of a cover
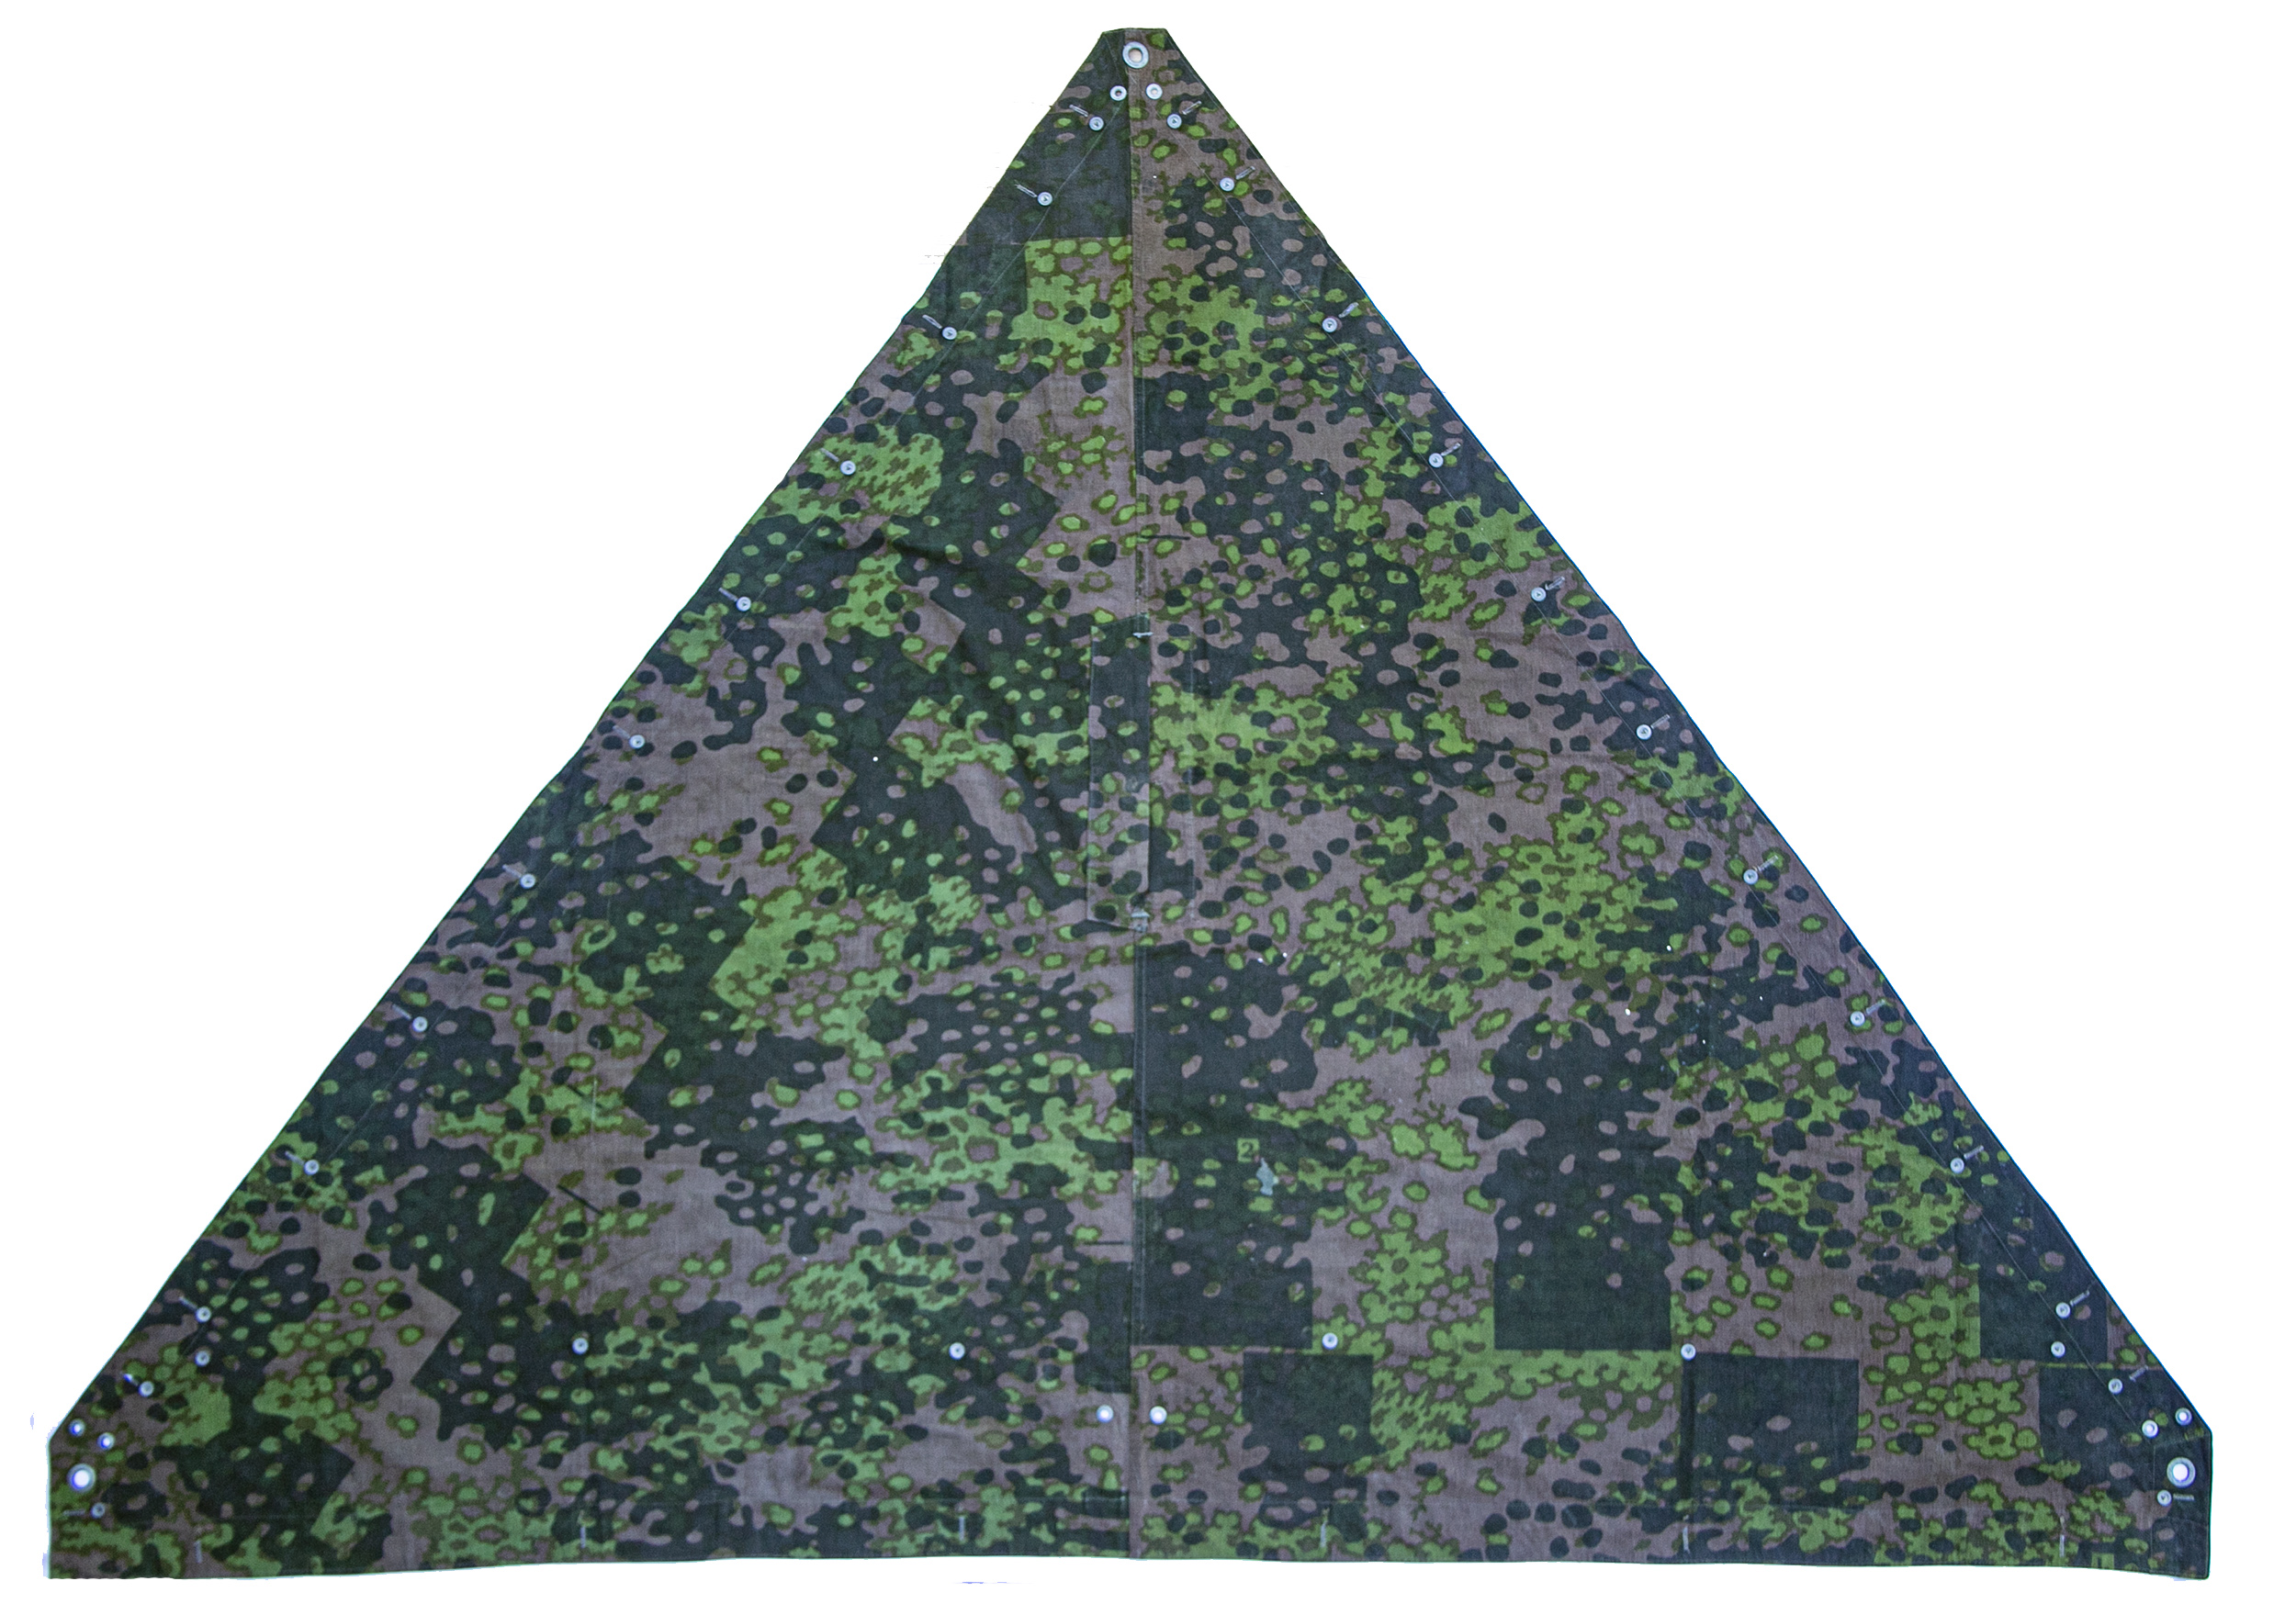
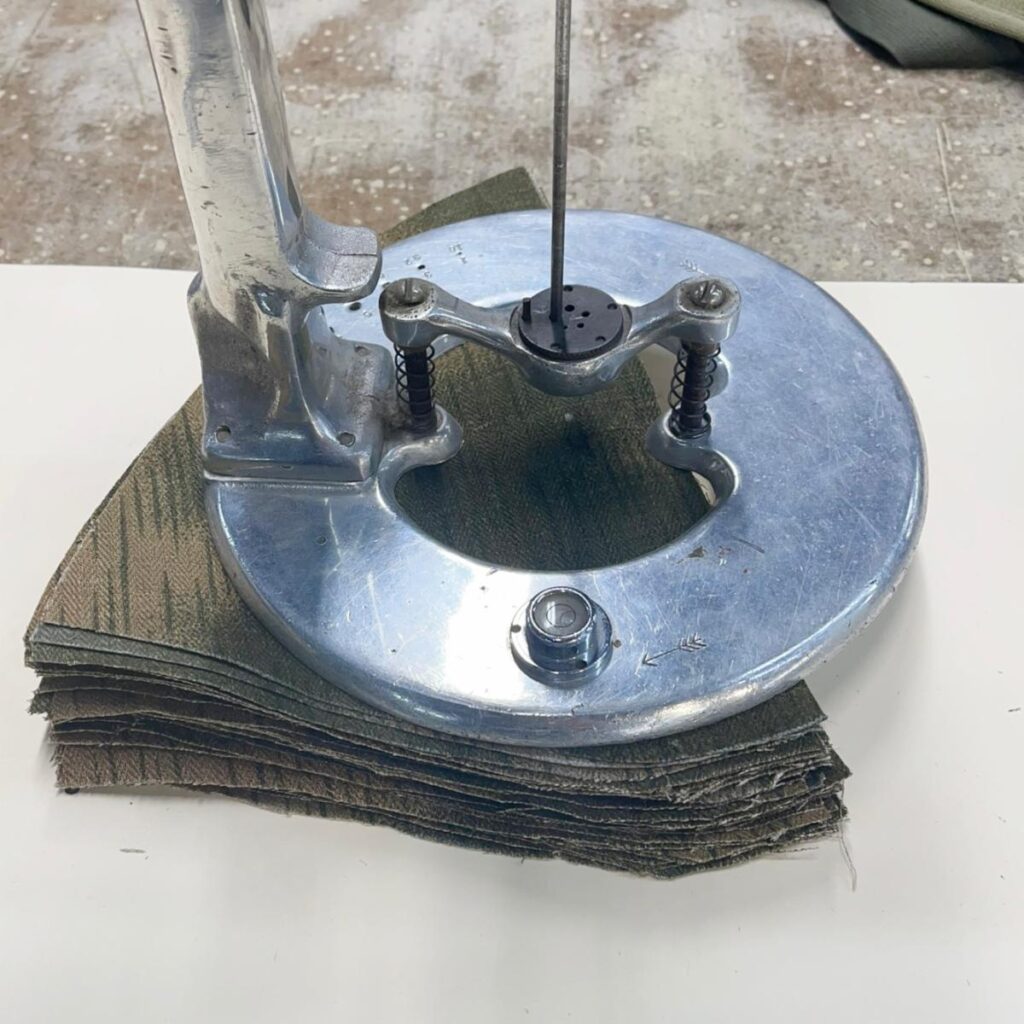
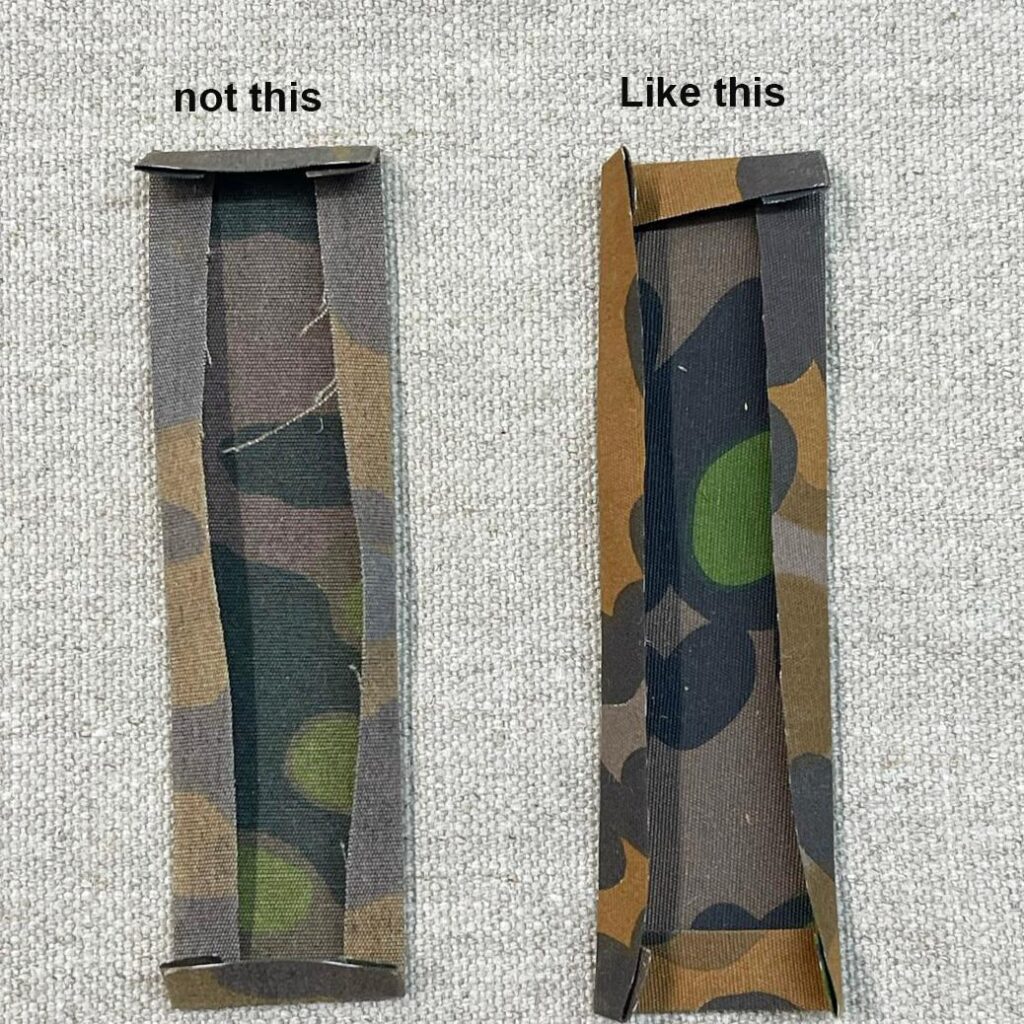
 One punch = 30 panels