From time to time we do get some fussing about marks, spots or other unwanted “blemishes”, typically on US fieldgear. This post is to show that many of these markings are necessary and intentional as they are part of the production process, not a flaw or error.
Nearly all gear and garments are marked after they’re cut to show the workers exactly where to place pockets, make folds, straps, sew button and eyelet holes, or to indicate layers and shades. Others appear to be lot or inspector numbers so any flaws can be traced back to their origin and fixed.
The markings are applied in a number of ways. Chalk, colored pencil, ink stamps or stencils may be used to apply them. Many of these marks, particularly the first two, will fade or rub off after the item has been used for a time. Others are more resilient and may survive for the life of the item.
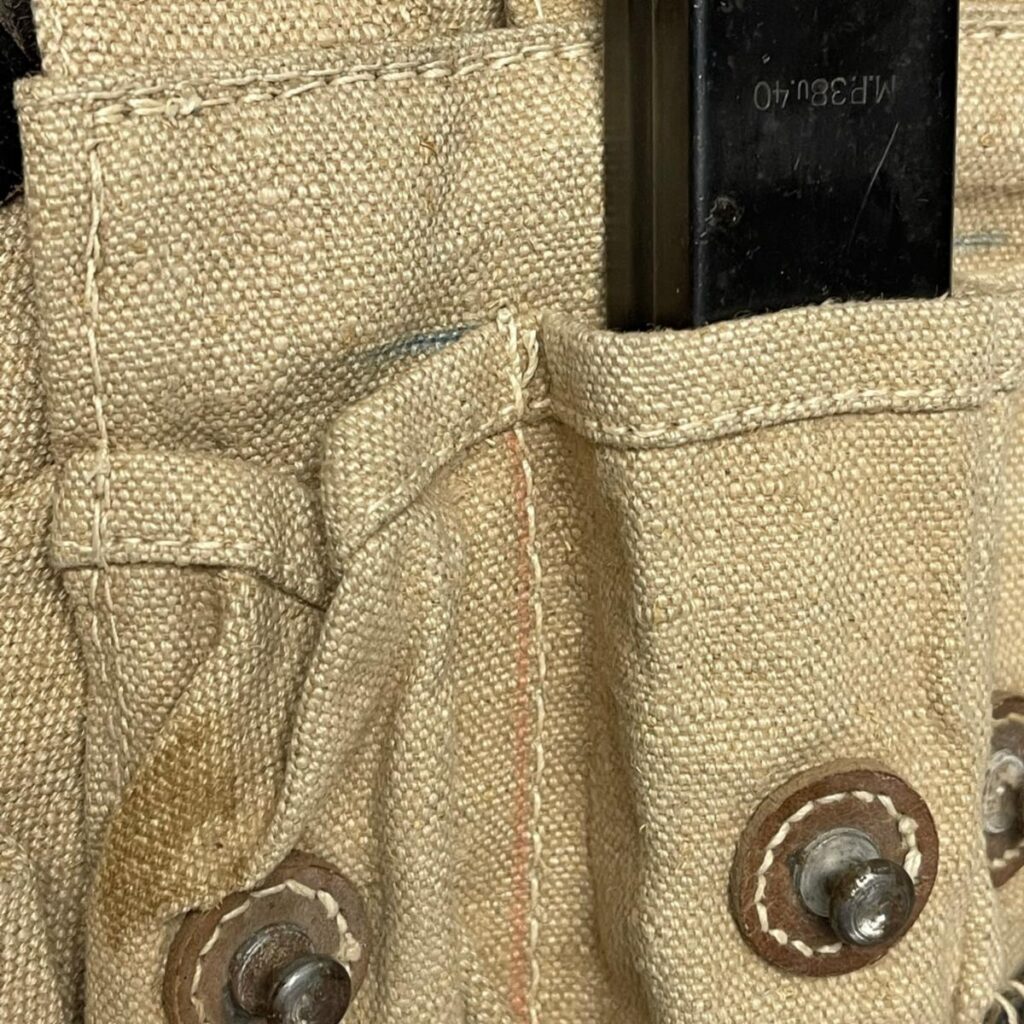 Blue and red pencil marks on original MP40 pouches.
These marked the sew lines to close the cells for each magazine.
Colored pencil marks: This is one of the most common means that WWII gear and clothing were marked for assembly. One can often find traces of them on German field gear, some uniforms, and occasionally on US uniforms. The Germans seemed to have an affinity for green, blue and pink colored pencils.
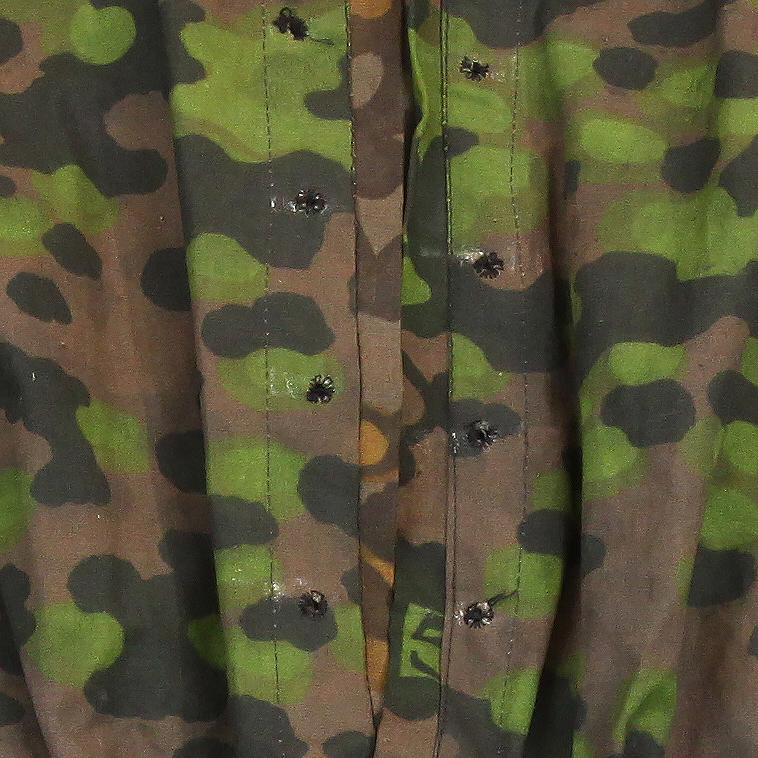 Original smock with chalk marks…how can they be wrong?
Chalk marks: At times the workers used chalk rather than colored pencils. This specific thing has caused us grief from outraged customers a number of times.
 All those squares, U’s, tick marks, dots, dashes and other blemishes were applied at the factory in WWII to show the workers where to sew the parts- not offend the tender sensitivities of those keeping history alive 80 years later.
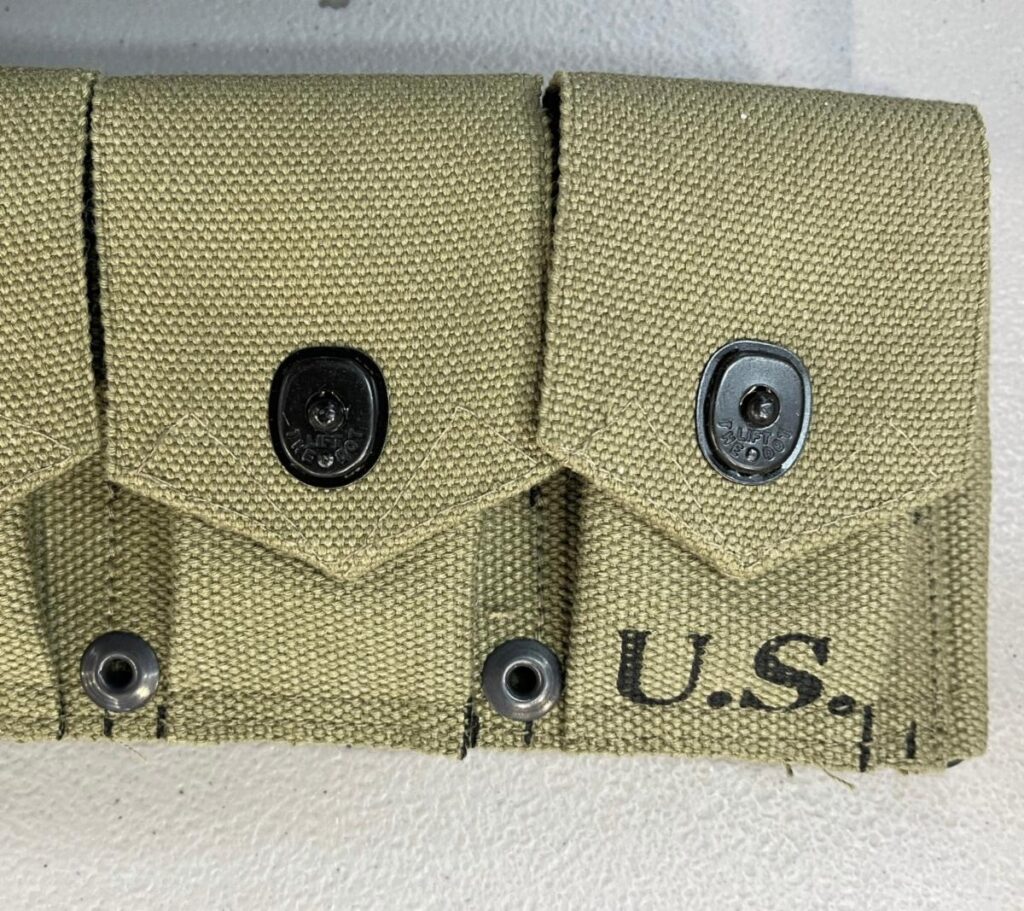
Stencil marks: US fieldgear is the most common place these are found. They were applied at the same time as the “US” and other markings as this is far faster and more efficient than laying a template over each piece and tracing the design with a pencil or chalk. Being printed with the same ink as the rest of the stencils, these tend to survive even on well-worn examples. We do this too and it’s one that creates the most complaints of “there’s black chit all over my pack”.
 Various stamps on the parts of original MP44 pouches.
Number/ letter stamps: These are commonly found on German gear and uniforms. When present, they’re typically 1-3 digits or a letter plus numbers “R26”. Their exact purpose is unknown, but an educated guess is that they indicate the worker or group of workers who made the parts. Others may be inspector numbers.
On a few Waffen-SS items, the manufacturer was identified by number codes, such as “933” on some smocks. This will typically only be found once, such as under a pocket flap.
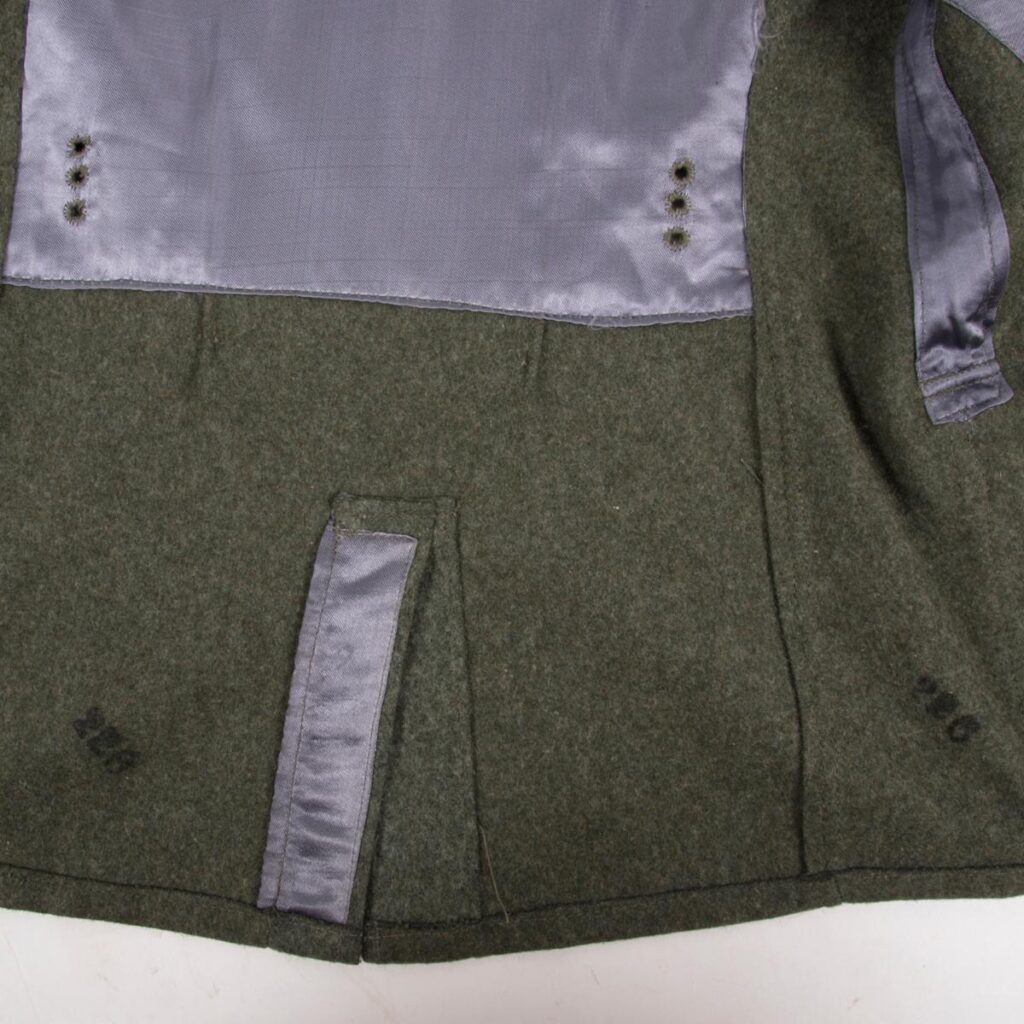 Shade marks (“226”) were stamped in black ink on all the wool parts of this original WSS M41 Feldbluse to indicate the layer of fabric they were cut from. The cloth wouldn’t have been stacked 200+ layers deep- but there were likely multiple cuts on the same table being done that day, so this might represent 2nd cut, layer 26 or something similar.
Shade marks: Some German wool uniforms are shade marked which is an alternative to shade tags. Garment fabric is stacked and cut many layers deep, and several rolls of fabric may be used to make the spread, making it likely that different shades will be in the same cut.
To avoid garments being assembled with mixed shades, all parts in each layer are stamped with the number of the layer. All the pieces on completed garments should then have all matching numbers which will indicate that they all came from the same layer of cloth in the cut, and should therefore match in shade and color.
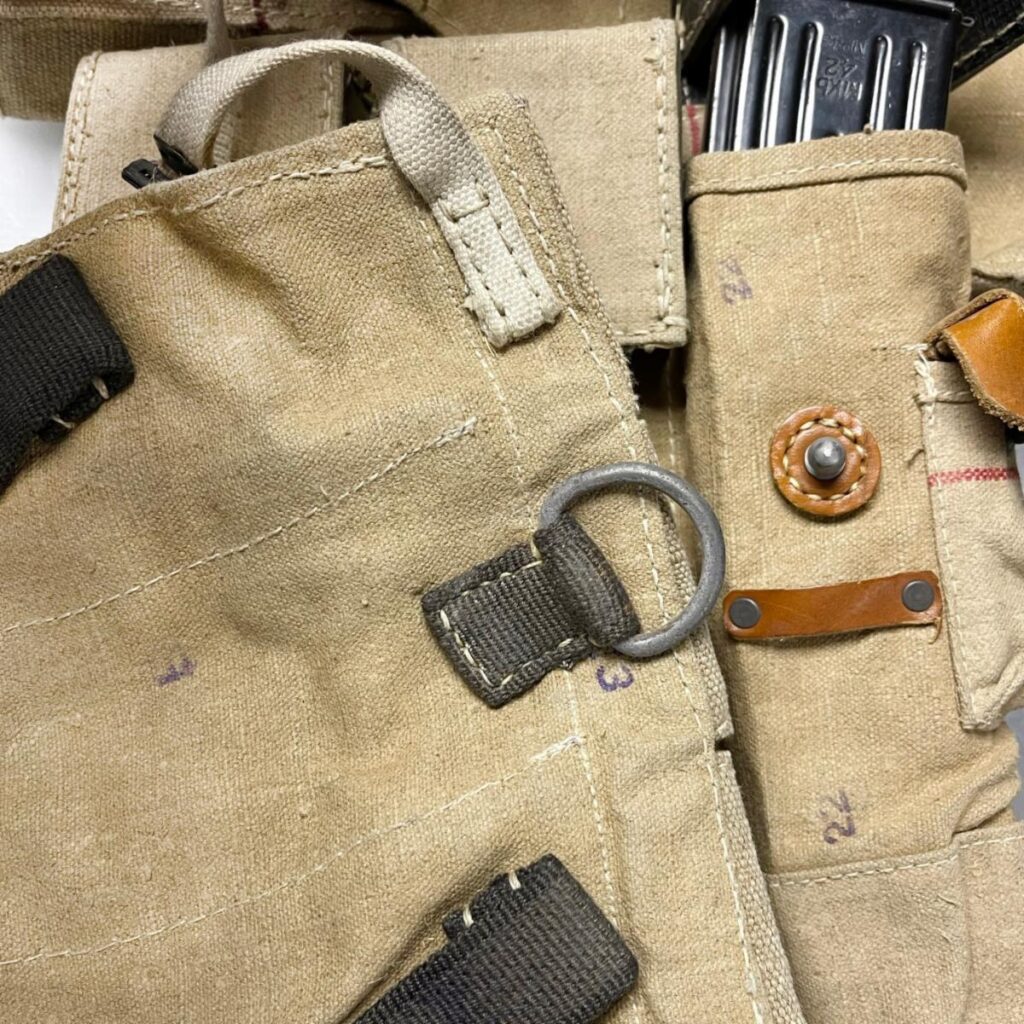
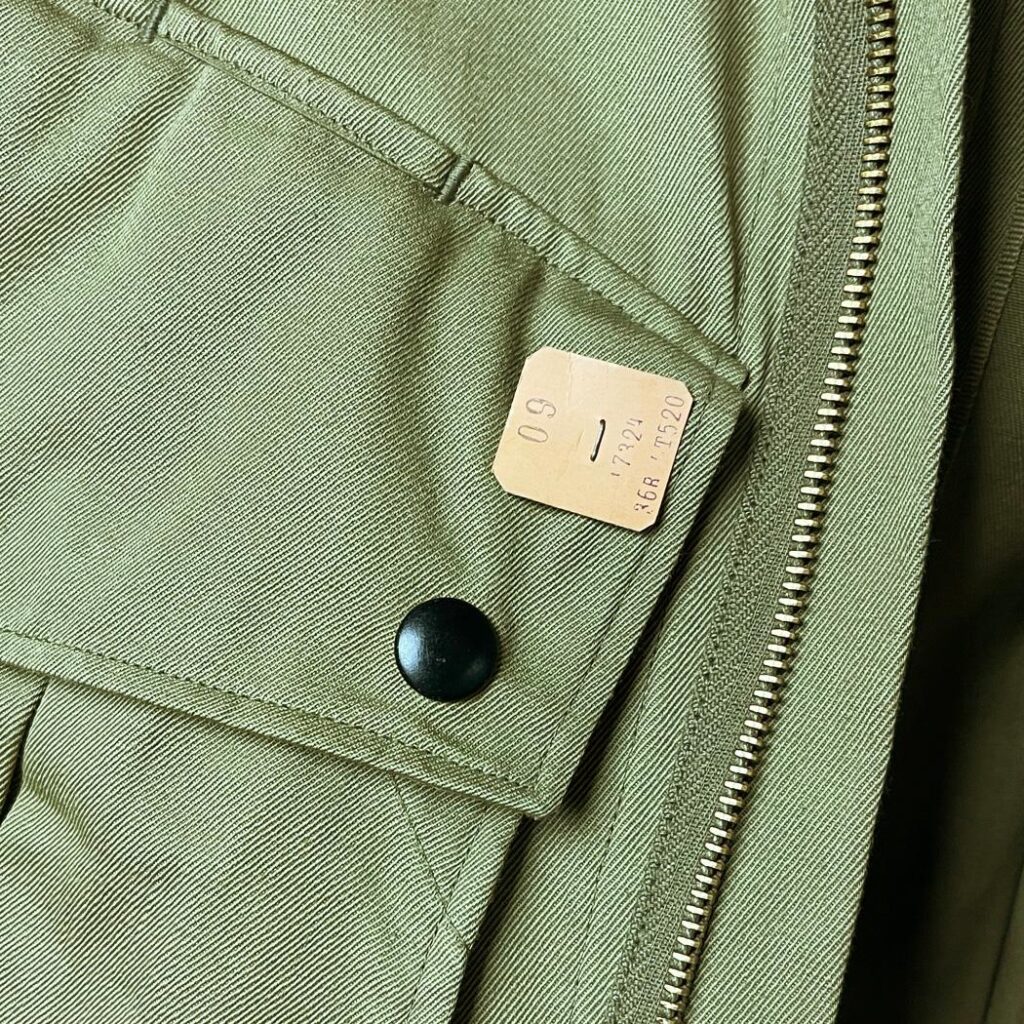 Shade tag on a original jump jacket. 09 is likely the layer, 36R the size, and the other two numbers could be any number of things. The info on the tags varies from factory to factory.
Shade Tags: Commonly called “cutter tags”, these serve the same purpose as the shade stamps above. But, in this case, a small paper tag is printed from some sort of gizmo (we’ve never found out what it was) and stapled (occasionally glued) to each part. These often have more information- such as the size of the item, the cut layer, batch number, and some others we are unsure of their meaning.
Typically found on US uniforms, they can be found on some gear. Years ago, I saw a German M44 tunic with them- they almost looked like tiny punch cards and were affixed with glue rather than staples.
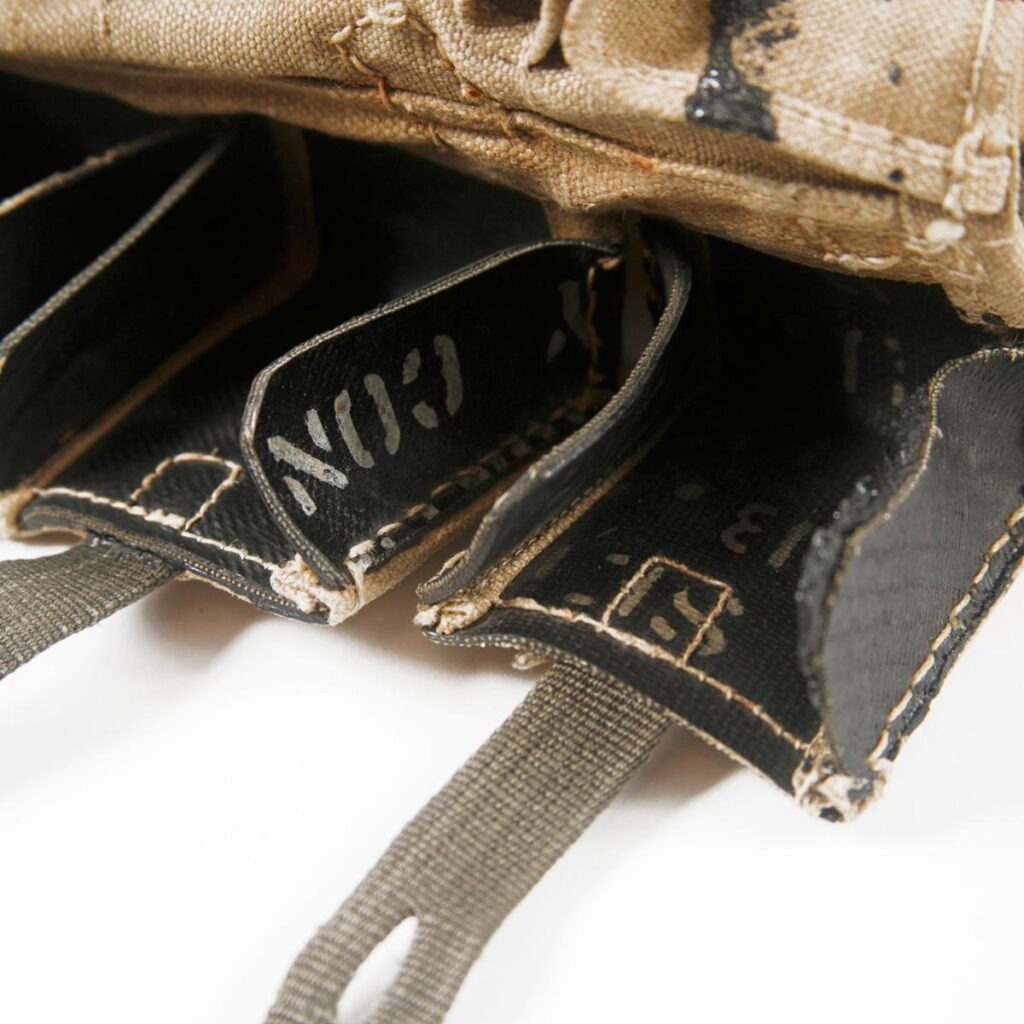 Inside flap of original MP44 pouches. We assume the “CON” is the first part of “Continental” (a major rubber and tire maker) as that’s what these flap sides are made from.
Manufacturer marks: One sometimes finds the name, logo, or address of the firm that made the material. These areas are typically on the inside of garments or gear and are considered a very cool plus by collectors.
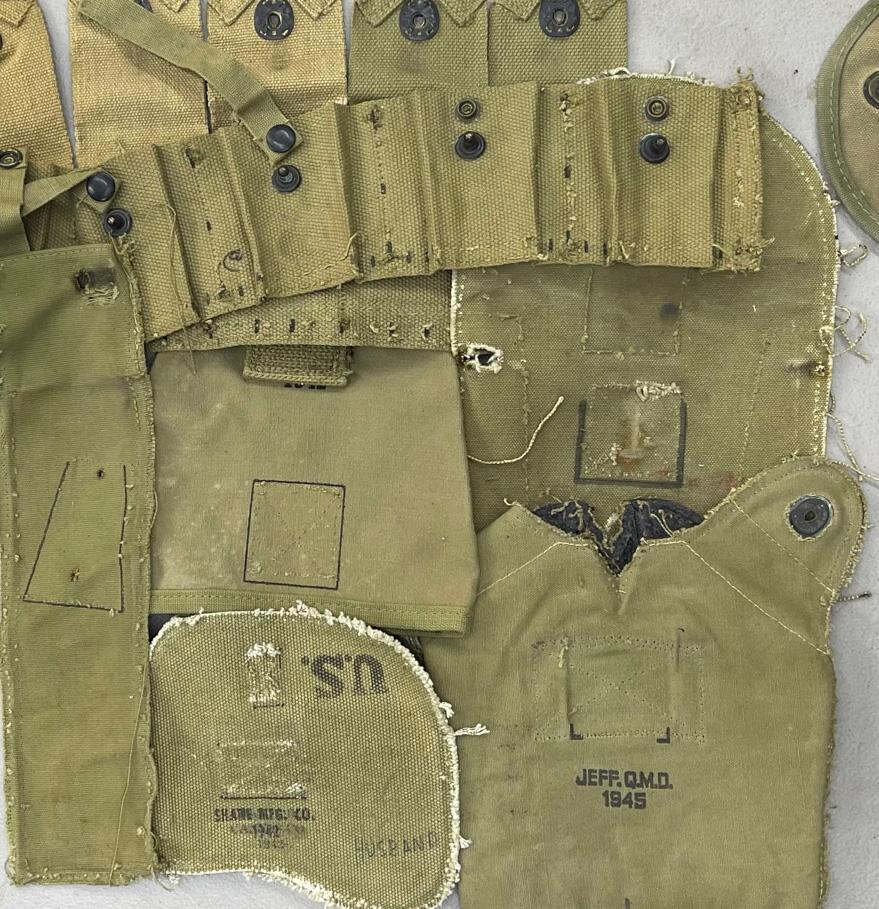
 Guide marks on our cartridge belts.
Our reproductions: We do stencil the location points on our US gear as they make things so much simpler during production. We do not offer “mark free gear”. (A few have really gone ballistic over these.) Some of our German gear does have chalk or pencil marks, and we dooccasionally add some numbers to uniform parts or MP pouches just for giggles.
On a few items, such as Texled slings, I use the month and year (such as “223”) on a small stamp as my own inspection mark to ensure that all steps have been completed. This mimics those found on many original slings.
As for shade tags, I have looked around over the years to see if whatever contraption made them turns up. Wise me (the minority part of my brain) knows those would cause little but trouble due to the “huge holes” the staples would put in the uniforms…but it’d still be cool to do on some level.